As Russia’s war on Ukraine drags on, its knock-on effects are being felt far beyond the eastern Europe theater. And perhaps nowhere is this more acutely felt than in the space launch industry, seeing that at least until recently, Russia was pretty much everyone’s go-to ride to orbit. All that has changed now, at least temporarily, and has expanded to include halting sales of rocket engines used in other nations’ launch vehicles. Specifically, Roscosmos has put an end to exports of the RD-180 engine used in the US Atlas V launch vehicle, along with the RD-181 thrusters found in the Antares rocket. The loss of these engines may be more symbolic than practical, at least for the RD-180 — United Launch Alliance stopped selling launches on Atlas V back last year, and had secured the engines it needed for the 29 flights it has booked by that April. Still, there’s some irony that the Atlas V, which started life as an ICBM aimed at the USSR in the 1950s, has lost its Russian-made engines.
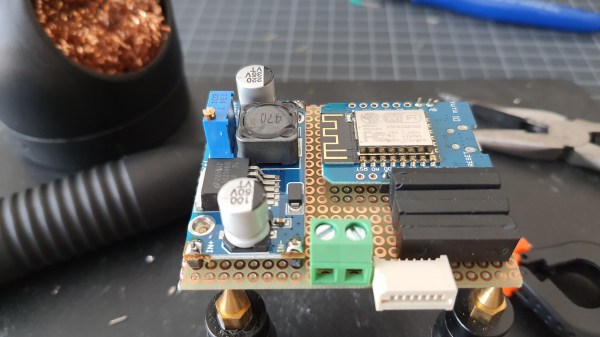
Bad news for Jan Mrázek’s popular open-source parametric search utility which made JLCPCB’s component library easier to use. We wrote about it back in 2020, and things seemed to be going fine up until this week, when Jan got a take-down request for his service. When we first heard about this, we checked the application’s web page, which bore a big red banner that included what were apparently unpleasant accusations Jan had received, including the words “reptile” and “parasitic.” The banner is still there, but the text has changed to a more hopeful tone, noting that LCSC, the component supplier for JLC’s assembly service, objected to the way Jan was pulling component data, and that they are now working together on something that everyone can be happy with. Here’s hoping that the service is back in action again soon.
Good news, everyone: Epson is getting into the 3D printer business. Eager to add a dimension to the planar printing world they’ve mostly worked in, they’ve announced that they’ll be launching a direct-extrusion printer sometime soon. Aimed at the industrial market, the printer will use a “flat screw extruder,” which is supposed to be similar to what the company uses on its injection molding machines. We sure didn’t know Epson was in the injection molding market, so it’ll be interesting to see if expertise there results in innovation in 3D printing, especially if it trickles down to the consumer printing market. Just as long as they don’t try to DRM the pellets, of course.
You can’t judge a book by its cover, but it turns out that there’s a lot you can tell about a person’s genetics just by looking at their face. At least that’s according to an AI startup called FDNA, which makes an app called “Face2Gene” that the company claims can identify 300 genetic disorders by analyzing photos of someone’s face. Some genetic disorders, like Down Syndrome, leave easily recognizable facial features, but some changes are far more subtle and hard to recognize. We had heard of cases where photos of toddlers posted on social media were used to diagnose retinoblastoma, a rare cancer of the retina. But this is on another level entirely.
And finally, working in an Amazon warehouse has got to be a tough gig, and if some of the stories are to be believed, it borders on being a horror show. But one Amazonian recently shared a video that showed what it’s like to get trapped by his robotic coworkers. The warehouse employee somehow managed to get stuck in a maze created by Amazon’s pods, which are stacks of shelves that hold merchandise and are moved around the warehouse floor by what amounts to robotic pallet jacks. Apparently, the robots know enough to not collide with their meat-based colleagues, but not enough to not box them in. To be fair, the human eventually found a way out, but it was a long search and it seems like another pod could have moved into position to block the exit at any time. You could see it as a scary example of human-robot interaction gone awry, but we prefer to look at it as the robots giving their friend a little unscheduled break away from the prying eyes of his supervisor.