Intermediate Concepts: Building Discrete Transistor Gates

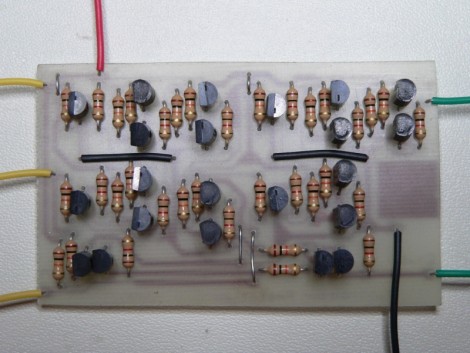
[Simon Inns] has put together a lesson in digital logic which shows you how to build your own gates using transistors. The image above is a full-adder that he fabricated, then combined with other full adders to create a 4-bit computer.

Don’t know what a full adder is? That’s exactly what his article is for, and will teach you about binary math and how it is calculated with hardware. There’s probably at least a week’s worth of studying in that one page which has been further distilled into the five-minute video after the break. Although building this hardware yourself is a wonderful way to learn, there’s a lot of room for error. You might consider building these circuits in a simulator program like Atanua, where you can work with logic gate symbols, using virtual buttons and LEDs as the outputs. Once you know what you’re doing with the simulator you’ll have much more confidence to start a physical build like the one [Simon] concocted.

Finding this project a little too advanced? Check out our Beginner Concepts articles to help get you up to speed.

Continue reading “Intermediate Concepts: Building Discrete Transistor Gates”

Beginner Concepts: Powering Your Projects

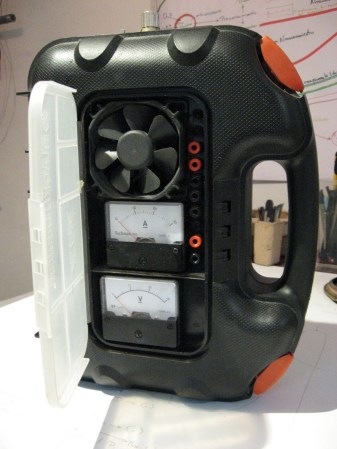
Powering your gadgets generally seems like a necessary evil. To help with this [Felipe La Rotta] made a really nice bench power supply using a PC power supply and a LM317 adjustable voltage regulator. PC power supplies are an example of a switched power supply(more on that later).  The LM317 is a type of linear voltage regulator that allows for adjusting the output voltage by varying some resistors. Whats the best way to power your circuits? well that depends…

Continue reading “Beginner Concepts: Powering Your Projects”

Beginner Concepts: LPT Instead Of UC

We see it all the time, a post based on an Arduino board with multiple comments calling it overkill. How exactly should you control your homemade peripherals if you’re not using a microcontroller (uC)? [JKAbrams] and [Tim Gremalm] answered that question with this printer port (LPT) adapter. They wanted an indicator light when someone in an IRC room was talking to them. By connecting a blue rotating light through a relay to the output of this fob they’ve done just that, but there’s room for much more.

The adapter uses a Darlington transistor array IC to protect the computer. A resistor between the LPT and the base pin on the chip ensures that current flow will be well within the safe levels for the computer. The Darlington transistor amplifies the output using an external power supply in order to drive heavier loads.

If you want a deeper understanding of the printer port check out this tutorial. LPT ports are becoming less common and that’s why so many projects are migrating over to USB (plus there’s no need for external power with most USB connected projects) but if you’ve got one, it’s probably not being used for anything else.

Beginner Concepts: 555 Push Button Toggle

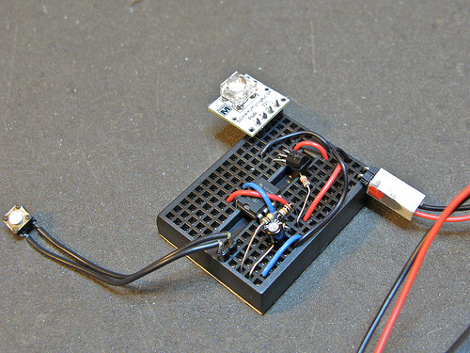
PIC, AVR, and Arduino are ubiquitous in projects these days and a lot of the time it’s easy to over-complicate things with their use. In this case, [Tod] wanted to use a momentary tactile switch to turn something on and off. Instead of going with a microcontroller he built the circuit around a 555 timer. What he really needed in this case is a flip-flop but lacking a chip for that he went with the 555 because it has one built-in. Three resistors and a capacitor later he’s in business, adding another resistor and a transistor to deal with the load switching. We’ve embedded video of the circuit controlling an LED after the break. This IC ends up in a lot of projects so dig through your parts bin and give this circuit a try.

Continue reading “Beginner Concepts: 555 Push Button Toggle”

The DIY 1982 Picture Phone

If you’ve only been around for the Internet age, you may not realize that Hackaday is the successor of electronics magazines. In their heyday, magazines like Popular Electronics, Radio Electronics, and Elementary Electronics brought us projects to build. Hacks, if you will. Just like Hackaday, not all readers are at the same skill level. So you’d see some hat with a blinking light on it, followed by some super-advanced project like a TV typewriter or a computer. Or a picture phone.

In 1982, Radio Electronics, a major magazine of the day, showed plans for building a picture phone. All you needed was a closed-circuit TV camera, a TV, a telephone, and about two shoeboxes crammed full of parts.

Like many picture phones of its day, it was stretching the definition a little. It actually used ham radio-style slow scan TV (SSTV) to send a frame of video about once every eight seconds. That’s not backwards. The frame rate was 0.125 Hz. And while the resulting 128 x 256 image would seem crude today, this was amazing high tech for 1982.

Continue reading “The DIY 1982 Picture Phone”

Educational Breadboard Synth Module

Synth designers [Erica Synths] have devised a very cool, approachable way to get started with DIY synth hacking. Designed around a breadboard, the EDU DIY LABOR is a synth module with everything you need to get started. The Basic version comes with potentiometers, switches, and jack sockets, and is aimed more at those who likely already have a decent supply of parts on hand for experimentation. The Full kit comes with all that, plus a supply of resistors, capacitors, ICs and transistors so you can get up to speed, even as a beginner.

The device is supplied as a semi-DIY kit, with some soldering and assembly required. The kit was designed in collaboration with Dr. Shalom D. Ruben, a teaching professor of engineering at the University of Colorado. So it should be approachable for those with some soldering experience under their belt. Labor includes a multi-voltage power supply which supplies all Eurorack voltages, an oscillator section for both audible ranges and LFO, a full envelope control section, an output amplifier and more! Once assembled you can quickly start making bloops, beeps, and bzzts. You can easily design filters, oscillators, amplifiers, sequencers, and whatever else you can dream up!

However, the kit is designed to be more than just a synth playground – the idea was also to create an environment where you could learn the basics of electronics at the same time, in an approachable, fun way. This is reflected in the excellent user manual, which goes beyond just assembling the device and gives some example circuits, complete with wave diagrams and detailed working explanations. Great for beginners and experienced hackers who want to learn more about fundamentals and audio synthesis!

Continue reading “Educational Breadboard Synth Module”

Ethernet For Hackers: Equipment Exploration

Last time, we talked about the surface-level details of Ethernet. They are fundamental to know for Ethernet hacking, but they’re also easy to pick up from bits and pieces online, or just from wiring up a few computers in your home network. Now, there’s also a bunch of equipment and standards that you will want to use with Ethernet – easy to find whether used or new, and typically as easy to work with. Let’s give you a few beacons!

Routers And Switches

Whenever you see a box with a few Ethernet ports, it’s either referred to as a router, or a switch, sometimes people will even use the word “hub”! Fortunately, it’s simpler than it may seem. A router is a smart device, typically with an OS, that ties two or more networks together – routing packers from one network to another, and typically taking care of things like handing out local IP addresses via DHCP. A switch merely helps Ethernet devices exchange packets between each other on the same level – it’s typically nowhere near as smart as a router gets. Oftentimes, a home router will contain a switch inside, so that you can plug in multiple of your home devices at once. That’s the main difference – a switch merely transmits packets between Ethernet-connected devices, while a router is a small computer taking care of packet forwarding between networks and possibly including an Ethernet switch on the side.
Continue reading “Ethernet For Hackers: Equipment Exploration”