High-voltage experimenters have been using automotive ignition coils to generate impressive sparks in the home lab for decades, and why not? They’re cheap, easily obtainable, and at the end of the day, producing sparks is literally what they’re designed to do. But that doesn’t mean there isn’t room for improvement.
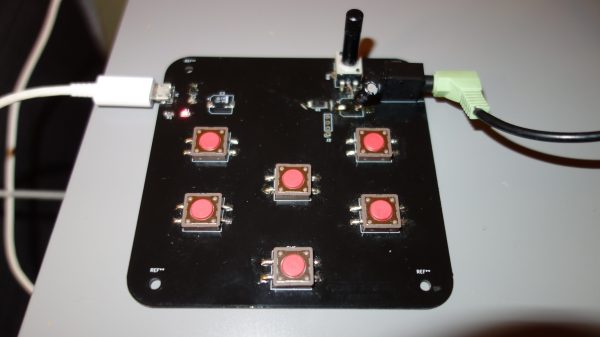
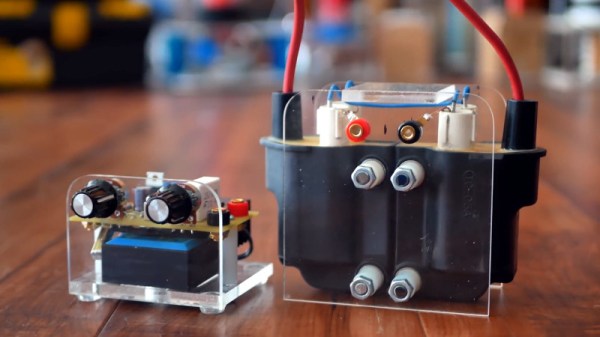
In his latest Plasma Channel video [Jay Bowles] revisits this classic experiment, bringing to bear the considerable high-voltage experience he’s gained over the last several years. Building on an earlier setup that used a single Honda ignition coil, this new dual-coil version can produce up to 60,000 volts and is driven by a cleaner and more reliable circuit based on the iconic 555 timer. A pair of potentiometers on the front of the driver can adjust its square wave output from 1 to 10 kilohertz manually, while a commercial Bluetooth audio receiver tied into the 555 circuit allows the output to be modulated by simply playing audio from a paired device.
Continue reading “Honda Ignition Coils Sing The Song Of Their People”