Hamsters are great pets, especially for those with limited space or other resources. They are fun playful animals that are fairly easy to keep, and are entertaining to boot. [Kim]’s hamster, [Mr. Fluffbutt], certainly fits this mold as well but [Kim] wanted something a little beyond the confines of the habitat and exercise wheel and decided to send him on a virtual journey every time he goes for a run.
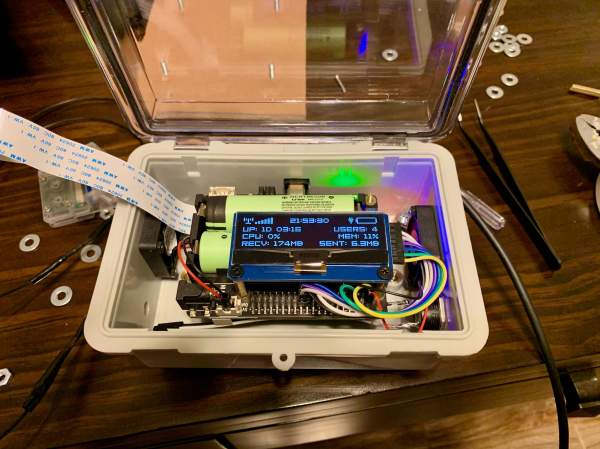
The virtual hamster journey is built on an ESP32 microcontroller which monitors the revolutions of the hamster wheel via a hall effect sensor and magnet. It then extrapolates the distance the hamster has run and sends the data to a Raspberry Pi which hosts a MQTT and Node.js server. From there, it maps out an equivalent route according to a predefined GPX route and updates that information live. The hamster follows the route, in effect, every time it runs on the wheel. [Mr Fluffbutt] has made it from the Netherlands to southeastern Germany so far, well on his way to his ancestral home of Syria.
This project is a great way to add a sort of augmented reality to a pet hamster, in a similar way that we’ve seen self-driving fish tanks. Adding a Google Streetview monitor to the hamster habitat would be an interesting addition as well, but for now we’re satisfied seeing the incredible journey that [Mr Fluffbutt] has been on so far.