Sometimes a hack isn’t about building something cool. Sometimes it’s more tactical, where the right stuff is cobbled together to gather the information needed to make decisions, or just to document some interesting phenomenon.
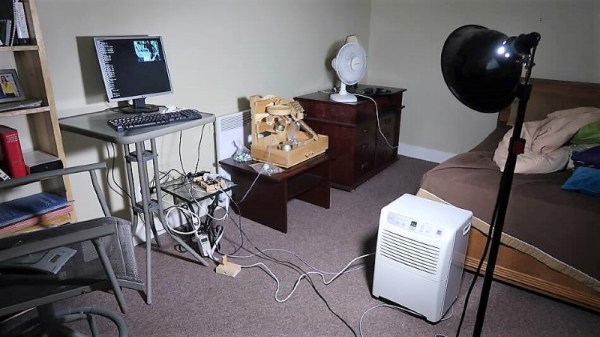
Take this impromptu but thorough exploration of basement humidity undertaken by [Matthias Wandel]. Like most people with finished basements in their homes, [Matthias] finds the humidity objectionable enough to warrant removal. But he’s not one to just throw a dehumidifier down there and forget about it. Seeking data on how well the appliance works, [Matthias] wired a DHT22 temperature/humidity sensor to a spare Raspberry Pi to monitor room conditions, and plugged the dehumidifier into a Kill-A-Watt with a Pi camera trained on the display to capture data on electrical usage.
His results were interesting. The appliance does drop the room’s humidity while raising its temperature, a not unexpected result given the way dehumidifiers work. But there was a curious cyclical spike in humidity, corresponding to the appliance’s regular defrost cycle driving moisture back into the room. And when the dehumidifier was turned off, room humidity gradually increased, suggesting an unknown source of water. The likely culprit: moisture seeping up through the concrete slab, or at least it appeared so after a few more experiments. [Matthias] also compared three different dehumidifiers to find the best one. The video below has all the details.
We always appreciate [Matthias]’ meticulous approach to problems like these, and his field expedient instrumentation. He seems to like his creature comforts, too – remember the target-tracking space heater from a few months back?
Continue reading “Exploring Basement Humidity With A Raspberry Pi”