Climbing is a cool sport. With that said, like everything, it’s even better if you integrate lots of glowing colorful LEDs. To that end, [Superbender] worked up this fun climbing wall that features interactive lighting built right in.
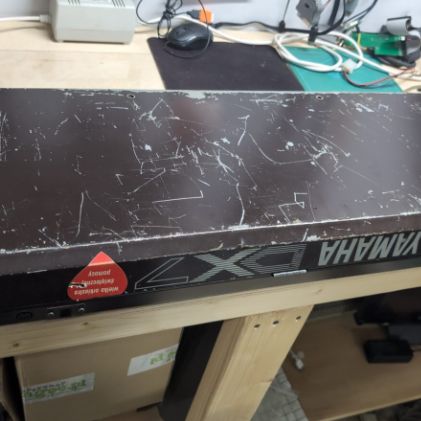
Structurally, there’s nothing too wild going on here. It’s a wood-framed climbing structure that stands 10 meters long and 2.5 meters high, and can be covered in lots of climbing holds. It’s the electronic side of things where it gets fun. An Arduino Due is installed to run the show, hooked up with a small TFT display and some buttons for control. It’s then hooked up to control a whole bunch of LEDs and some buttons which are scattered all across the wall. It’s also paired with an Arduino Nano which runs sound feedback, and a 433 MHz remote for controlling the system at a distance.
[Superbender] uses the lighting for fun interactive games. One example is called Hot Lava, where after each climbing pass, more holds are forbidden until you can’t make the run anymore. Chase the Blues is another fun game, where you have to climb towards a given hold, at which point it moves and you have to scamper to the next one.
We’ve featured similar projects before from other inventive climbers.


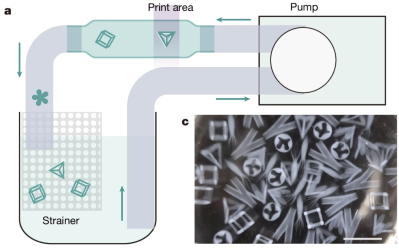 Normal volumetric printing uses a rotating volume of photosensitive resin to print nearly any geometry desired. However, this method presents issues when printing at high speeds. If you rapidly rotate a liquid, it won’t exactly stay still. So why not rotate the projector itself? This change also allows the use of less viscous resins, which is particularly useful if you want to pump fluid around.