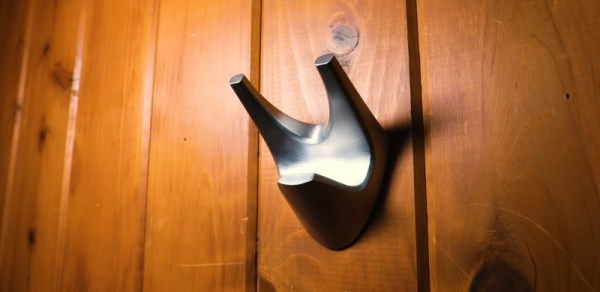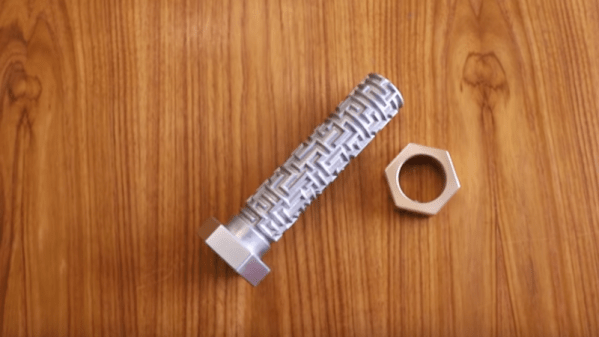
Maze bolts, a bolt which has a maze along its shaft traversed by a pin on its nut, are great fun. Here’s a really beautiful metal version by [Robinson Foundry], made by a process more makers should know about – lost PLA casting.
His basic method is to 3D print in PLA, and then use more or less the same process as lost wax casting.
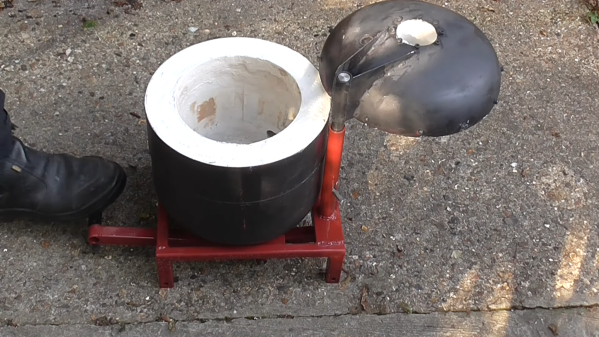
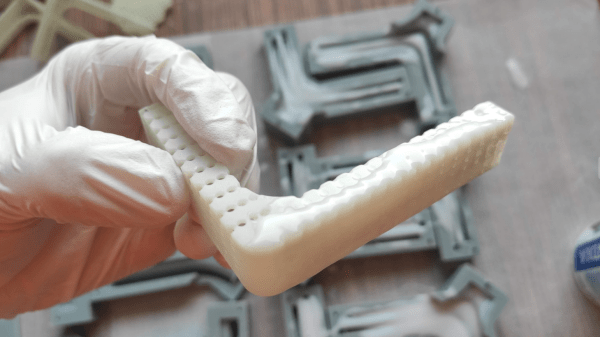
He 3D printed the part, along with the sprues and risers that go along with casting, in PLA, then dipped the parts in slurry ten (10) times. He heated in a kiln to 500°F (260°C), the PLA melted and ran out or burned away. With the PLA gone, after repairing a few cracks, he raised the temperature to 1500°F (815°C) and vitrified the slurry into a ceramic. He now had molds.
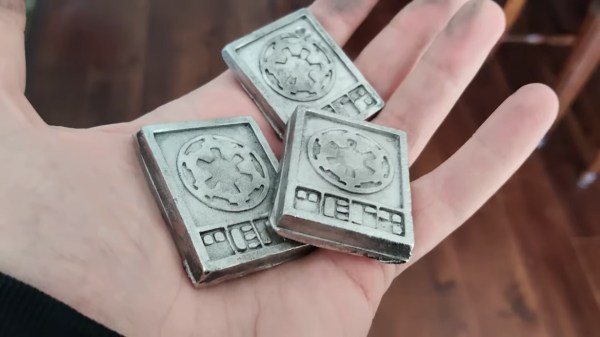
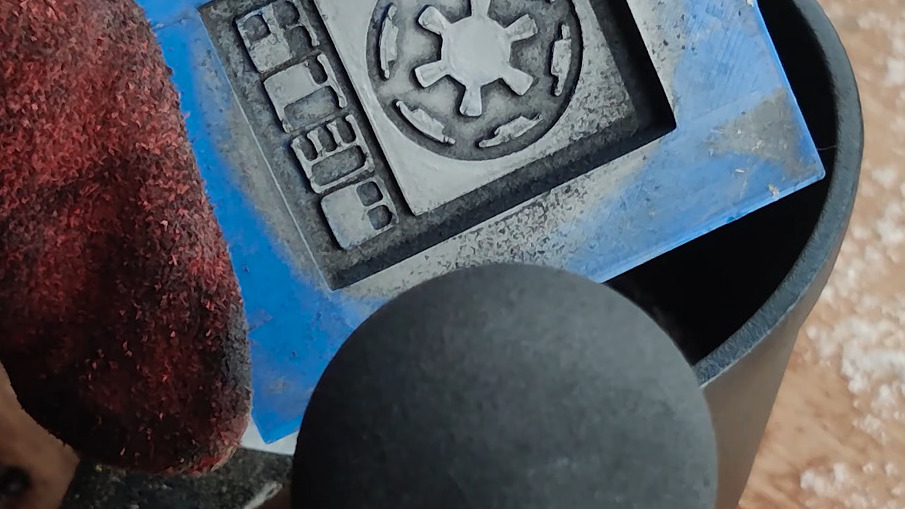
The nut is bronze. The bolt is aluminum. He poured the metal with the molds hot, held in heated sand, so the metal can flow into all the small details. The rest of the project is just cleanup, but we learned that you can vary the finish produced by glass bead blasting just by varying the air pressure.
A great demo of a useful technique and a fun toy at the end.
We covered a great technique for doing lost PLA casting using a microwave.


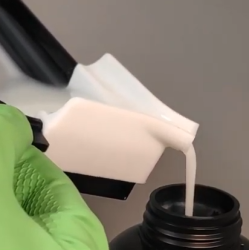 The parts [Jan] is making are interesting, as well. He observed that the process of swapping resin in his printer’s build tank was an unpleasant experience for a number of reasons, chief among them being that resin is sticky and messy, and the shape of the build tank doesn’t make pouring resin from it a clean job.