[Jason Gin] recently wrote in to tell us about his adventures replacing the eMMC storage chip on a cheap Windows tablet, and we have to say, it’s an impressive amount of work for a device which apparently only cost him $15. Surely much better pieces of hardware have been tossed in the trash for less serious failures than what ailed his DigiLand DL801W tablet. We’d love to see the lengths this guy would go to restore something a bit higher up the food chain.
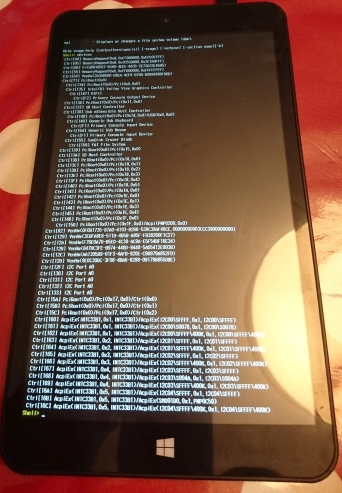
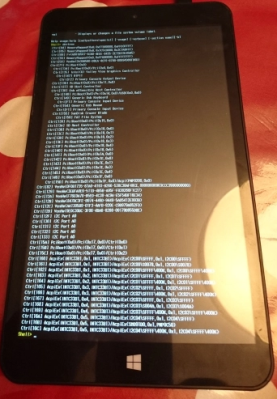 As any good hacker knows, you can’t fix the problem until you understand it. So the first step [Jason] took was to conduct some troubleshooting. The tablet would only boot to the EFI shell, which didn’t do him much good since there was no on-screen keyboard to interact with it. But he had the idea of trying to connect a USB keyboard via an OTG adapter, and sure enough that got him in. Once he was able to enter commands into the EFI shell, he attempted to read from a few different sectors of the eMMC drive, only to get the same nonsense repeating data. So far, not looking good.
But before he fully committed to replacing the eMMC drive, he wanted a second opinion. Using the same USB OTG adapter, he was able to boot the tablet into a Windows 10 environment, and from there got access to some drive diagnostic tools. The software reported that not only was the drive reporting to be half the appropriate size, but that writing to the chip was impossible.
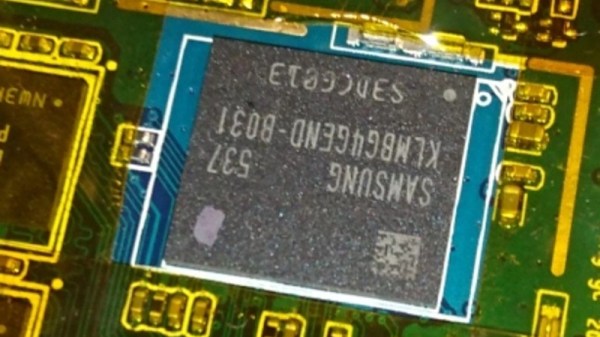
With the fate of the tablet’s Foresee NCEMBS99-16G eMMC chip now confirmed, [Jason] decided it was time to operate. After pulling the tablet apart and masking off the PCB with Kapton tape to protect it from the heat, he slowly went in with his hot air rework station to remove the failed chip. But rather than put another low-end chip in its place, he used this opportunity to replace it with a Samsung KLMBG4GEND-B031. Not only does this chip have twice the capacity of the original, it should be noticeably faster.
With the new Samsung eMMC chip installed, [Jason] put the tablet back together and was able to successfully install Windows 10 onto it. Another piece of tech saved from the big landfill in the sky.
If the casual confidence of this particular repair wasn’t enough of a clue, this isn’t the first time he’s showed some unruly eMMC chips who’s boss.
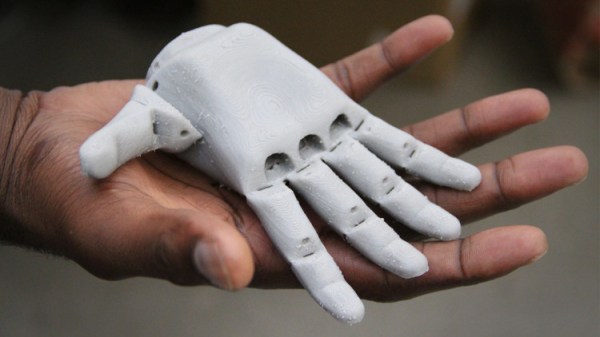
 We first came to learn about this company through a tipster [Dj Biohazard] who pointed to a post about their partnership with an 11-year-old Tilly, who is pictured on the left. Her bionic hand is an Open Bionics prototype whose design is based on the video game, Deus Ex. The best way products like these are improved are through the open source community and people like her.