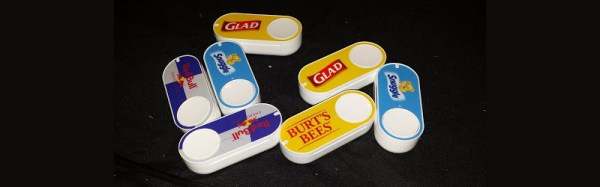
Most Hackaday readers are familiar with the Amazon Dash button even if it has not yet made an appearance in their country or region. A WiFi enabled button emblazoned with a product logo, that triggers an Amazon order for that product when you press it. Stick it on your washing machine, press the button when you run out of laundry soap, and as if by magic some laundry soap appears. You still have to get out of your armchair to collect the soap from the delivery guy, but maybe they’re working on that problem too.
Of course the embedded computer concealed within the Dash button has been the subject of much interest within our community, and quite a few creative uses have been made of repurposed and reverse engineered examples.
Earlier this year a new Dash button model appeared. Largely similar on the outside, but sporting a comprehensive hardware update internally. Gone is the STM32 processor to be replaced by an Atmel part, and unfortunately since they also made changes to its communication protocol, gone also are most of the hacks for the device.
[Evan Allen] writes to us with his work on bending the new Dash button to his will. He goes into detail on the subject of retrieving their MAC addresses, and modifications to existing hacks to allow the buttons to be intercepted/redirected to trigger his MQTT server. It’s not by any means the end of the story and we’re sure we’ll see more accomplished uses of the new Dash button in due course, but it’s a start.
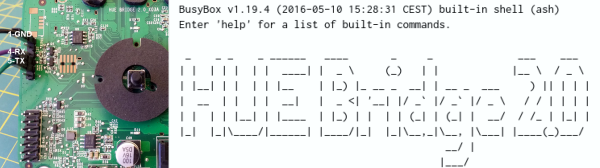
If the new button’s hardware interests you then [Matthew Petroff]’s teardown is definitely worth a look. As well as the Atmel chips — discovered to be a ATSAMG55J19A-MU with an ATWINC1500B wireless chip — the buttons now support power from a AA cell, and boast a significantly reduced power consumption. We really, really, need to pwn this tasty new hardware!
We’ve covered quite a few Dash button hacks before, from simply capturing button presses to cracking it wide open and running your own code. Let’s hope this new version will prove to be as versatile.