There’s nothing that adds more time to building or repairing something than having to walk back and forth to grab the right tool for the job. “Wait, was that a 15/16 inch socket I needed? Nope it’s a 3/4 inch! Rats!”
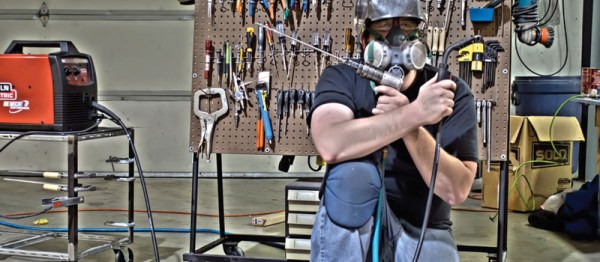
[Brad Justinen] shares his solution to the problem in this very simple, but well documented tutorial on Instructables. He welded up a metal A-frame, then simply added pegboard to the sides and casters to the bottom. Our first thought was if something like this could be made out of lumber for a bit more of a DIY approach, but if you’ve ever moved a tool box full of tools, you know how their weight really adds up fast. So perhaps it might be best to bribe your welder-owning friend with a 12 pack of his or her favorite adult beverage.
If you haven’t used pegboard for organizing tools, it really can be a wonderful solution to getting organized. Pegboard has many more uses as well. Check out this pegboard cable organizer, or this modular soldering platform.


![[Source: Wikipedia]](https://hackaday.com/wp-content/uploads/2015/08/350px-standing_wave_2.gif)