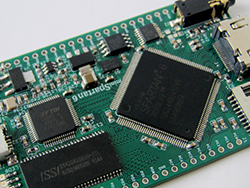
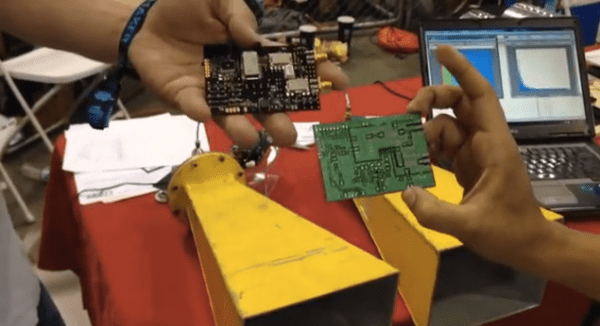
There have been quite a few boards put out in recent months with an FPGA, some RAM, Flash, and a bunch of I/O, the working theory being FPGAs are the new hotness, ready to steal the crown from Arduino and put a programmable logic development board in the hands of millions. We’re not so sure that’s going to happen. but Scarab Hardware’s miniSpartan6+ board does look pretty nice, and has more than enough on board to serve as anyone’s first FPGA platform. It’s also one of the first FPGA boards we’ve seen that is breadboard friendly. Nice touch.
This tiny board features a Spartan6 LX9 FPGA, with just under 10,000 logic cells. An FPGA platform is useless without some sort of IDE, so the Scarab Hardware folks have taken the Mojo IDE, improved the GUI, added a few libraries, and rolled everything up into a ‘not the Arduino IDE, but as simple and better’ platform.
Right now, the crowdfunding campaign for the miniSpartan6+ is well over 200% funded with a little less than a month to go. The stretch goals the team have in mind – a very likely probability, given what they’re asking – include a faster FPGA, a higher resolution ADC, and support for HDMI input and output. That last bit – HDMI input – will allow anyone to do some cool things like overlaying video with HDMI for a pretty reasonable cost.
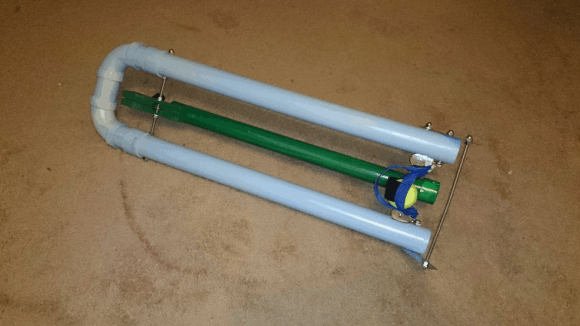
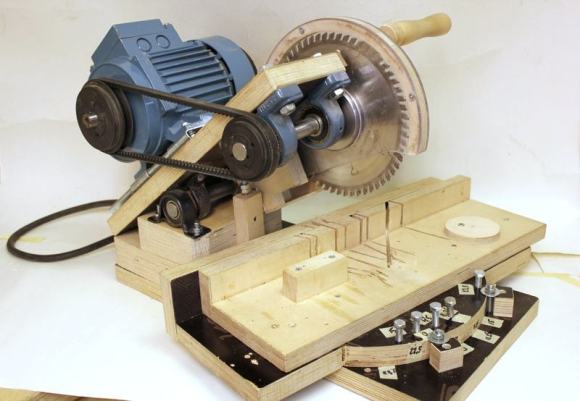
 Most of the saw is made from plywood. The hinge and supports for the arbor are beefy off-the-shelf pillow blocks. A 3-phase motor with speed control transmits power to the arbor via a belt. Belt tension is adjusted by sliding the motor further back along the motor mount base. [Pekka] took care so that the entire pivoting assembly was nearly balanced adding to the ease of use.Typical miter saws rotate the blade to achieve different angles of cuts. This design rotates the saw fence.
 The heart of the DSP-G1 is a micro from NXP modeling an analog synthesizer with 15 digitally controlled oscillators with Sine, Triangle, Pulse and Saw outputs, a low frequency oscillator, two envelope filters, and a low pass filter, or about the same accouterments you would find in a MiniMoog or other vintage synth from the 70s. Since this is basically a synth on an NXP LPC-810, [Jan] has packaged it in something akin to a MIDI to 3.5mm cable adapter: Plug a MIDI keyboard into one end, an amp into the other, and you have a synth smaller than the


