We’ve seen BarBots that will automagically pour you a drink, but how about one with RFID? How about one with Facebook integration, so your friends know how much of a lush you are? Wait. Facebook already tells them that. Huh.
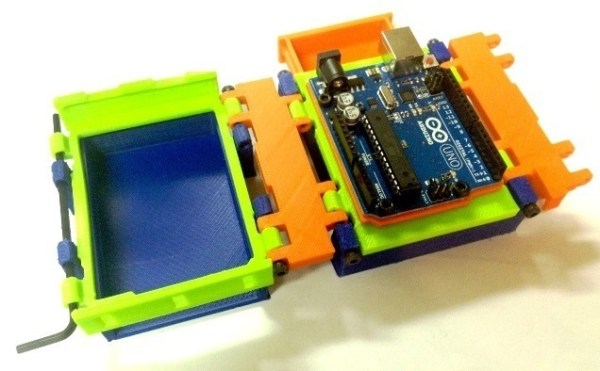
[Andy] and [Daniel]’s latest build follows on the heels of a lot of similar cocktail bots; an Arduino controls a few solenoid valves connected to a CO2 supply and a few bottles of liquor and mixers that allow drinks to be dispensed at the push of the button. Where this project gets interesting is its use of RFID and Facebook.
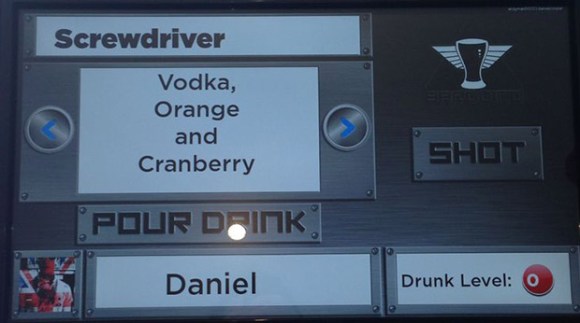
The user interface was coded for Windows 7, with an RFID tag (ostensibly issued to each guest) allowing a unique login that checks an SQL server to see what privileges the user has. The app pulls the user’s Facebook profile photo down and displays it in the corner of the screen, and with the server keeping track of how many drinks (and of what kind) they had, with the right permissions it should be possible to post that info to their wall. Because we all know what you did last night, even if you don’t.

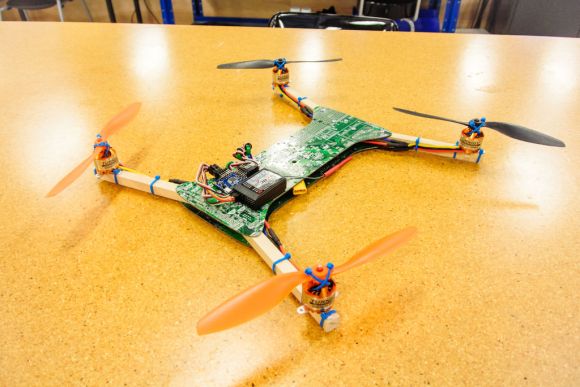
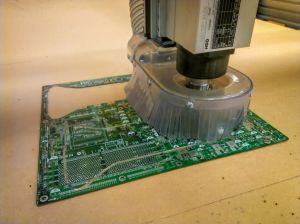 Clean PCBs in hand, [Eric] headed to his local TechShop. He drew his dead cat style frame in SolidWorks and cut it out on a ShopBot. While a high-end CNC cutter is nice, it’s not absolutely necessary. The fiberglass sheets could be cut with a rotary tool or a jigsaw. No matter how you cut it, be sure to wear a mask rated for fiberglass resins and some protective clothing. Fiberglass plate is nasty stuff to cut.
 [Alica] and [Jerika] are seniors in the Digital Culture program at Arizona State University and for their capstone, the wanted to take something that is traditionally male dominated and make it more female friendly. They chose e-textiles, which are most commonly extremely avant garde and nearly unapproachable with a lot of LEDs and zany mechanisms. Their initial designs reflected this, with multiple LED strips and huge shoulder pads. Then they discovered Flexinol shape memory actuator wire,