Adafruit Industries just posted the first episode in a new educational series aimed at teaching kids about electronics. The episode is entitled “A is for Ampere” and teaches the basic theory behind electrical current. The subject seems like a common one for A-to-Z themed electrical tutorials. [Jeri Ellsworth] did a similar episode but hers is aimed more at the electronics hobby crowd.
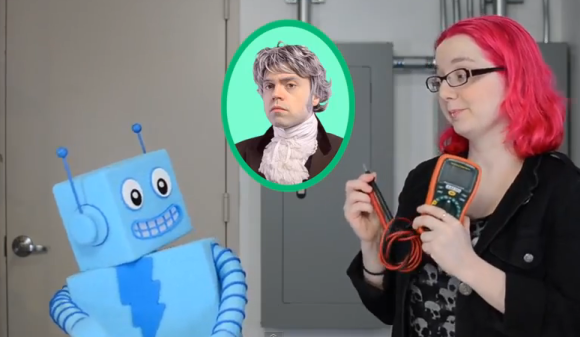
[Limor] and gang (that’s [Collin Cunningham] dressed up as [Andre-Marie Ampere]) seem to be all-in on this project. The episode features ADABOT, the blue puppet which takes on the role of the student in this episode. After demonstrating a mains circuit breaker tripping the episode goes on to discuss electron flow and how current is measured.
We’re all about this type of educational opportunity. The age group at which this series is targeted have never known a day without touchscreens, they should know at least something about how those devices actually work.
Continue reading “Adafruit Launches Educational Show Aimed At Kids”