When home consoles go mobile, whether in the form of modded original hardware or emulation, they usually take a pretty standard shape. A screen in the middle, with buttons either on the sides or below it. Basically the same layout Nintendo popularized with born-handheld systems such as the Game & Watch series and original Game Boy. Like the saying goes, if it ain’t broke…
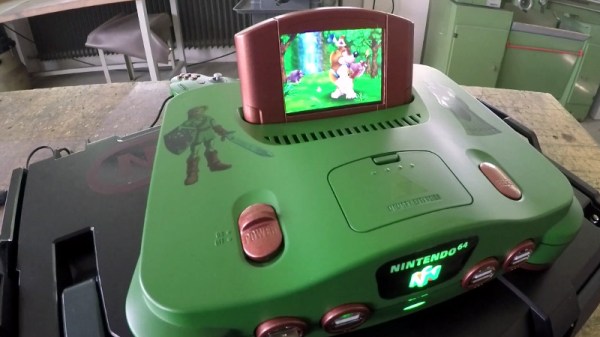
 But [Le Nerdarto] had a different idea. He came across a broken N64 and wanted to turn it into a portable console, but not necessarily a handheld one. Noticing the cartridge was about the perfect size to contain a small LCD and in an ideal position, he set out to make what is arguably the most literal interpretation of “portable N64” we’ve ever seen. It might not be the most practical iteration of this concept, but it definitely gets extra points for style.
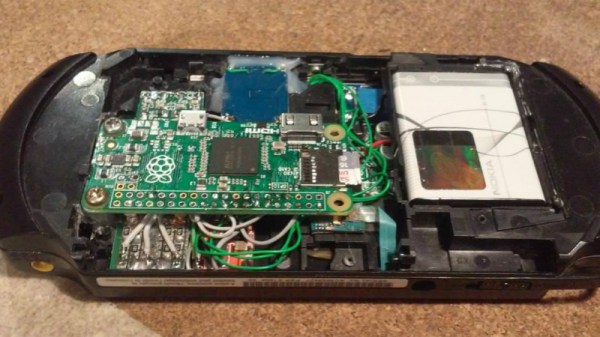
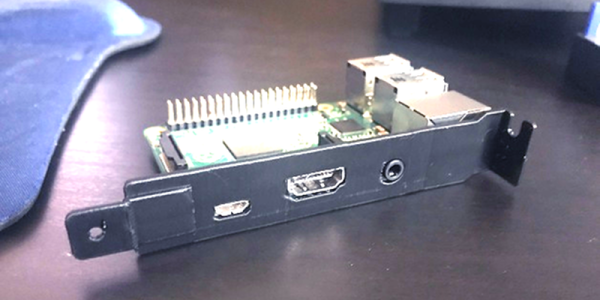
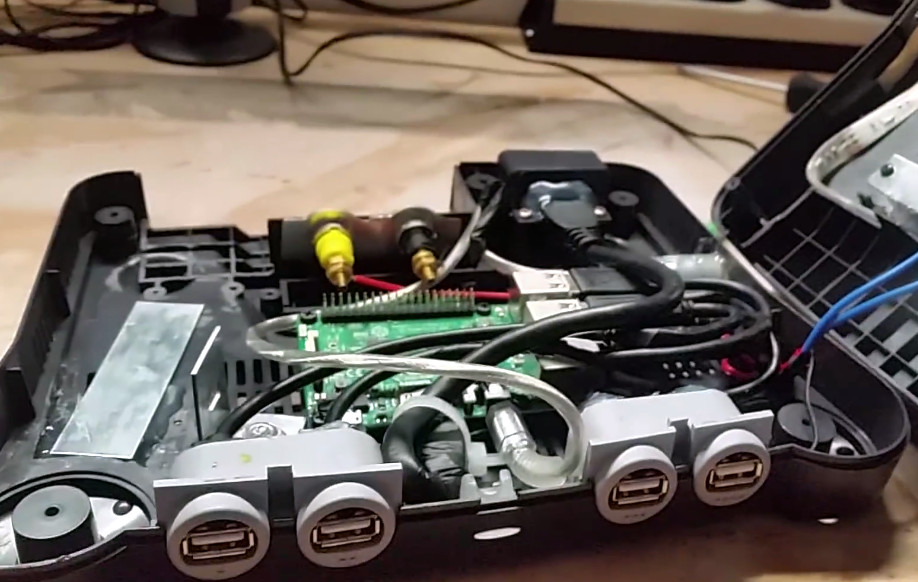
After he stripped the N64 of its original hardware, he installed a Raspberry Pi 3 and an RC battery eliminator circuit (BEC) to get 5V out of the internal 6200 mAh 7.4V battery. [Le Nerdarto] says this provides power for the Pi, the LCD, and the various lighting systems for up to 10 hours. He’s also added USB ports in the front of the system for controllers, and an HDMI port on the back so he can still connect the system up to a TV when not on the move.
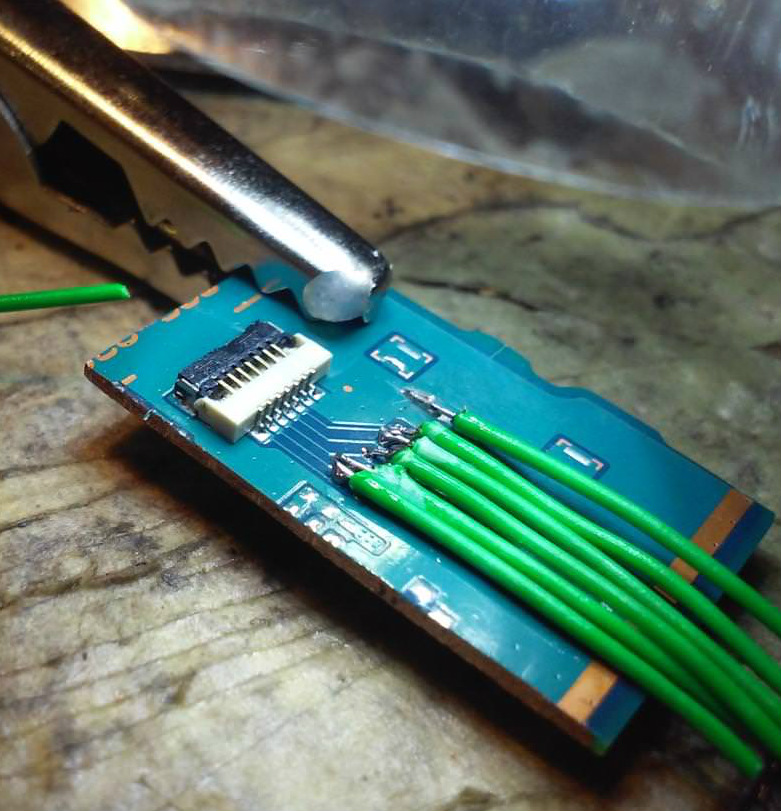
The 3.5 inch LCD in the cartridge is arguably the centerpiece of the build, and while it might be on the small side, we can’t deny it’s a clever idea. [Le Nerdarto] had the good sense to tilt the it back a few degrees to put the display at a more comfortable angle, but otherwise it looks stock since he was able to fit everything in without cutting the back of his donor cartridge out. For those who might be wondering, the “cartridge” can’t be removed, but we’ll admit that would have been a killer feature to add especially with the HDMI port on the back.
Of course, since it’s running emulators on a Raspberry Pi, this isn’t only a portable N64. The front mounted USB ports allow him to plug in all sorts of controllers and emulate classics from pretty much any console that’s older than the N64 itself. Ironically the Raspberry Pi 3 isn’t exactly an ideal choice for N64 emulation, but a good chunk of titles are at least playable.
If you’re more of a purist and want a true portable N64, we’ve covered plenty of those over the years to get you inspired.
Continue reading “A New Take On Building A Portable N64” →


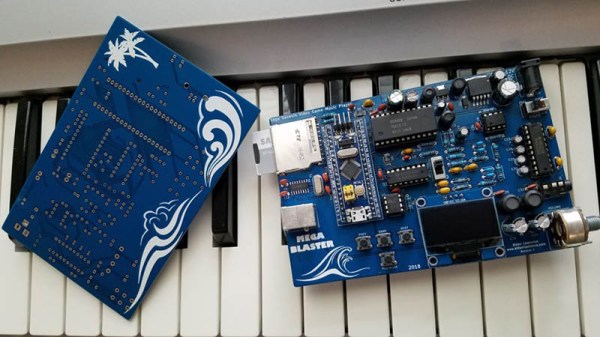
 We’re old-school hardware hackers here, and when you think about building your own drum machine, there’s really nothing more impressive than building one out of an Atari 2600.