Building A Very Low Power, Full Featured Desktop

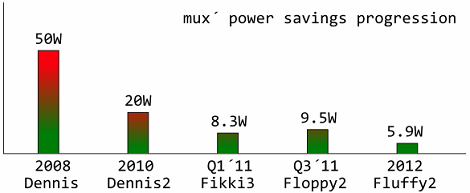
For a few years now, [mux] has been playing around with extremely efficient computation. In 2010, he built a fully featured MiniITX / Core 2 duo computer that only consumed 20 watts. Last year, [mux] managed to build an Intel i3-powered desktop that was able to sip a mere 8.3 watts at idle. He’s back at it again, and now his sights are set on a fully featured Intel i5-powered build with a built-in monitor that will draw less than 6 watts of power.

Like his previous 8 watt i3 build, [mux] reduces the power requirement of his build by carefully measuring the power draw of every component on his board. The power savings come from a simple fact of any power supply; when converting from AC to DC, or from one DC voltage to another, there’s always a little bit of power lost in the process.

[mux] reduces these power losses by removing a few voltage regulators and re-routing power lines across his motherboard. So far, the power draw on [mux]’s computer is more than half of what it was when the parts were stock, and we can’t wait for the finished build that includes a built-in monitor, UPS, and a proper case.
Hacking A Floating RGB LED Decorative Ball

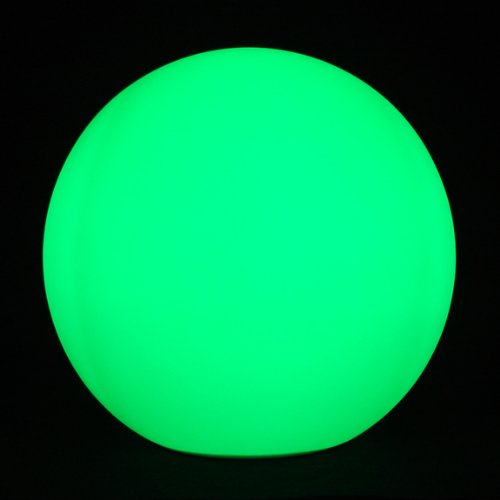
Knowing that I’m always happy to get something new and glowy, my wife brought home a cheap “floating pool light” that she found on sale for roughly $10. This is a large white floating ball that has LEDs inside and cycles through different colors. Meant to be put into a pool for neat effects, we found it to be much more interesting just used around the house.

However, it was a bit too bright and cycled colors too quickly for our taste. It was actually somewhat distracting when we were just trying to sit and have a few beers late at night on our patio. This gave me a perfect excuse to tear it apart and start hacking… like I wasn’t going to do that anyway.

What I found inside was extremely simple. There’s a single un-marked chip that holds the different display modes (there were 3 display modes: warm, cool, and white). The LEDs were arranged in an array of Reds, Blues, Greens, and Whites (half marked yellow).

Continue reading “Hacking A Floating RGB LED Decorative Ball”

Le-GoKART; A GoKart Built Entirely From Lego

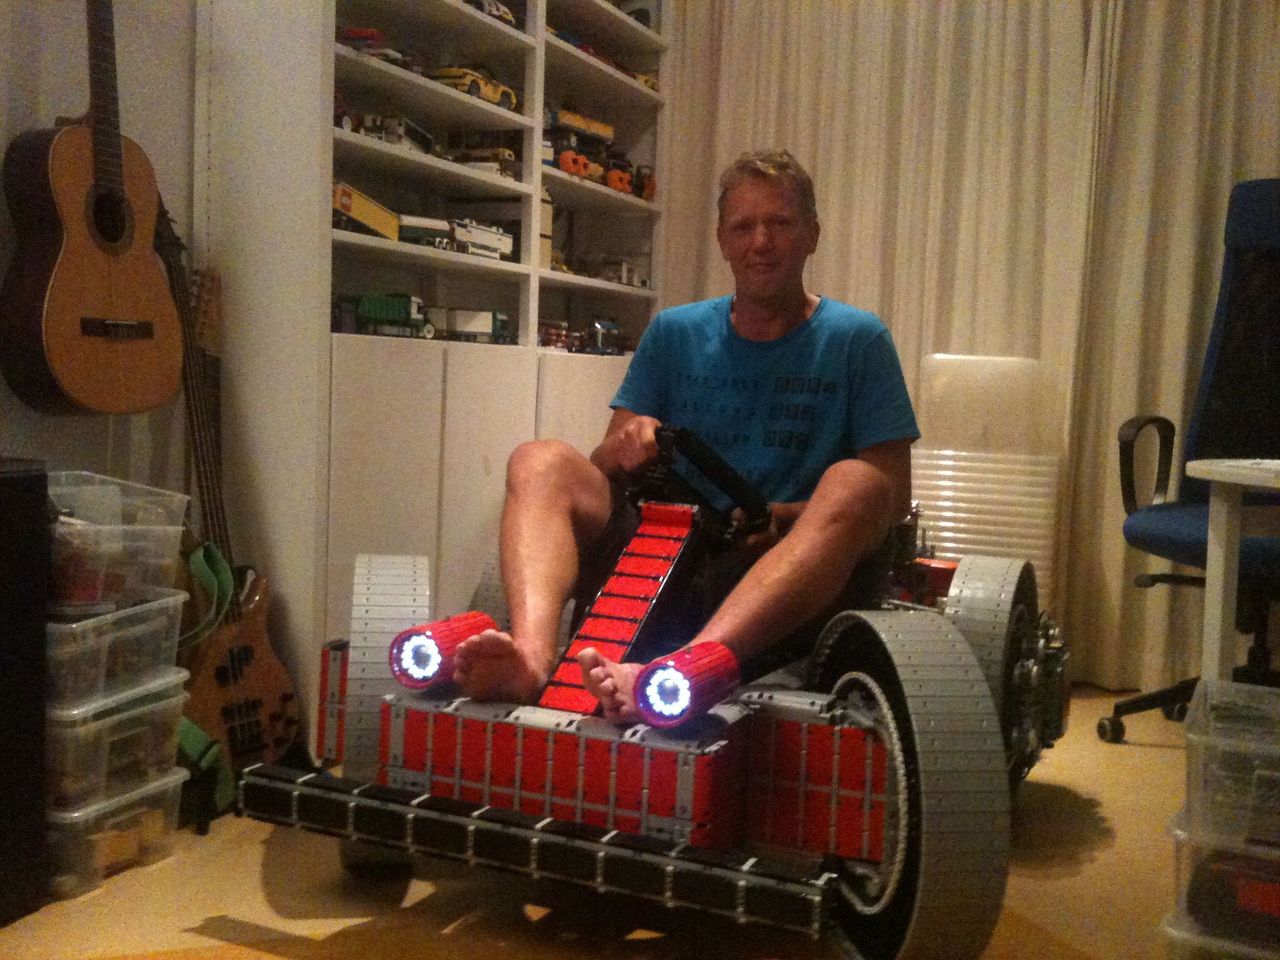
[Eric Steenstra], from the Netherlands, decided to build a GoKart entirely from LEGO Mindstorm parts. Tested at being able to carry just over 100Kg in weight, a 16 stone man(224 lbs). This GoKart can easily carry a child and propel him along. Eric used 48 stock Mindstorm motors, geared down,  and 16 battery packs to provide a balance between torque and speed.

This vehicle doesn’t expect to win any races in the speed department. From the point of view of being something different this wins hands down. The Karts first test drive was only two weeks ago so drivability and durability are still under development at this stage.  See the video after the break on this monstrous Mindstorms creation.

via[Make]

Continue reading “Le-GoKART; A GoKart Built Entirely From Lego”

A Fifty-dollar Projection Screen You Can Be Proud Of

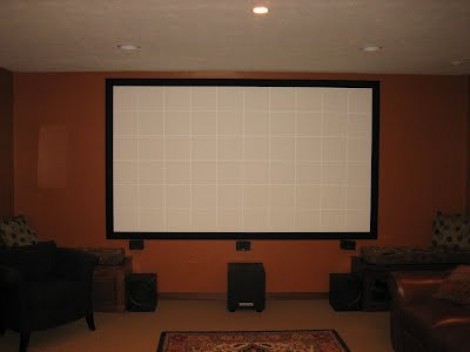
[Lou] wrote in to share the fifty-dollar projection screen he built in his home. We’ve seen several of these projects lately. Unlike the one used at a lake cabin, or the other that fills an awkward alcove, this version doesn’t use fabric for the screen. He actually painted it right on the wall.

The key to achieving a great end product is to make sure your wall is flat. [Lou’s] instructional video (embedded after the break) shows how to patch holes in the wall, and repair high spots. Before beginning the process he uses his projector’s grid feature to map out the portion of the wall that will be used as a viewing area (that’s the grid seen on the screen above). Once the area has been marked with masking tape and carefully repaired he paints it with bright white or silver paint. You might also consider a paint additive for better results. We’ve seen sand blasting beads used for this purpose.

A frame is added to the area to make it look like a proper screen. This is nothing more than molding covered in black fabric. [Lou] stretches the fabric around the molding, using duct tape to hold it in place until it can be stapled down.

Continue reading “A Fifty-dollar Projection Screen You Can Be Proud Of”

Building The Best Homebrew Computer Ever

A few days ago when I posted a homebrew Motorola 68000 computer spectacular, I briefly mentioned a truly spectacular homebrew computer built by [Simon Ferber]. When I posted a link to a Youtube demo of his 68k board, he was working on a website to document the architecture  design, hardware, and software. That website is now up (cache if you need it) and now we can all get a good look at the best homebrew computer ever built.

Built around the 68008 CPU – slightly less capable than the 68000 found in the original Macs, Amigas, and the TI-89 – [Simon]’s Kiwi computer has peripherals out the wazoo. A Yamaha V9990 Video Display Processor provides a 640×480 display with 32k colors. Two SID chips taken from a Commodore 64 provide stereo chiptune audio, and a floppy disk controller, IDE/ATA bus, and CS8900A Ethernet controller provide all the practical functionality you’d expect from an awesome computer.

On the software side of things, [Simon] is running Enhanced Basic 68k, but of course he can’t just use BASIC to fiddle around with all the cool chips on the Kiwi. With that in mind, he came up with a C-based toolchain that included porting libc to the Kiwi.

Like any good homebrew computer project, all the schematics, a bit of code, and a BOM are provided. [Simon] is currently working on (slightly) redesigning the PCB layout of the Kiwi, and we’ll be happy to see those files released. Anyone up for a Kiwi PCB group buy?

Beautifully Crafted Geiger Counter A Must If You Live In A Hot Zone

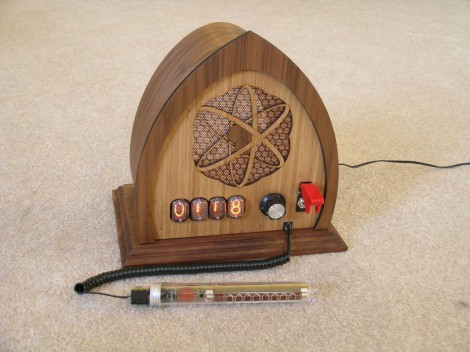
Have a little class when you’re screening for radioactive particles. You can follow the example which [Moustachenator] has set with this gorgeous Geiger counter case.

The business end includes the same Geiger tube we see in all of these projects, but he took the time to solder together a tidy circuit board and housed it in an acrylic tube. it connects to the base unit using a springy telephone handset cord. The laser cut walnut enclosure offers plenty of room for the ATX power supply hidden inside. This feeds the Arduino which runs the system, and provides a powerful source for the Nixie tubes which serve as the display. The attention to detail when it came time to assemble the case is what lends an antique look to the project, even though everything was built from the ground up. Check out the video after the break to see a brief demonstration.

Continue reading “Beautifully Crafted Geiger Counter A Must If You Live In A Hot Zone”

Rotary And Cordless Phones Mashup

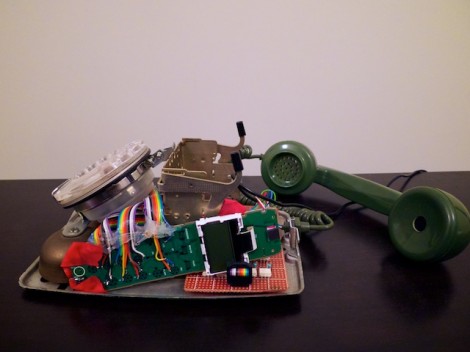
This pile of hardware marries telecommunications hardware from distinctly different generations. [Andrew D. Farquharson] wanted the retro look and operation of a rotary phone, with the convenience of a modern cordless. He combined the two technologies to achieve his goal.

The first problem was to find a way to translate the rotary inputs to something he could use. There are already a bunch of projects that use rotary hardware so he didn’t have to reinvent the wheel. He followed this guide to connecting Arduino to a rotary phone.

The next step was to interface with his cordless phone. He ditched the case and soldered rainbow ribbon cable to the entire button matrix. An opto-isolator is used to protect the Arduino while making each connection. Finally, he patched into the mechanism which monitors the cradle to see if the handset has been picked up. It sounds like his code lets you enter the number on the dial, then pick up the handset to actual transmit it through the cordless phone.