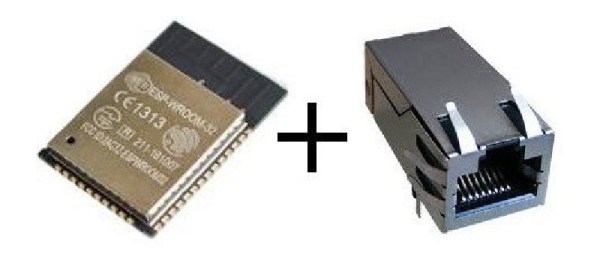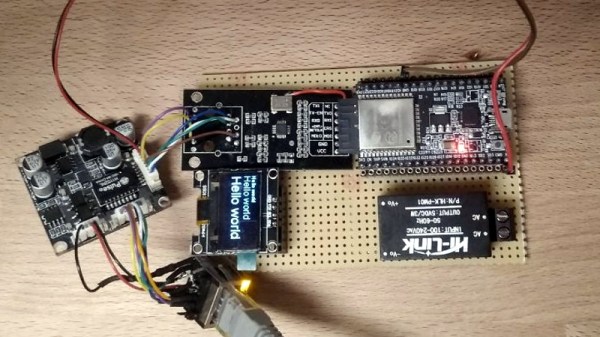
While most projects we see with the ESP32 make use of its considerable wireless capabilities, the chip can be connected to the wired network easily enough should you have the desire to do so. [Steve] liked the idea of putting his ESP32s on the wired network, but found the need for a secondary power connection burdensome. So he took it upon himself to modify some cheap Power Over Ethernet (PoE) hardware and create a single-cable solution (Google Translate).
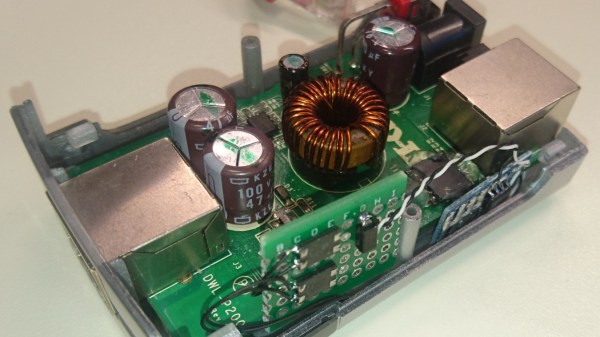
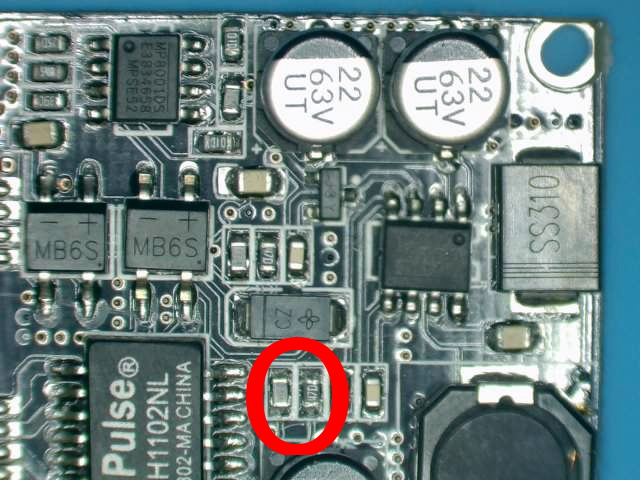 [Steve] bought a PoE module intended for security cameras and ran a close eye over the board to figure out what kind of hardware it was using to generate the nominal 12 V output. He identified an MP2494 step-down converter, and with the datasheet in hand found how the output voltage is configured by changing the values of resistors in the circuit. Swapping out the stock 21.5 kΩ resistor for a 57.1 kΩ one changed the output of the converter to the 5 V necessary for his electronics.
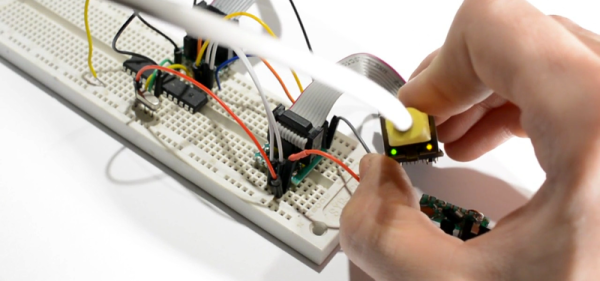
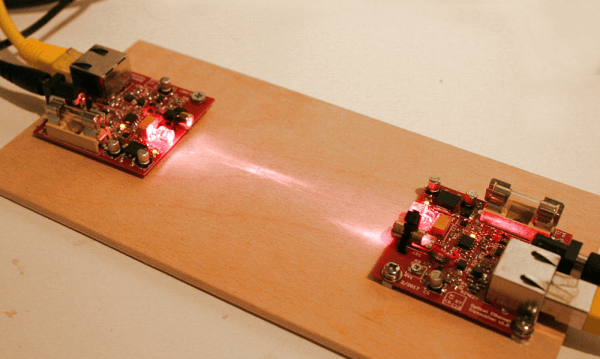
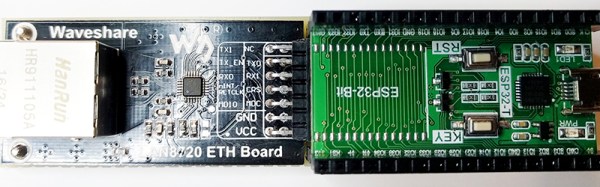
But of course that was only half of the problem solved; he still had to connect the Ethernet side of the PoE device to the Waveshare LAN8720 board that’s providing Ethernet for the ESP32. So he removed the RJ45 jack from the LAN8720 completely, and wired that directly to the connector on the PoE board. Helpfully, the PoE board had all the pins labeled on the bottom side so this wasn’t nearly as tricky to figure out as you might expect (if only it was always that easy).
We’ve previously covered the Waveshare LAN8720 board for anyone who’s interested in the ins and outs of getting their ESP32 talking Ethernet. If you’re wondering how you can put PoE to work for you, our very own [Jonathan Bennett] has been showing off his home Raspberry Pi infrastructure which makes extensive use of the new PoE hat.