[Hack Club] is a group that aims to teach teenagers about tech by involving them in open-source projects. One of the group’s latest efforts is Sprig, an open-source handheld game console, and [Hack Club] has even been giving them away!
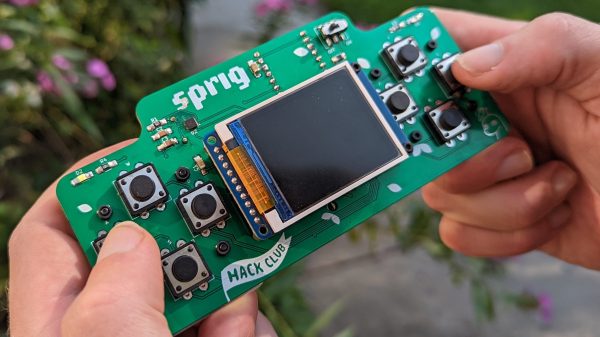
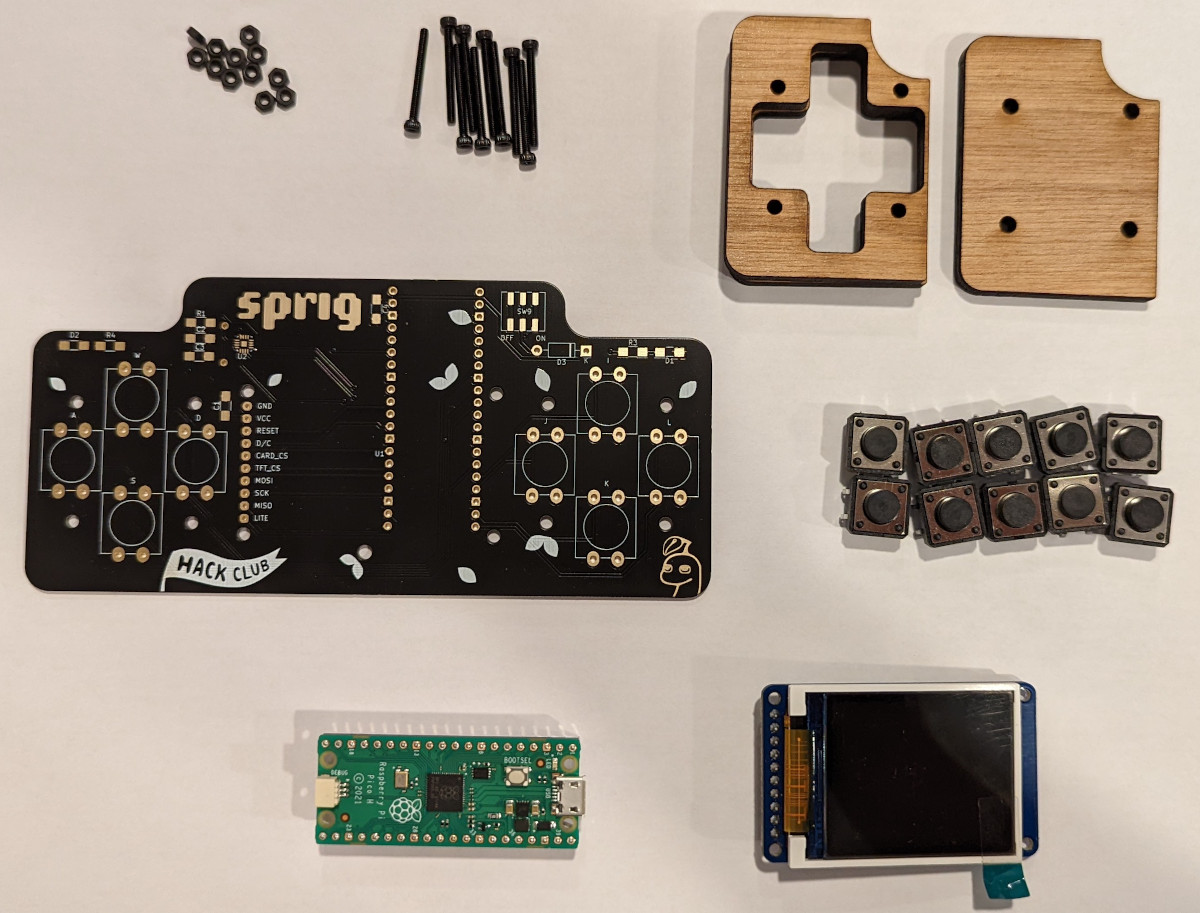 The console is based around a Raspberry Pi Pico, paired up with a TFT7735 screen. There’s also a MAX98357A audio amp on board to provide sound. Other than that, there’s a full ten buttons for control, some LEDs for feedback, and it’s all assembled on a custom PCB designed for easy soldering.
Plenty of work has been done to make Sprig an accessible platform for first-time developers. Games can be created for Sprig and run either on the device, or in an online web-based editor. [Hack Club] is even running a program that will give Sprig hardware away to kids and teens worldwide who write a game for the platform and submit it to the online gallery.
If you’re eager to get into game development while understanding both the hardware and software side of things, Sprig might be just what you’re looking for. With today’s microcontrollers being so cheap and so powerful, we’ve seen some other great handheld designs recently, too!