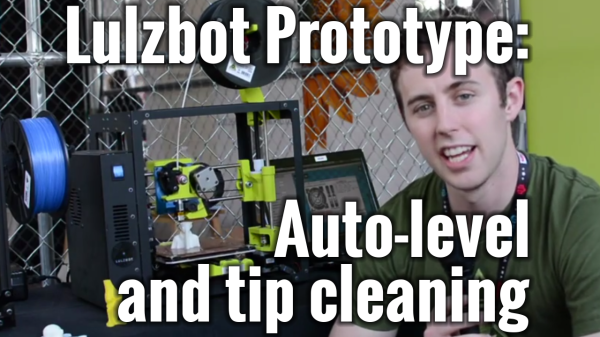
Lulzbot, or more specifically Aleph Objects, had a booth at Maker Faire this year, and unlike a lot of other 3D printer manufacturers they’re not afraid to show off what they currently have in development. The latest is code-named Begonia, although when it makes it to production it will probably be called the Lulzbot Mini. It’s a smaller version of their huge Taz 3D printer that trades build volume for a lower price.
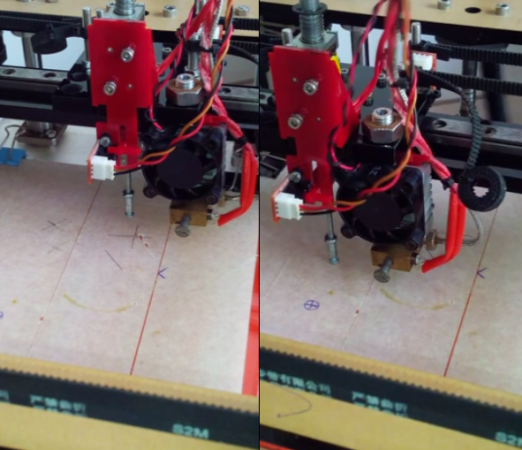
The Lulzbot Mini will have a 6x6x6 inch build volume, heated bed, and all the other features you would expect in its larger counterpart. One interesting feature is automated nozzle cleaning and bed leveling. At the start of every print run, the nozzle runs over a small felt pad at the back of the build plate, touches off four metal washers at each corner, and recalculates the GCode for a level print. You can check out a demo of that in the video above.
Also in the works in the Lulzbot labs is a controller panel with an SD card, display, and (I think) a touch interface. Lulzbot didn’t have a demo of this, but rest assured, we’ll post something on that when it’s released. The last time we saw Lulzbot we heard of a 3D scanner project they’re working on that will turn any physical object into an .STL file, without having to mess about in Meshlab. Development on this project is stalled, but that is a very difficult problem. Can’t fault them for that.
Oh, the price for the unannounced Lulzbot Mini? Somewhere around $1300-1400.
Continue reading “Lulzbot & Lime Green Begonias” →