Over the last couple of years, we’ve seen massive price reductions on consumer 3D printers based on masked stereolithography (MSLA) technology. As the name implies, these machines use a standard LCD panel to selectively mask off the ultraviolet light coming from an array of LEDs. Add in a motorized Z stage, and you’ve got a simple and cheap way of coaxing UV resin into three dimensional shapes. These days, $200 USD can get you a turn-key MSLA printer with resolution far beyond the capabilities of filament-based FDM machines.
But [JD] still thinks we can do better. His project aims to produce a fully-functional MSLA printer for $30, and perhaps as low as $15 if manufactured in sufficient quality. He believes that by making high-resolution 3D printing more accessible, it will allow users all over the globe to bring their ideas to life. It’s no wonder he’s calling his machine the Inspire 3D Printer.
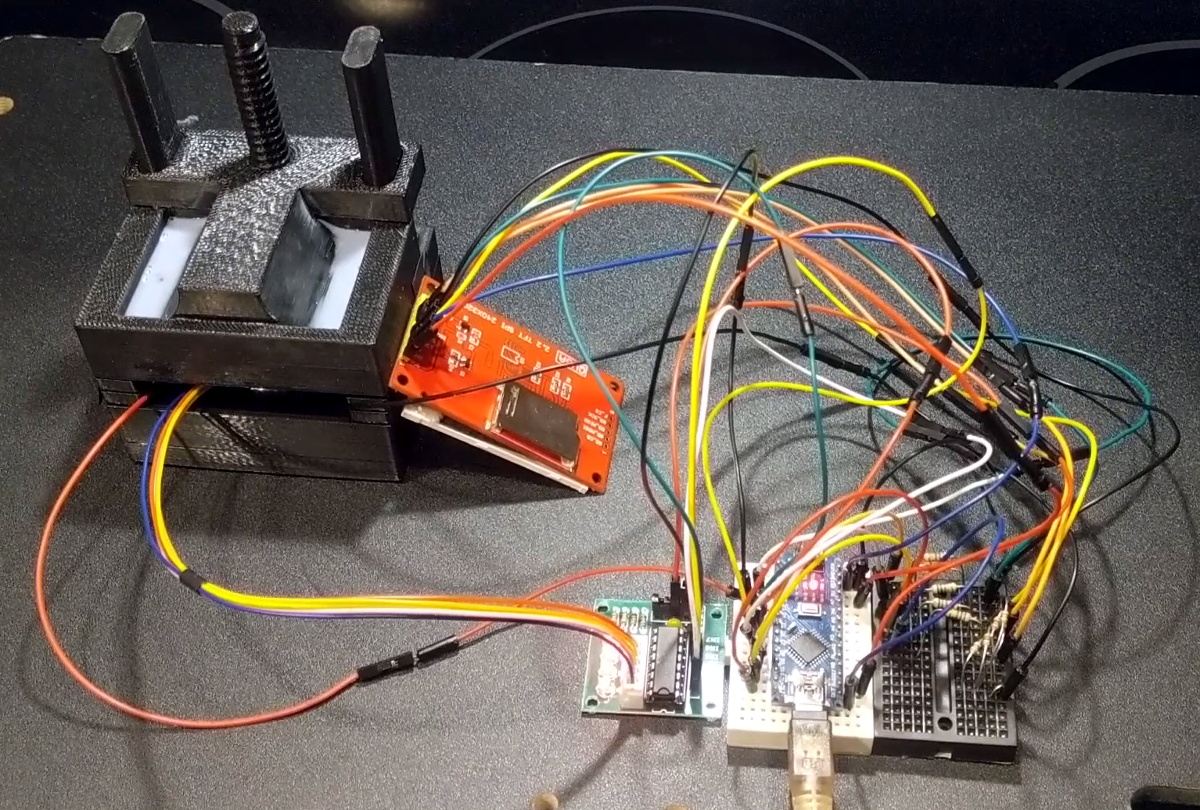
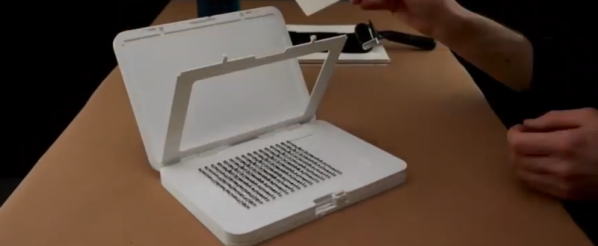
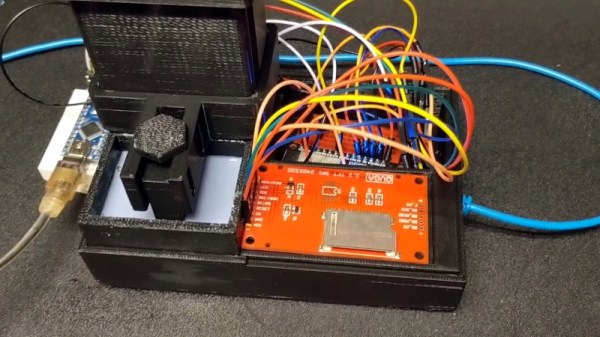
This isn’t just some pie in the sky concept rolling around in [JD]’s head, either. You can order the Inspire Development Kit right now for just $30, though he makes it clear what you’ll receive isn’t quite a functional MSLA printer. By leveraging a common LCD module, the ESP32, and several 3D printed parts, he’s proven his price point for the kit is achievable; but there’s still plenty of work that needs to be done before the machine is ready for the general public.
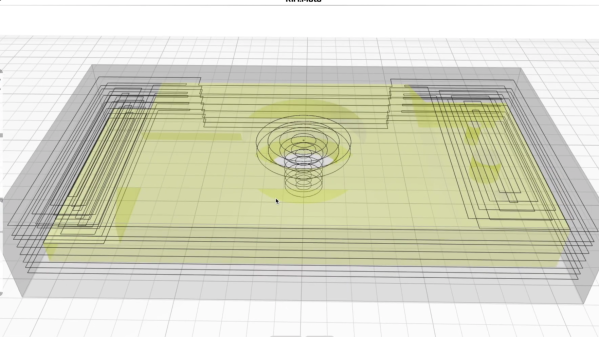
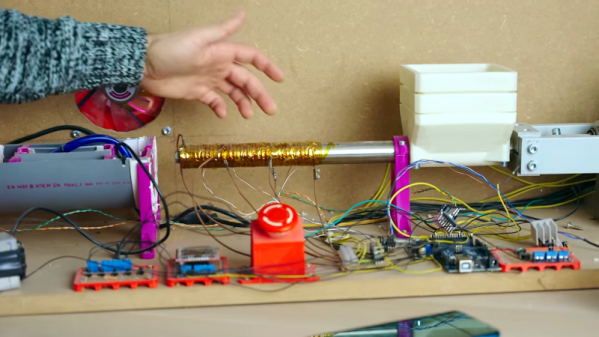
For one thing, he’s still working the kinks out of the Z movement. The current design is 3D printed, but [JD] says he’s not quite happy with the amount of slop in the movement and is considering replacing the entire thing with the linear actuator from an optical drive. We’ve already seen these parts reused for accurately positioning lasers, so there’s certainly precedent for it. The firmware for the ESP32 is also in its infancy, and currently only allows the user to print from a selection of simple hard-coded shapes as a proof of concept.
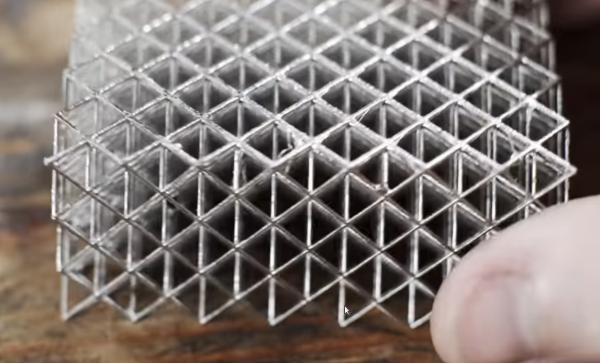
We’ve seen DIY attempts at resin printers in the past, but they’ve often been based on more complex techniques involving projectors or UV lasers. Masked stereolithography is much more approachable for the home gamer, and projects like the Inspire 3D Printer show just how little it really takes to pull solid objects out of a puddle of goo.