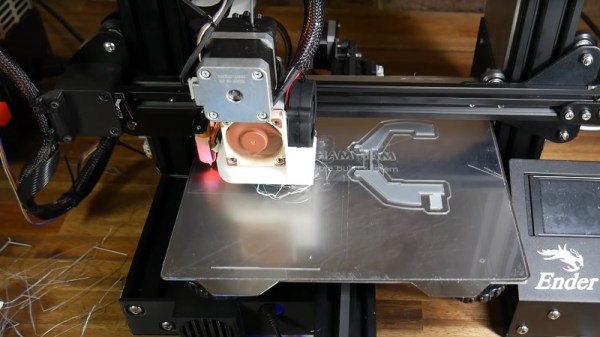
Between failed prints and iterative designs that need a few attempts before you nail them down, a certain amount of wasted material is essentially unavoidable when 3D printing. The good news is that PLA is a bioplastic and can be broken down via industrial composting, but even still, any method that allows you to reuse this material at home is worth taking a look at.
 In a recent video, [Noah Zeck] details one potential use for your scrap plastic by turning his failed 3D prints into guitar picks. The idea here could really be applied to anything you can make out of thin plastic sheeting, but the fact that you can easily and cheaply produce picks with a commercially available punch makes this application particularly appealing.
The first step in this process is about as low-tech as it gets: wrap your scrap printed parts in rags, and beat them with a sledge hammer. This breaks them up into smaller and more manageable pieces, which is important for the next step. If the parts are small enough and you’ve got a decently powerful blender you don’t mind devoting to plastic recycling, we imagine that would make short work of this step as well.
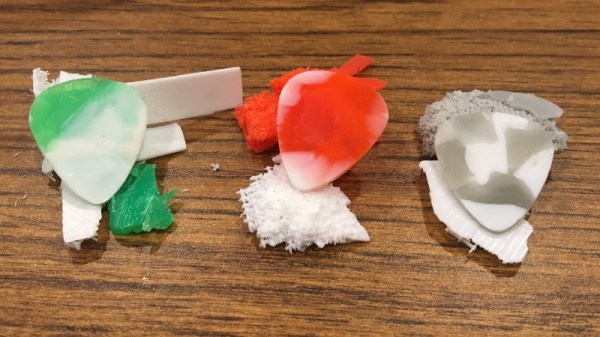
Once suitably pulverized, [Noah] puts the plastic on a piece of glass and gets it warmed up with a heat gun. PLA has a fairly low glass transition temperature, so it shouldn’t take much time to soften. Then he puts a second piece of glass on top and squeezes them together to get a thin, flat sheet of plastic. Once cooled, he punches his guitar picks out of the sheet, with bonus points if the colors swirled around into interesting patterns. If you’re not musically inclined, we’ve seen a very similar method used to produce colorful floor tiles.
Continue reading “From Fail To Wail: Guitar Picks Made From 3D Printed Waste” →