The modern era of virtual reality really kicked off in earnest just over a decade ago, when the Oculus Rift promised 3D worlds beyond your wildest dreams. Since then, nobody’s been able to come up with a killer app to convince even a mild fraction of consumers to engage with the technology. Still, if you’re keen to tinker, you might like to make your own headset like [CNCDan] has done.
The build is based almost entirely on 3D-printed components and parts sourced from AliExpress. It offers 2880x1440p resolution, thanks to a pair of square 1440×1440 LCD displays, one for each eye, paired with a couple of 34 mm lenses. The headset has adjustable interpupiliary distance so you can dial the view in to properly suit your eyes. The 3D-printed housing is designed to be compatible with headrest pads from the HTC Vive Pro for comfort’s sake. Head tracking is also available, with the inclusion of an IMU and an Arduino onboard. [CNCDan] apparently put the build together for under $150, which is not bad compared to the price of a commercial off-the-shelf unit. Files are on Github for the curious.
[CNCDan] reports good results with the DIY headset, using it primarily with his racing simulator setup. He has had some issues, however, with his LCD screens, which don’t properly run at a 90 Hz refresh rate at full resolution, which is frustrating. It’s an issue he’s still looking into. We’ve seen some other neat VR builds over the years, too. Video after the break.

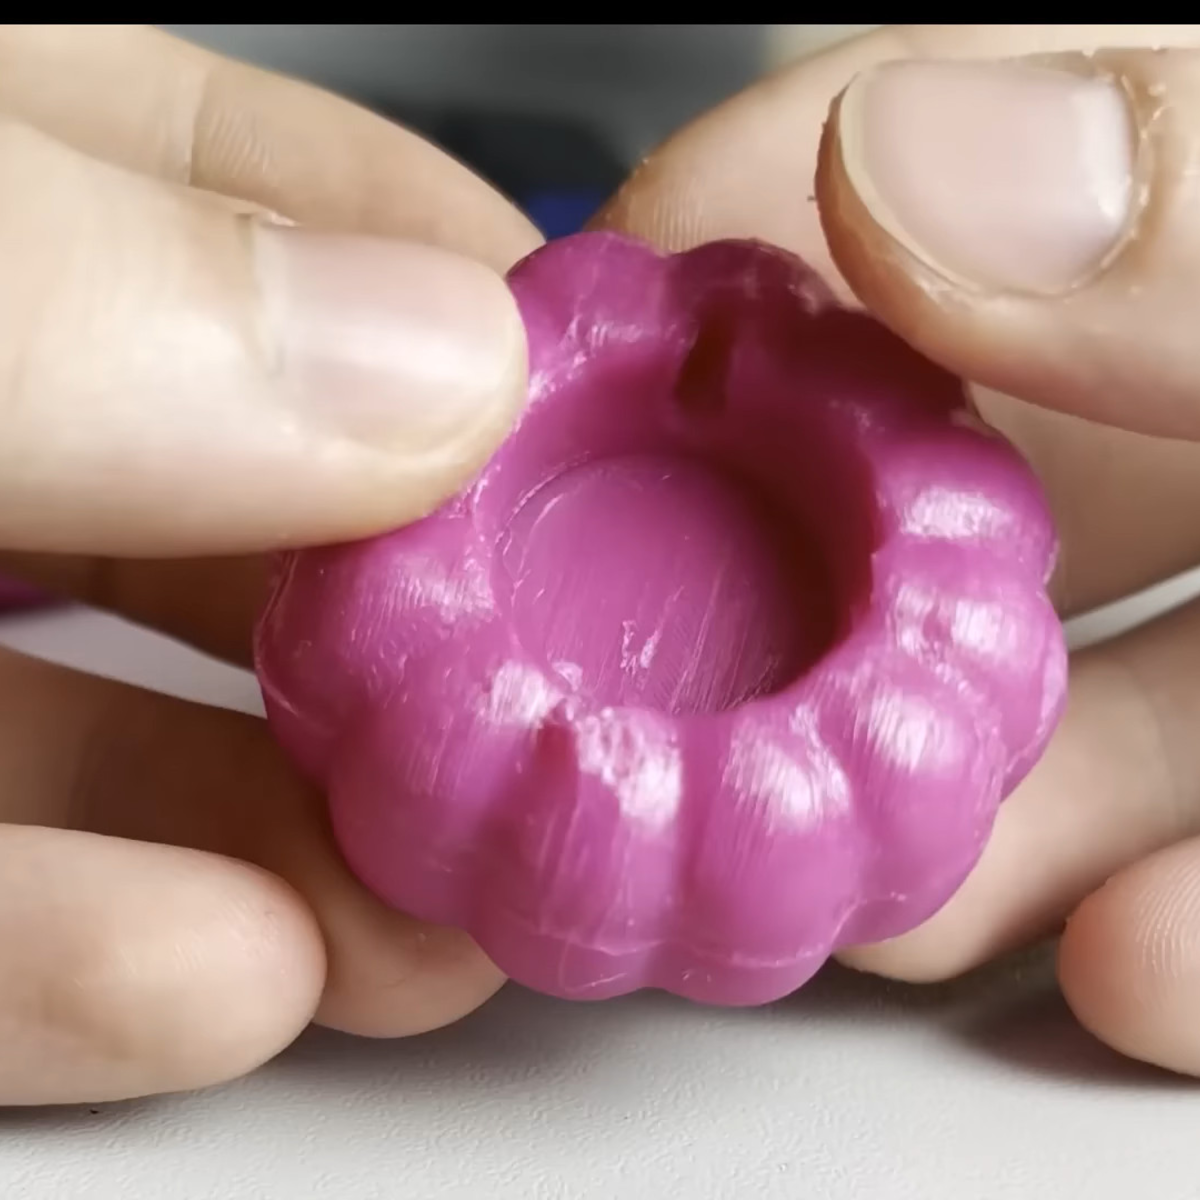
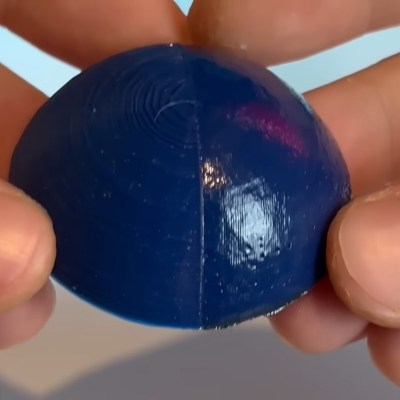 The smoothing process begins at the end of a 3D print and uses non-planar printer movements to keep the laser at an ideal focusing distance. The results proved rather effective, giving a noticeably smoother and shiner quality than an unprocessed print. The smoothing works incredibly well on fine geometry which would be difficult or impossible to smooth out via traditional mechanical means. Some detail was lost with sharp corners getting rounded, but not nearly as much as [TenTech] feared.