When it comes to 3D printing, functional prints are still few and far between. Sure, you can print a mount for anything, a Raspberry Pi case, but there are few prints out there that are truly useful, and even fewer that are useful while taking advantage of the specific capabilities of a 3D printer.
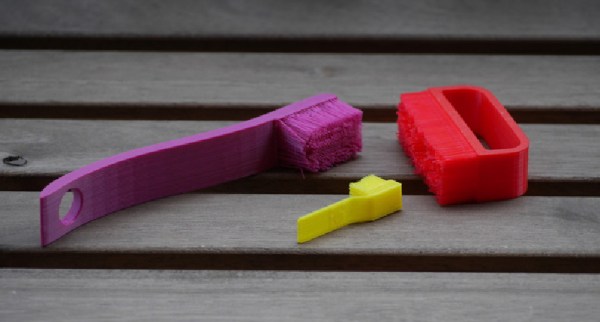
The Bouldering Brush from Turbo SunShine turns this observation on its head. It’s a useful device for getting the grime, sand, and sweat out of handholds while rock climbing, and it’s entirely 3D printed using manufacturing techniques only 3D printers can do.
If you’re thinking you’ve seen something like this technique before, you’re correct. The Hairy Lion from [_primoz_] on Thingiverse used a fine mesh of bridging to create small fibers of filament emanating from the mane of a lion. While it’s not a gender-neutral print, this is one of the first objects to make it to Thingiverse that truly showcased the sculptural element of many thin fibers of 3D printed filament. With this Bouldering Brush, these fibers become much more useful and even functional. It’s still a great technique, and if you can get your printer set up correctly and the settings correct, this is an awesome print that will easily demonstrate the capabilities of your printer.
Like the Hairy Lion, the Bouldering Brush is two handles that are mostly solid, and fine filaments of extruded plastic connecting these handles. Take the completed print off the bed , cut down the middle of the bristles, and you have a functional, completely 3D printed brush. Just don’t brush your teeth with it.

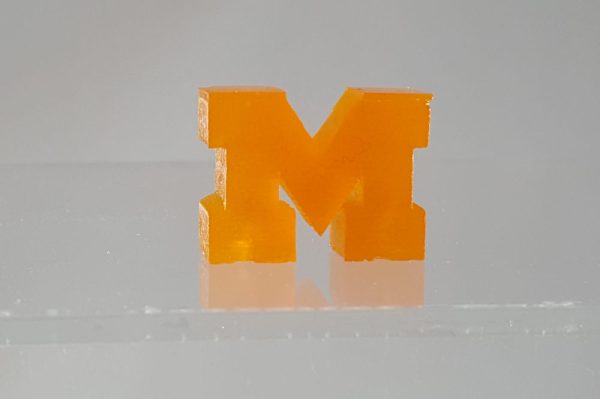
 University of Michigan have figured out a way to