[Jennifer Lewis] is a Harvard Materials Scientist, and she’s recently come up with a type of Lithium Ion “Ink” that allows her to 3D print battery cells.
You might remember our recent 3D Printering article on Pastestruders, but this research certainly takes it up a few notches. The ink is made up of nano-particles of Lithium Titanium in a solution of de-ionized water and ethylene glycol. When producing the ink, small ceramic balls are added to the mixture to help break up microscopic clumps of said particles. The mixture is then spun for 24 hours, after which the larger particles and ceramic balls are removed using a series of filters. The resulting ink is a solid when unperturbed, but flows under extreme pressures!
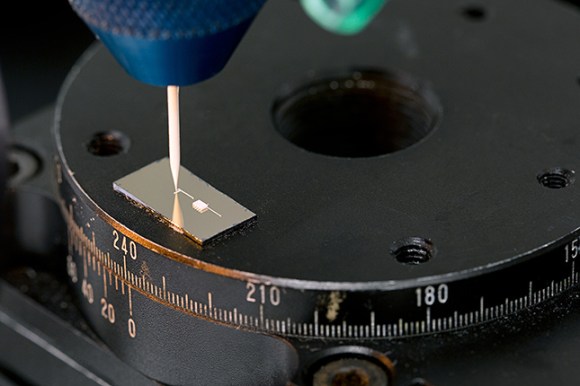
This means a conventional 3D printer can be used, with only the addition of a high pressure dispenser unit. We guess we can’t call it a hot-end any more… The ink is forced out of a syringe tip as small as 1 micrometer across, allowing for extremely precise patterning. In her applications she uses a set up with many nozzles, allowing for the mass printing of the anodes and cathodes in a huge array. While still in the research phase, her micro-scale battery architectures can be as small as a square millimeter, but apparently compete with industry batteries that are much larger.
And here’s the exciting part:
Although she says the initial plan is to provide tools for manufacturers, she may eventually produce a low-end printer for hobbyists.
3D Printable electronics. The future is coming!
[Thanks Keith!]