Are you a bit obsessive compulsive with lots of certain things? We are too. Like Skittles! If you’re the kind of person who likes to sort their Skittles, you should seriously look into making your own 3D printed Skittles Sorter.
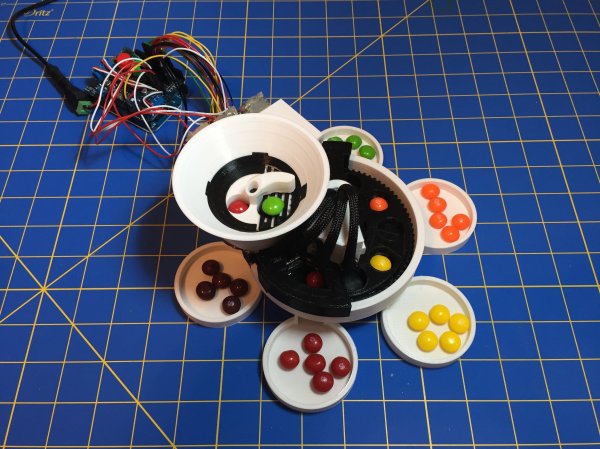
Built more to challenge his new 3D printer, [MrPrezident] was looking for a project to combine mechanical design with a bit of image recognition prowess — so he came up with this clever, and compact, Skittle sorting machine.
It uses an Arduino Uno with a ZITRADES color sensor module to identify the color of each candy. A small LED helps illuminate the Skittles to ensure an accurate color reading. Then, depending on the color, a series of gears rotate the Skittles piece to its designated color repository.
Theoretically it should also work with M&M’s (which are a bit smaller) but unfortunately, there are 6 colors of M&M’s and only 5 colors of Skittles. What would the machine do then!? We don’t see a reject bin!
Continue reading “Only Eat Red Skittles? We’ve Got You Covered.”

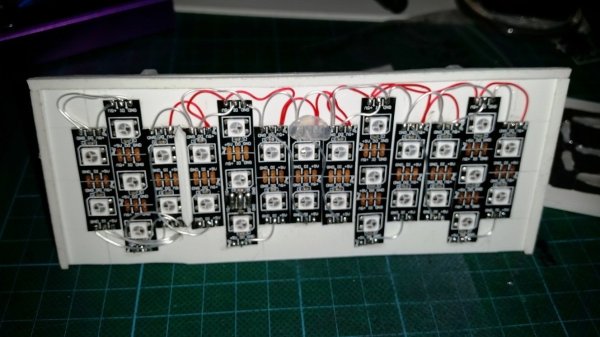
 The easy part consists of Neopixels, an Arduino Nano and a DS3231 Real Time Clock. The hard part consists of Plasticard and a polymorph diffuser. Plasticard also goes by the name of Polystyrene and comes in sheets. [David] describes Polymorph as a type of moldable nylon that softens with heat, with a working temperature low enough that boiling water will suffice.


