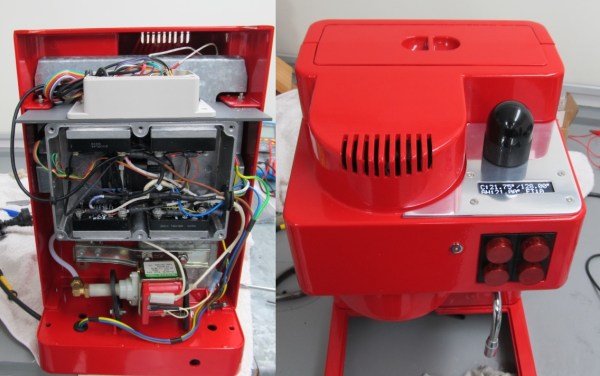
[Rhys Goodwin] has a wonderful Italian espresso machine, a Brasilia ‘Lady’. But the electronics in it are a bit outdated. So he decided to give the entire thing an overhaul, while keeping it as original as possible!
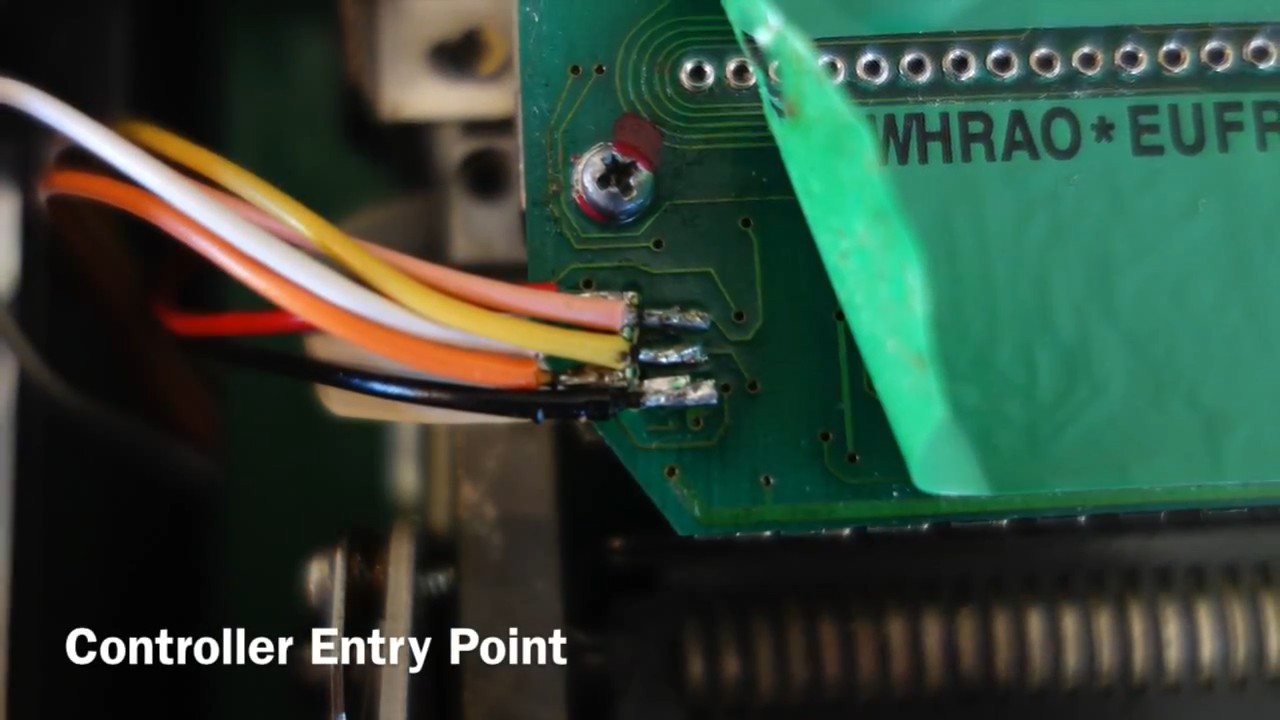
As far as espresso machines go, this model is pretty simple. It uses a 300mL brass boiler with a 3-position solenoid valve. The thermostat is one of those simple bimetallic button thermostats which sadly, aren’t even that accurate — you couldn’t build a simpler machine, there’s not even a microcontroller in it. [Rhys] had his work cut out for him.
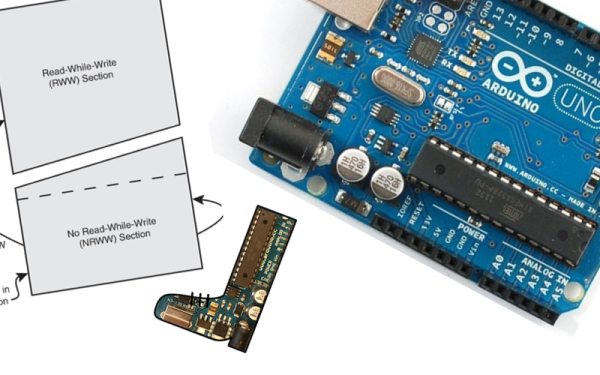
Arduino. PID controller. LCD display. New custom machined components, including a polished aluminum face plate for the LCD! He didn’t skimp out on this restoration. He even designed his own custom PCB to house the Arduino and provide the outputs for his new electronics, impressive!
Continue reading “Restoring An Espresso Machine To The 21st Century”

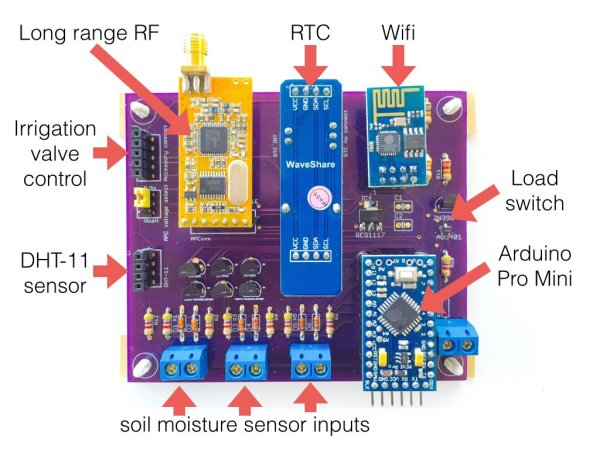
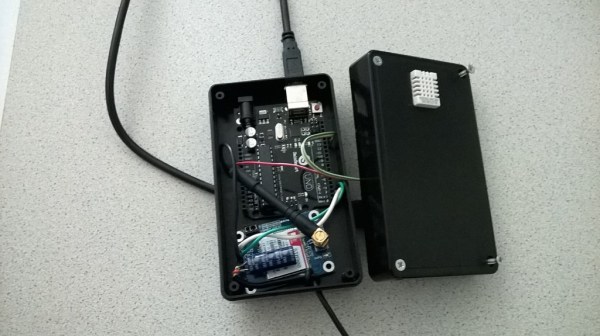
 Its operation is straight forward. You put a water sensor in the dirt. You turn on the water. When the water hits the sensor, you turn the water off. This was not, however, the most efficient method. The problem is by the time the sensor goes off, the soil is saturated to the point that the plant cannot take it all up, and water is wasted.