Game Of Light

gameoflight

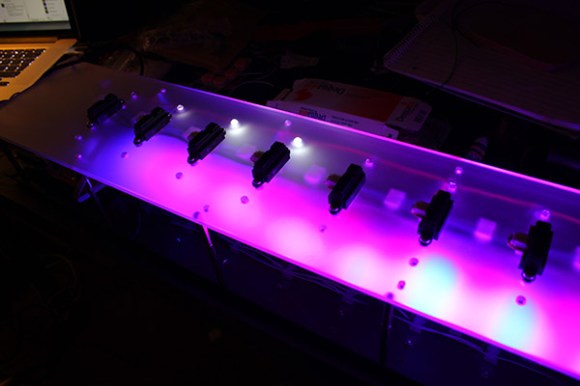
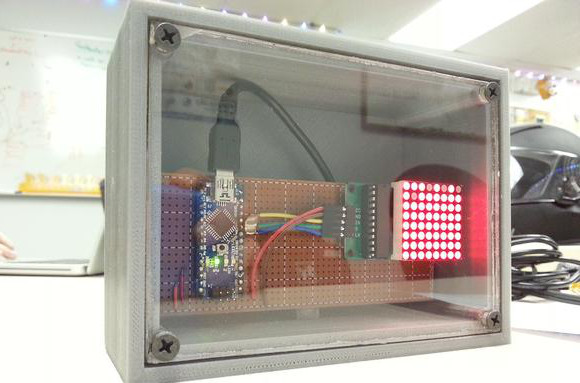
Hyperrealistic graphics may be the standard for gaming, but Game of Light (Warning: Loud video volume) is a welcomed detour into vivid, low-res delight. Built for a course at the University of Oslo by [Abdimaalik], [Martin], [Andre], [Eivind], and [Stian], Game of Light has a handful game options, some of which allow up to four players. The build uses eight DE-DP14211 LED dot matrix boards, each with 32×16 bi-color LEDs and a built-in HT1632C display controller to handle the multiplexing. They are mounted together to form the 64×64 resolution display.

The box was custom-made out of what we suspect is acrylic, and uses some 3D printed pieces to offset the top from the bottom and to hold components in place. SNES controllers send data to the Arduino, which also runs the games and feeds the display controllers. Buried in the mix are two fans to keep the components cool. Everything is open source, so race to Github for source code and the games.

For another LED matrix project with a lot of gaming potential, check out [Brad’s] PS2 mouse interface that lets him interactively draw in real-time.

Continue reading “Game Of Light”

123D Circuits: Autodesk’s Free Design Tool

Arduino fanatics rejoice: Autodesk and Circuits.io have jointly released a new electronics design tool with some unique features: 123D Circuits. Anyone familiar with Autodesk knows they have a bit of a habit of taking over the world, but you can relax knowing this is a (pretty much) free product that’s filed under their Free 3D tools—though we’re not quite sure what is “3D” about a circuits layout program.

123D is web-based software, and using it requires account creation on the circuits.io website. Anything you design sits on the cloud: you can collaborate with others and even embed your circuit (with functioning simulation) straight into a webpage. Unfortunately, your work is public and therefore accessible by anyone unless you fork over $12 or $25 monthly: the former only gives you 5 private circuits. Dollar signs pop up again when you hit “finish circuit;” they offer to sell you PCBs in multiples of three.

Some features of the free account, however, may tempt the Arduino veteran away from a go-to program like Fritzing. Plopping in a virtual Arduino lets you edit its code on the fly in another window, which you can then simulate. If you’re new to circuit design or want some guidance for using 123D Circuits, they have provided an extensive list of applicable Instructables. Check out their promotional video below.

Continue reading “123D Circuits: Autodesk’s Free Design Tool”

ArduGuitar, An Arduino Controllable Guitar

The ArduGuitar

Electric guitars have several switches and potentiometers for controlling volume, tone, and which pickups are enabled. Rather than fiddling with these by hand, [Bob] built the ArduGuitar. It uses an Arduino to control the parameters over Bluetooth. This allows for musicians to configure presets, then recall them as needed, providing the exact same sound every time. It’s similar to the Guitarduino, but adds wireless control.

The internals of the ArduGuitar consist of the Arduino Micro, a BlueSMiRF from Sparkfun, and resistive opto-isolators. The resistive opto-isolators allow the Arduino to adjust resistance through an electrically isolated barrier. This prevents the Arduino from interfering with the guitar’s sound.

Some of the first Vactrols were used to create a tremolo effect in guitar amplifiers. These pulsed a incandescent lamp onto a photoresistor. Fortunately, there are now integrated solutions. PerkinElmer makes these, and they have a nice application note [PDF] on audio applications.

The final part of the design is an Android app, which provides remote control over Bluetooth. The source for everything is available on Github, and the detailed build log is available here.

My First Brainf*ck

fuck

There was a time – not too long ago – that a ‘my first computer’ required the use of machine code and an understanding of binary. While an introduction to computers is now just how to put a Raspberry Pi image on an SD card, a few people are keeping the dream of memorizing opcodes alive. One such person is [Johan von Konow], creator of My First Brainfuck, an ultra small, low-cost programmable computer.

My First Brainfuck is an Arduino shield designed to have all the features of a normal computer, but without all those messy mnemonics that make assembly programming so easy. This computer is programmed in Brainfuck, a purposely obtuse programming language that, while being incredibly esoteric and difficult to program in, can be very, very rewarding.

[Johan] has a short tutorial showing how his computer works and how the Brainfuck language operates. There are only eight commands in Brainfuck, perfect for such a minimal user interface, but with enough patience, nearly anything can be written in this difficult language.

Right now there are a few examples showing how to play a scale on the on-board buzzer, displaying a Larson scanner on the LEDs, and a few more programs will be published in the future.

Modifying The HC-05 Bluetooth Module Defaults Using AT Commands

The HC-05, a Bluetooth to serial bridge, can be found for around $5 on the internet and therefore may be the cheapest way to add Bluetooth connectivity to your project.

However, its default settings may need to be changed depending on your application. [Hazim] explains a way to enter the HC-05 AT command mode to benefit from the rich set of features that the device can provide. The process is fairly simple as it only consists of maintaining the key pin of the HC-05 high while powering on. The device then boots in AT command mode with a default 38400bits/s speed and listens for all of the AT command set (PDF). As an example [Hazim] provides a sketch allowing you to write the AT commands directly in your favorite terminal.

With the basics out of your way you may want to further research the hardware, especially if you will be using modules from different sources. They don’t always come with the same firmware.

Another Arduino Clone Is The Last Thing The World Needs

duino

One might think the last thing the world needs is for The Great Old Ones to rise from their near-death sleep deep in the Pacific ocean, and begin again their reign over Earth.  Actually, the last thing the world needs is another Arduino clone. Here’s this one. Fittingly, it’s called the Ktuluino.

Actually, this isn’t yet another attempt to build an Arduino clone that adds nothing to existing designs; it’s just [Jeff]’s attempt at PCB design. He needed something to practice on, so why not something that ends in -uino?

The board is just about as simple as Arduinos come – an ATMega328P is the brains of the outfit and also the most expensive component, closely followed by either the power jack or the header pins. As an exercise in PCB design, we’ll give this a thumbs up, but this could also be used for an ‘introduction to soldering’ workshop at a hackerspace, or alternatively a coaster.

Radar Detector Integrated With Dashboard Display Screens And Steering Wheel Controls

CAN Bus hacking is all the rage right now. This particular project uses an early development version of an Arduino compatible CAN bus tool to integrate radar detector control into a Mazda dashboard. This image shows the output as the Whistler Pro-3600 radar detector boots up. The self test demonstrates what you would see on the dashboard display if your speed is checked using any of a handful of technologies. But it’s not just the dash display that’s working. The steering wheel controls are also capable of affecting the radar detector so that it can always be hidden from sight.

With auto manufacturers adding more numerous and larger displays to our vehicles it’s refreshing to see someone come up with a hack that makes pushing our own info to those screens possible. The CANBus Triple is an Arduino compatible board which patches into the data bus found in all modern vehicles. To integrate the Whistler for this hack [TheDukeZip] prototyped the interface on a regular Arduino board, then moved it over to the CANBus Triple once he had it working. Check out the video after the break to see the setup in action.

Continue reading “Radar Detector Integrated With Dashboard Display Screens And Steering Wheel Controls”