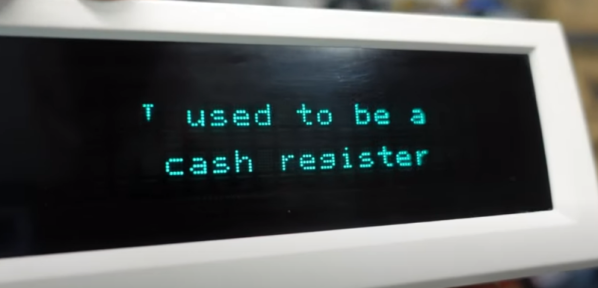
For those of us old enough to remember the VCR (and the difficulty of programming one), the ubiquitous vacuum fluorescent display, or VFD, is burned into our memories, mostly because of their brightness and contrast when compared to the superficially-similar LCD. These displays are incredibly common even apart from VCRs, though, and it’s easy to find them for next to no cost, but figuring out how to drive one if you just pulled it out of a 30-year-old VCR is going to take some effort. In this build, [mircemk] shows us how he drives unknown VFD displays using an Arduino in order to build his own weather forecasting station.
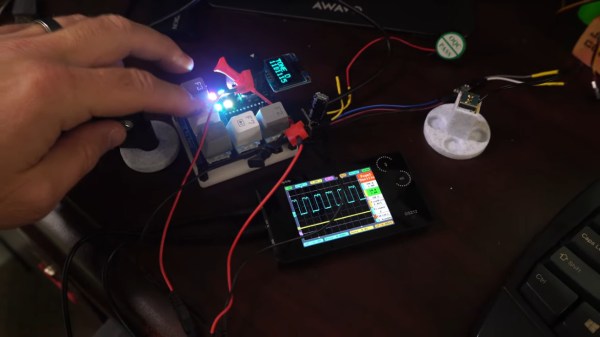
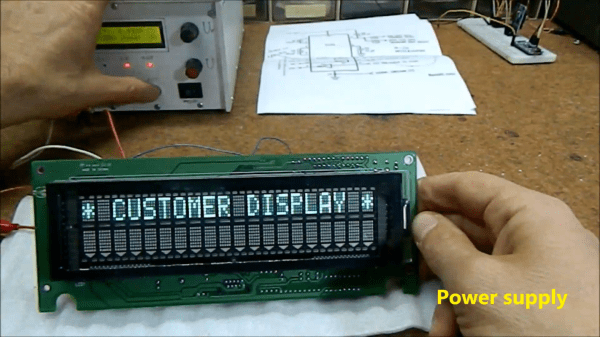
For this demonstration [mircemk] decided to turn a VFD into a weather forecasting station. First of all, though, he had to get the VFD up and running. For this unit, which came from a point-of-sale (POS) terminal, simply connecting power to the device turned on a demo mode for the display which let him know some information about it. From there, and with the knowledge that most POS terminals use RS232 to communicate, he was able to zero in on the Rx and Tx pins on the on-board microcontroller and interface them with an Arduino. From there it’s a short step to being able to output whatever he wanted to this display.
For this project, [mircemk] wanted the display to output information about weather, but rather than simply pull data from some weather API he is actually using a sensor suite connected to the Arduino to measure things like barometric pressure in order to make a 12-hour forecast. The design is inspired by old Zambretti weather forecasters which used analog wheels to input local weather data. It’s an interesting build not only for the VFD implementation but also for attempting to forecast the weather directly with just a tiny sensor set instead of downloading a forecast to display. To do any better with your own forecasts, you’d likely need your own weather station.
Continue reading “Using Arduinos To Drive Undocumented Displays”