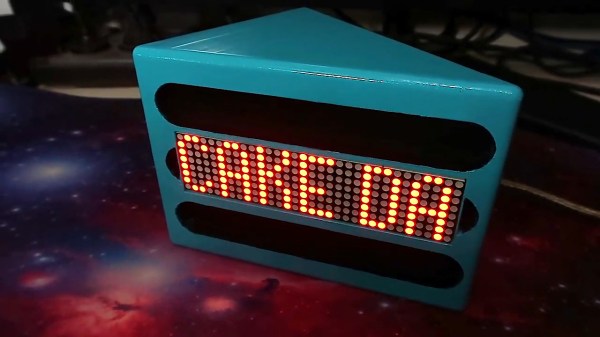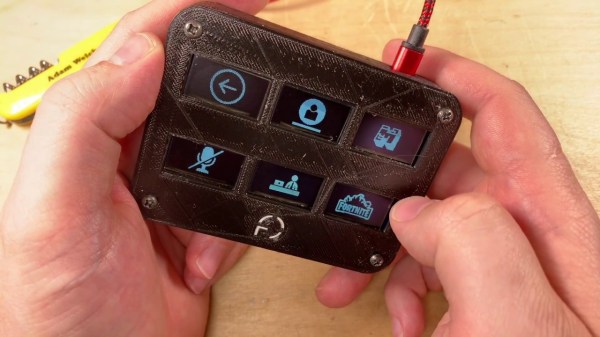
[Adam Welch] has built macro pads in the past out of pre-fab key matrices and handfuls of Cherry MX clones. But all the stickers and custom keycaps in the world wouldn’t make those macro pads as versatile as a stream deck — those visual shortcut panels with tiny touchscreens for each button that some streamers use to change A/V settings or switch between applications.
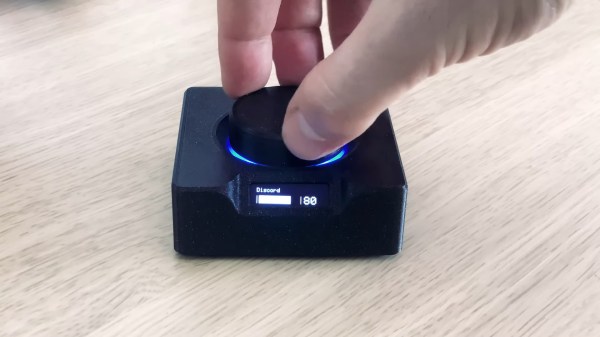
Let’s face it, stream decks are expensive. But 0.96″ OLED displays are not, and neither are SMD tactile buttons. Why not imitate a screen deck on the cheap by making it so the screens actuate buttons behind them? [Adam] based this baby on the clever design of [Kilian Gosewisch]’s FreeDeck, and they ended up working together to improve it with a dedicated PCB.
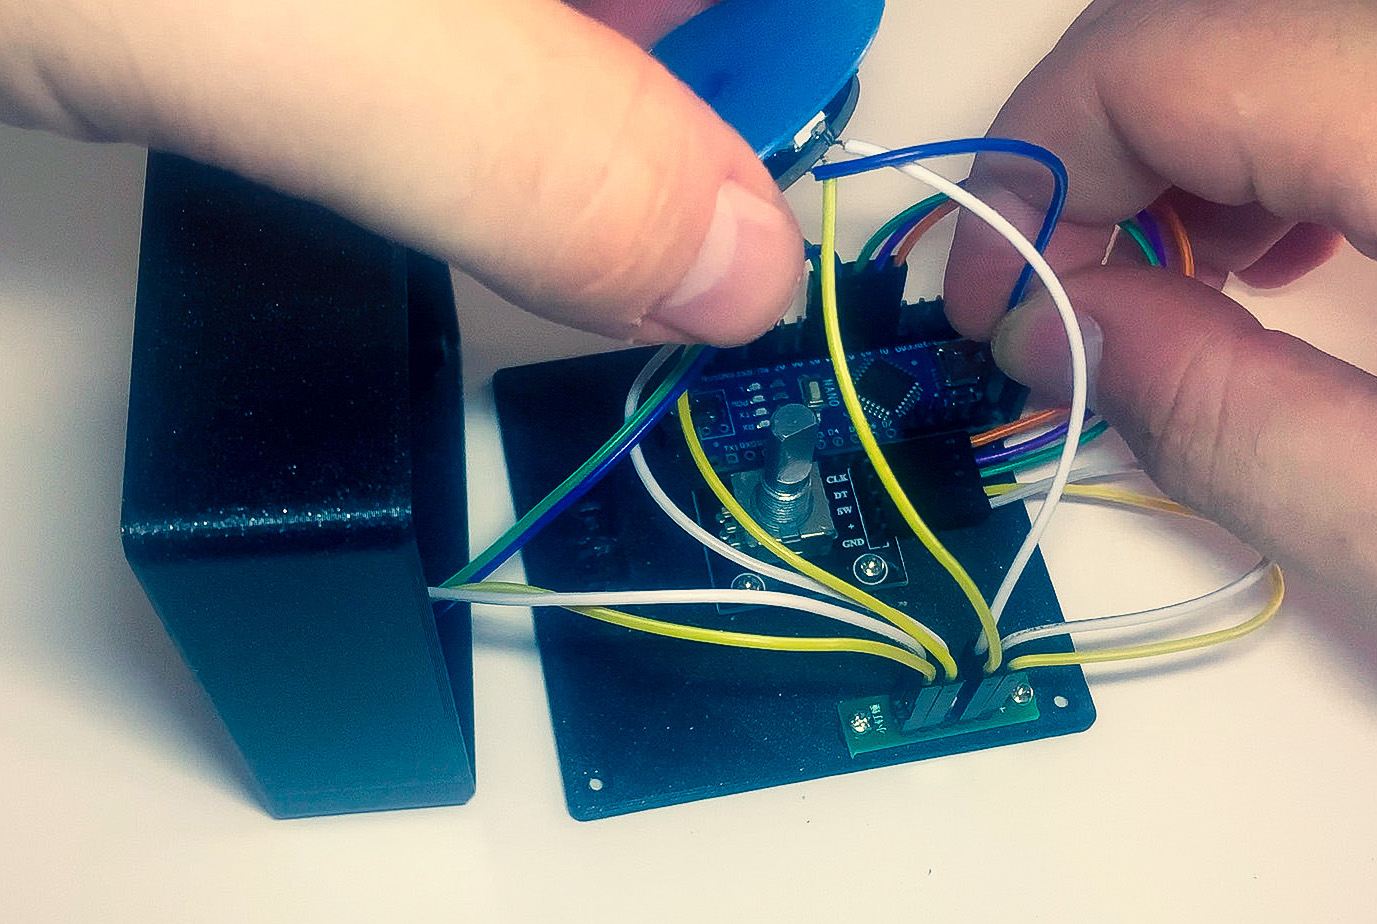
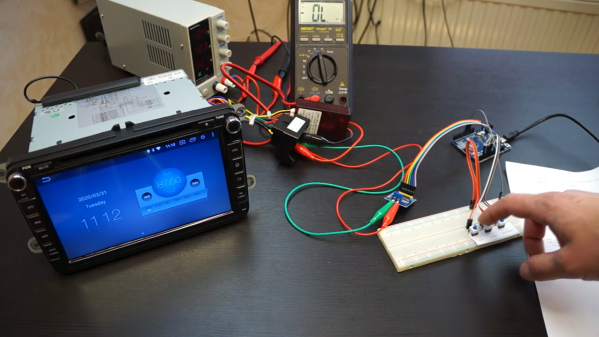
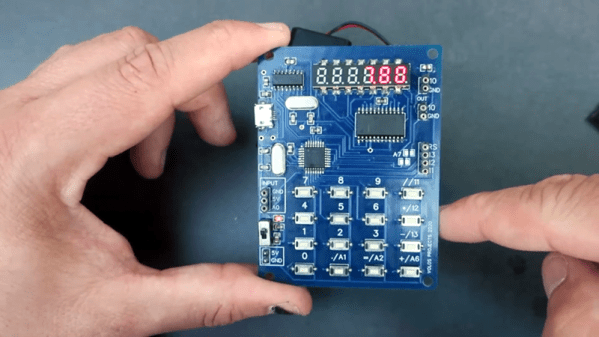
The brains of the operation is an Arduino Pro Micro, which addresses each screen individually via two 74HC4051 mux ICs. Thanks to an SD card module, there’s no need to flash the ‘duino every time you want to change a shortcut or its picture. Even if this deck doesn’t hold up forever, it won’t break the bank to build another one. Poke past the break for the build video, which has all the links you’d need to make your own, including a handy configurator.
There’s more than one way to do a visual macro pad. Here’s one that uses a single screen and splits it Brady Bunch style to match the matrix.
Continue reading “Open Source Stream Deck Does It Without Touch Screens”