As a society we are moving away from land line phones while mobile devices are becoming more and more prevalent. It is not uncommon for people to only have a cell phone and completely skip out on the corded home phone. While this move may be for convenience, there is one difference between the two phone types that didn’t ring well with [Stavros]. He’s an angry phone talker and misses the ability to slam down a phone handset. Now [Stavros] could just have a corded home phone but he wanted a mobile option for handset slams so he came up with a project called iRotary. It’s an old school rotary phone converted to be battery powered and uses cell phone networks for making calls.
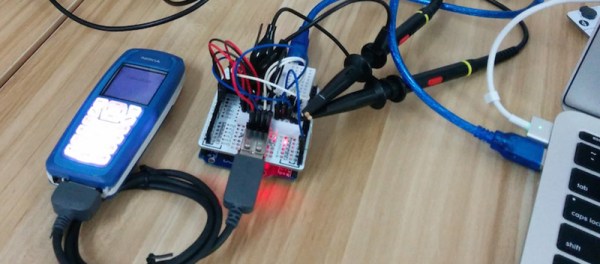
At the heart of the project is an Arduino. The Arduino is a great choice as it can easily decode the phone’s rotary dial pulses. The Arduino code takes all of the individual dialed numbers and combines them into a phone number. The sketch is set up so that after the 10th digit is read, the phone call is placed using an off the shelf GSM shield and associated library.
Since a battery would be necessary to make this phone mobile, one was installed inside the case along with a charging circuit. [Stavros] hasn’t done any long-term endurance studies but he has had the phone on for several hours at a time without any problems. So, now he can rest easy knowing that an angry hang-ups are never out of his reach, regardless of where he may be. And since he’s a nice guy, he’s made the source code available for anyone wanting to make something similar.