Do you always look at it encoded? – Well you have to. The image translators work for the construct program.
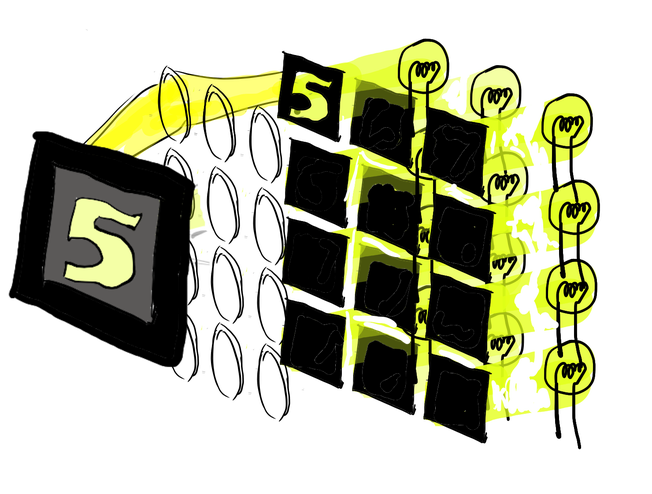
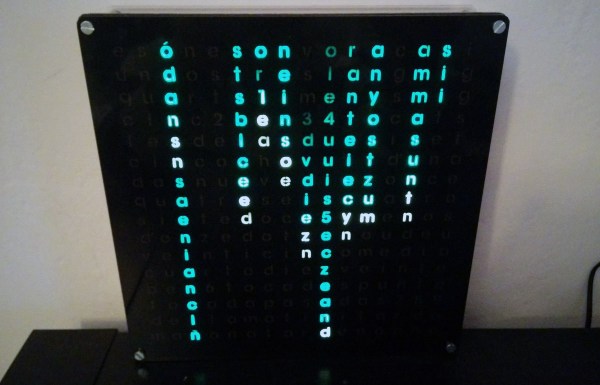
Word clocks are supposed to de-encode time into a more readable format. Luckily [Xose Pérez] managed to recover the encoded time signal of the simulation we are all living in with his word clock that displays time using a stylish Matrix code animation.
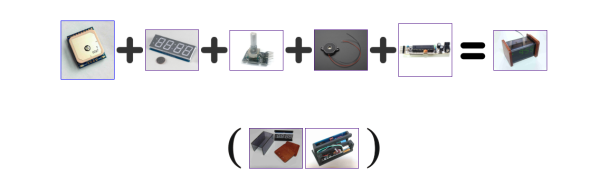
[Xose] already built his own versions of [Philippe Chrétien’s] Fibonacci Clock and [Jeremy Williams’s] Game Frame, and while doing so he designed a nice little PCB. It’s powered by an ATmega328p, features an RTC with backup battery, an SD-card socket, and it’s ready to drive a bunch of WS2812Bs aka NeoPixels. Since he still had a few spare copies of his design in stock, his new word clock is also driven by this board.
Continue reading “Realize The Truth… There Is No Word Clock”