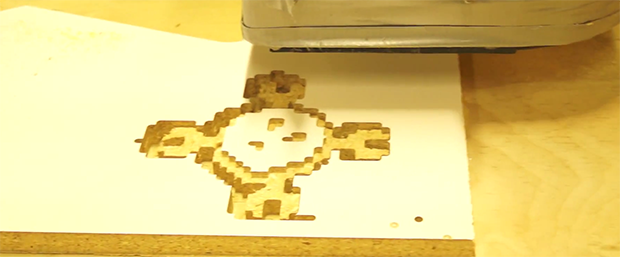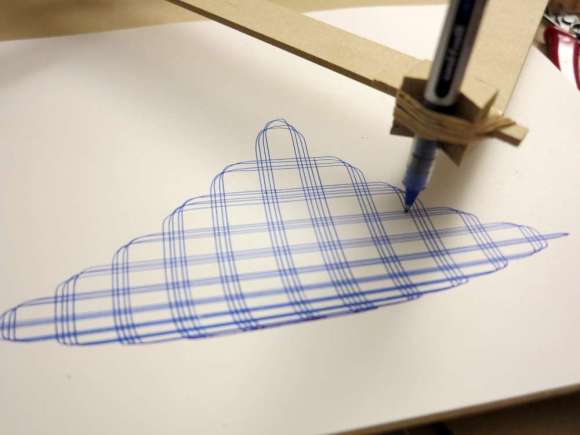
Two strings, two motors, and some very creative software. That’s the magic behind the Plotterbot, which was drawing Daleks when we crossed its path at Maker Faire. This is the Mark II, which was built after cannibalizing Mark I. Unfortunately we can’t tell you what the difference is between the two.
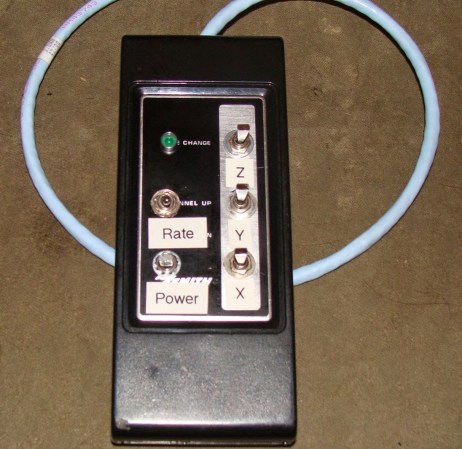
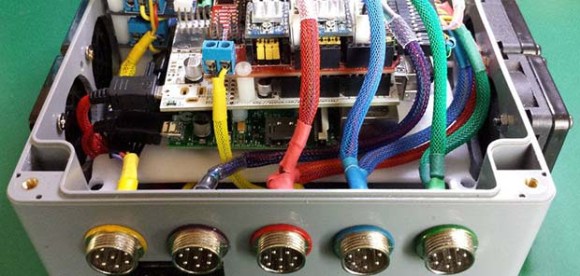
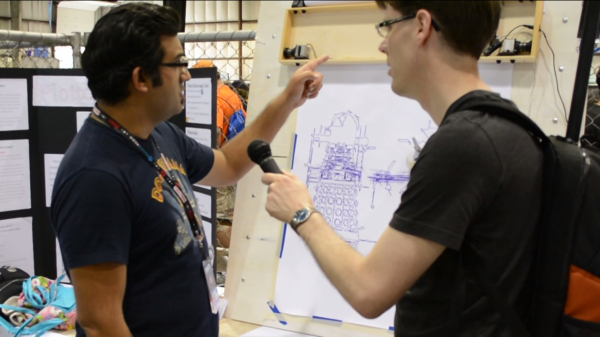
The machine itself is a pretty nice little package. There is a box that hangs on the wall with a motor/spool combination at each end. In the middle of those two is an Arduino Mega with a custom driver shield. It takes an SD card with the drawing files on it. There is also a small touchscreen display which allowed for easy selection of what you’d like drawn on that paper taped to the wall below the unit.
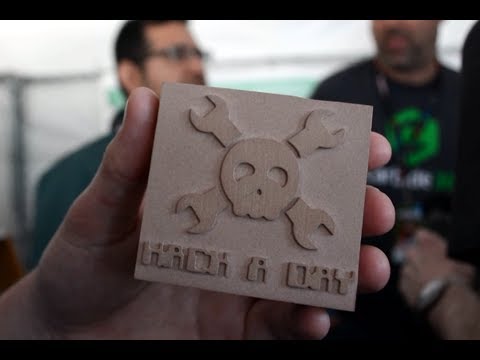
Back when we were running the Trinket contest [Jay] used the Plotterbot to draw a Skull and Wrenches made out of a multitude of smaller Skull and Wrenches. He was nice enough bring that piece of art and present it to us at the Faire. Thanks [Jay]!