It’s time to get out and have some fun with other Hackaday people in your area and we have the perfect opportunity. Be part of Hackaday World Create Day on Saturday, April 23rd. This is all about meeting others for an afternoon of creativity. You might even find your engineering dream team! As part of World Create Day you’ll and brainstorm an amazing creation and connect with the people in your area that round out your own skills (electrical, mechanical, design, etc.).
This is the first ever worldwide event Hackaday has organized, and it’s made possible by all of the people who volunteered to organize a Hackaday Meetup in their area. We have heard from more than 100 of you so far and [Liz Krane] has done an amazing job following up with each organizer to get everything set up. You can still sign up to host (or co-host) and use the map to join a meetup already organized in your area.
We’re just getting started but the first added are in Ottawa Canada, Lagos Nigeria, Lynchburg, Virginia, and Puducherrry, India. We have more on the way in Malaysia, Greece, South Africa, India, Cyprus, New Zealand, France, Mexico, China, and many locations in the USA.
We’re sending out World Create Day sticker packs — created by [Joe Kim] and [Michael Guilfoil] — as fast as we can set up the Meetup pages. We will be on the lookout for Hackaday Meetups and World Create Day projects to feature right here on the Hackaday front page. Carve out 4/23 from your calendar and get excited, you don’t want to miss this!
Only a few days ago, a significant proportion of the Hackaday crew was leaving Goshen, Indiana after the fourth annual Midwest RepRap Festival. We go to a lot of events every year, and even when you include DEF CON, security conferences, ham swap meets, and Maker Faires, MRRF is still one of the best. The event itself is an odd mix of people rallying under a banner of open source hardware and dorks dorking around with 3D printer. It’s very casual, but you’re guaranteed to learn something from the hundreds of attendees.
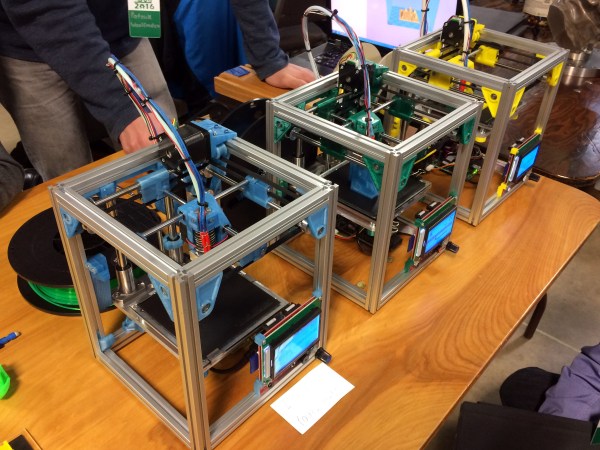
Hundreds of people made the trek out to Goshen this year, and a lot of them brought a 3D printer. Most of these printers aren’t the kind you can buy at a Home Depot or from Amazon. These are customized machines that push the envelope of what consumer 3D printing technology. If you want to know what 3D printing will be like in two or three years, you only need to come to MRRF. It’s an incubator of great ideas, and a peek at what the future of 3D printing holds.
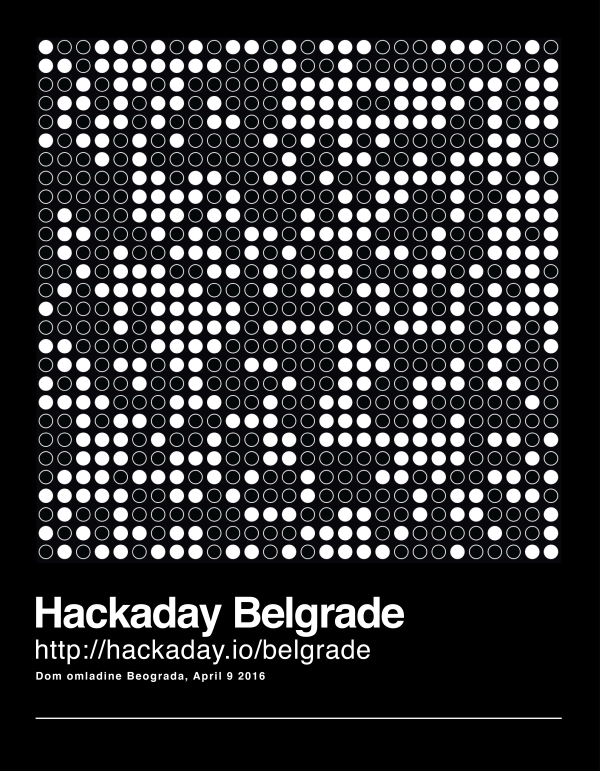
We have an amazing line-up of talks for Hackaday | Belgrade, Saturday April 9, in Belgrade, Serbia. The talks have been sold out for weeks. You can still get a ticket to the night’s concerts if you’re in the area. Either way, the big news this morning is that we will stream all of the talks live!
There are a ton of great speakers, check the poster below. I’m excited to hear Mike Harrison (mikeselectricstuff) speak about his journey down the rabbit hole of video projection tech, Phoenix Perry’s talk on Forward Futures, Voja Anotic’s talk about the hardware badge, Peter Philip’s talk about reinventing VHDL, and pretty much all of the rest too! From the Hackaday crew you can watch Sophi Kravitz give a talk on her shutter glass project, Chris Gammell will be talking Top Down Electronics, and I will end the 8-versus-32 argument once and for all (yeah right!).
While you’re listening to the talks, why not try your hand at badge hacking. You don’t need any hardware, you can use the emulator to try out your hacked code right now your own computer. We’ll be sending out prizes for the best entries and there are only a handful so far.
You do not want to miss these talks! If you don’t believe me, check out the talks from SuperCon last November and you’ll be convinced — Hackaday conferences provide the best collection of hardware talks anywhere.
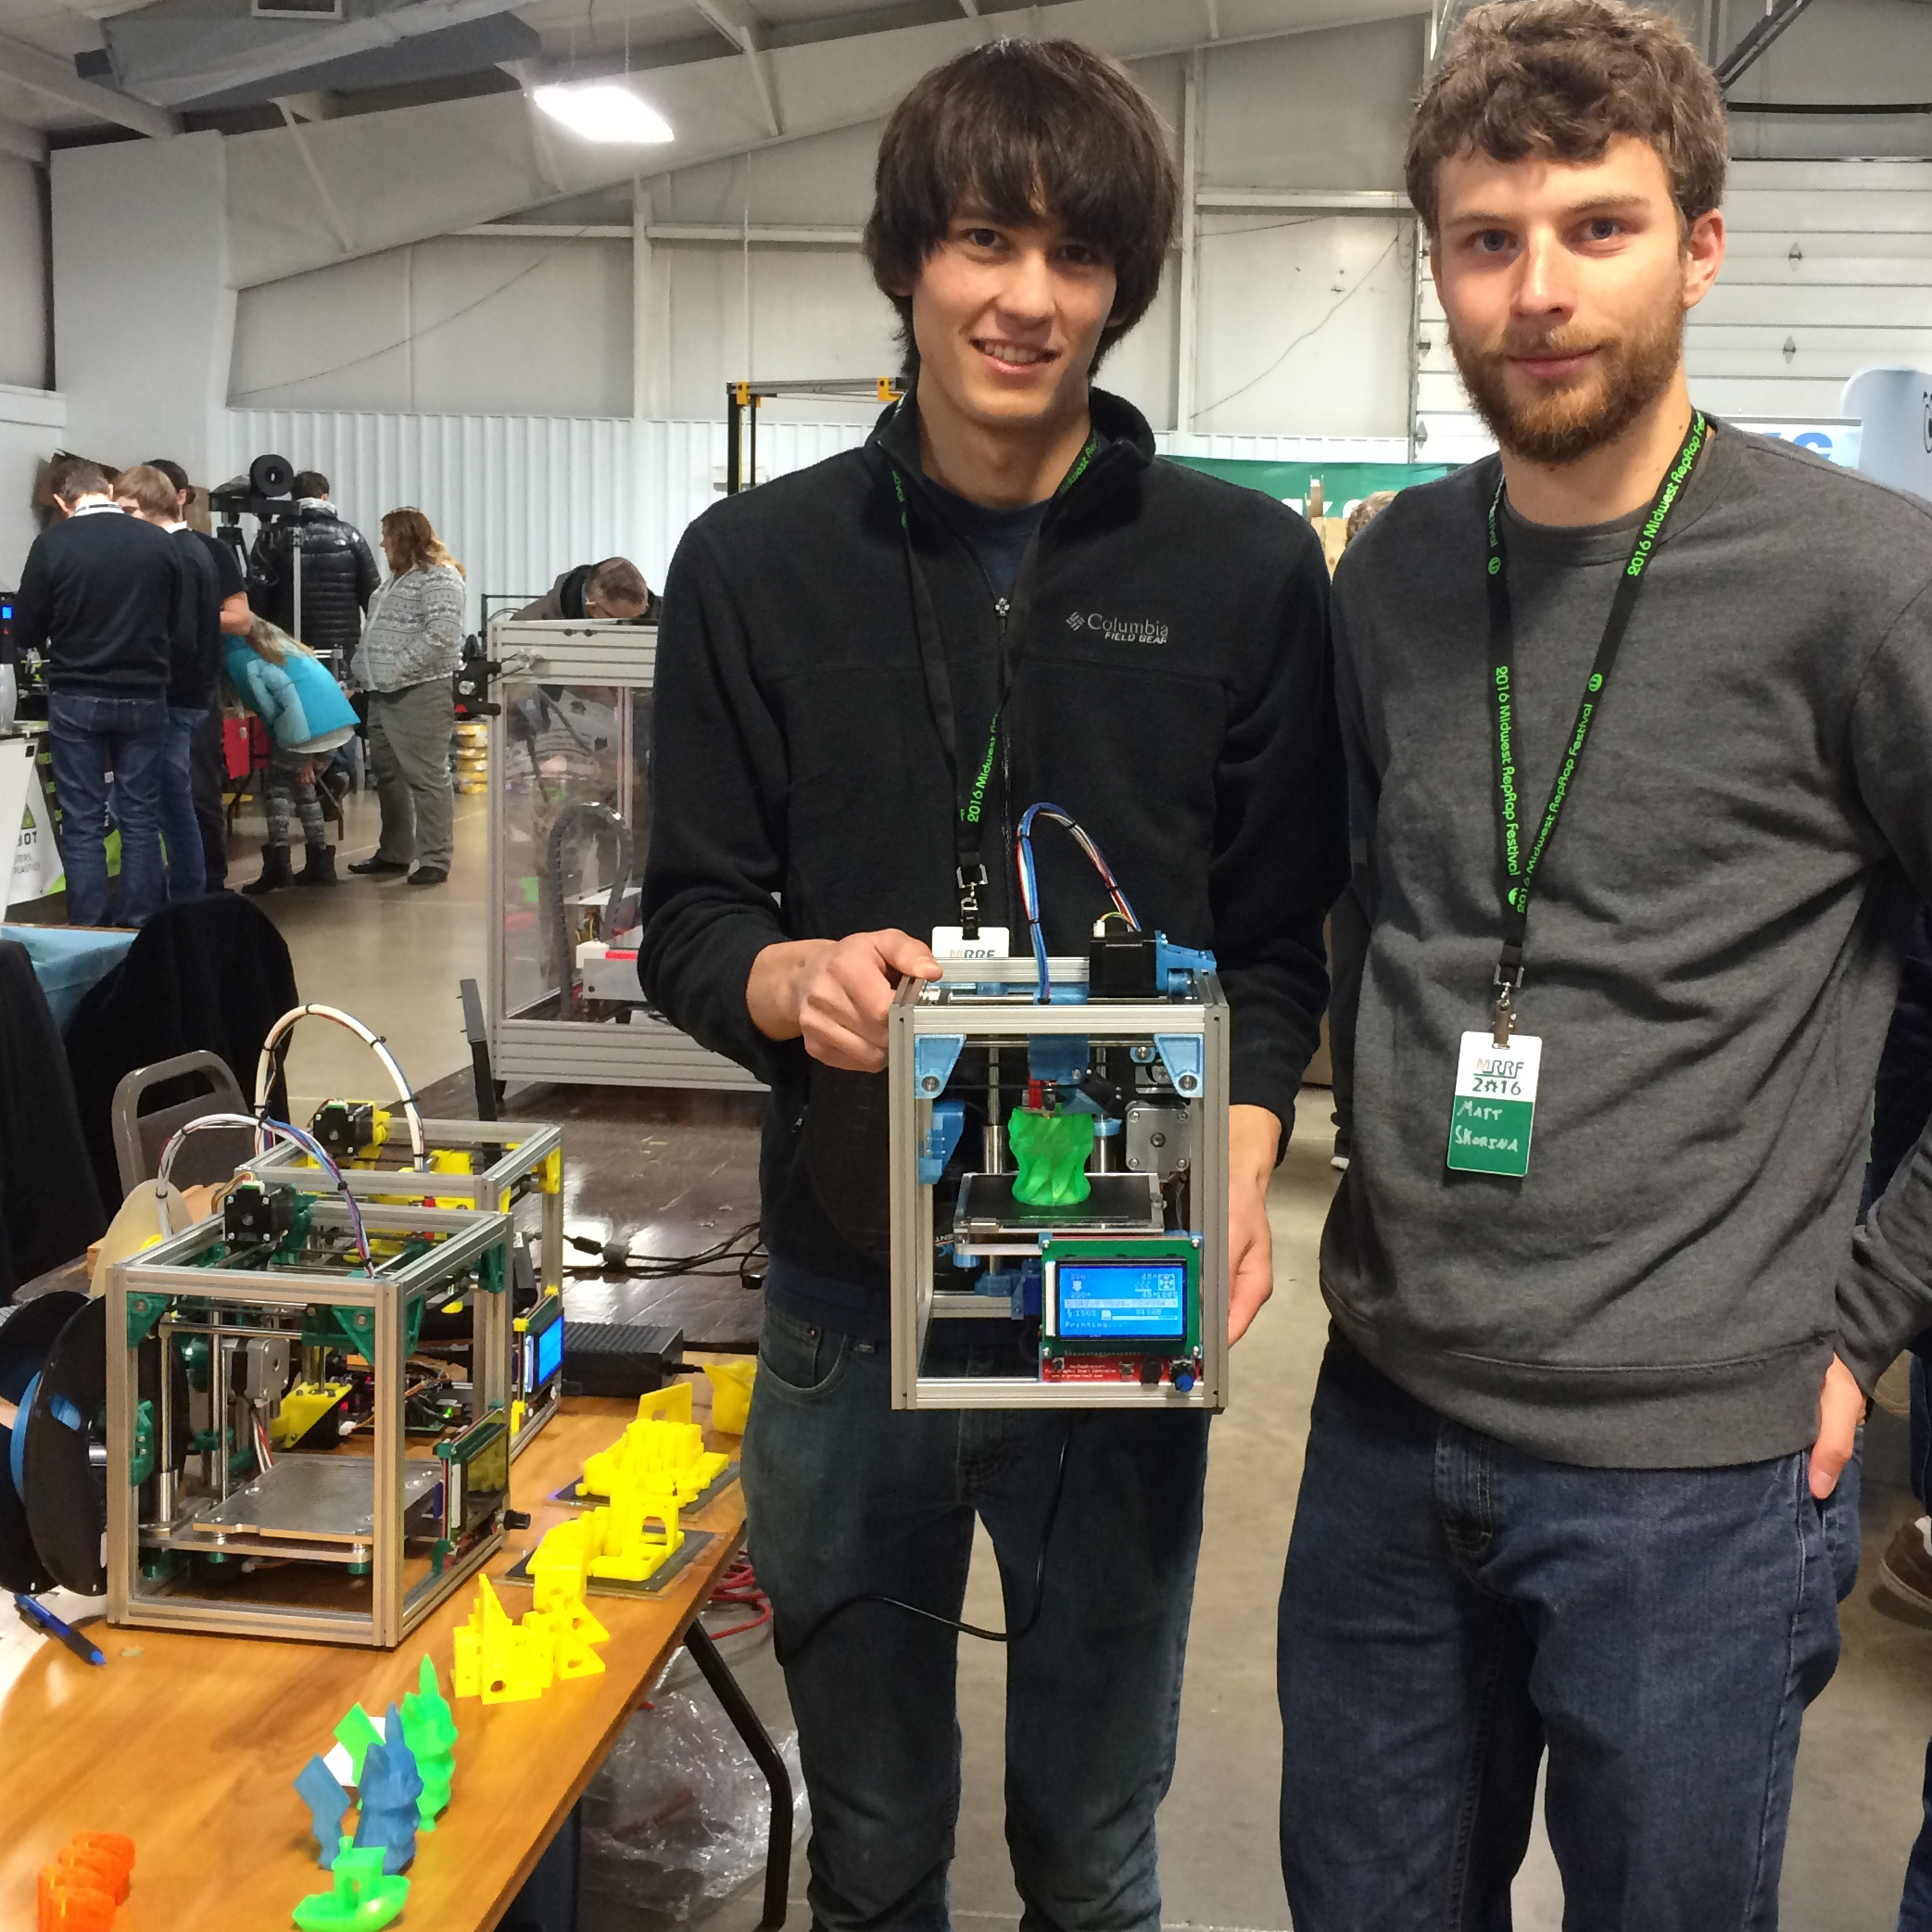
Patrick and Matt hold a running Kitten Printer. The frame is stiff enough that the printer can be held or turned upside down and it can keep printing without visible defects in the print.
[Patrick] and [Matt] have been coming to the Midwest RepRap Festival from Minneapolis for the past few years and bringing their trusty Tantillus printers with them. However, sometime between this year and the last [Patrick] decided that it would be really fun to make his own 3D printer, and liking the size and accuracy of the Tantillus, started there.
The adorably sized printer is adorably named too: Kitten 3D printer. The printer is certainly an enthusiast’s choice. It’s expensive at 1200 and small, but very well made. Its one big advantage? It prints really accurate parts.
The Tantillus also printed well, but the extruder left a lot to be desired, and the low stretch fishing line movement was very difficult to get tensioned just right. The secret behind the Tantillus and Kitten’s great print quality, aside from good design, is the small xy movement and low weight of the extruder set-ups. By having a movement over a very small range, cumulative errors in construction never get to add up. Also vibrations are less likely to show and smaller moments on the joints mean less flex at the extremes of the movements.
Really stunning print quality almost entirely free of ringing and z-wobble. 100mm x 100mm tray. These are very small parts.
[Patrick] is a mechanical engineer for his day job, and since this was a just for fun printer, he cut no corners. The frame is made with Misumi extrusions and linear movements. The build plate sits on a machined aluminum plate. It’s not flexing or going anywhere.
Part of what really stood out to me about the printer are a lot of neat little features which show careful thought. For example, the extruder movement sits neatly under one of the motors. All the parts except for one can be printed inside its build envelope without support. It uses around 200g of plastic. Every axis is constrained just enough, rather than the common tendency to over constrain that plagues 3D printer design. The spec sheet reads like my printer part wishlist: Bondtech extruder, Rambo board, E3d nozzle, heated bed, flat borosilicate build plate, name brand linear movements, and a well designed Z.
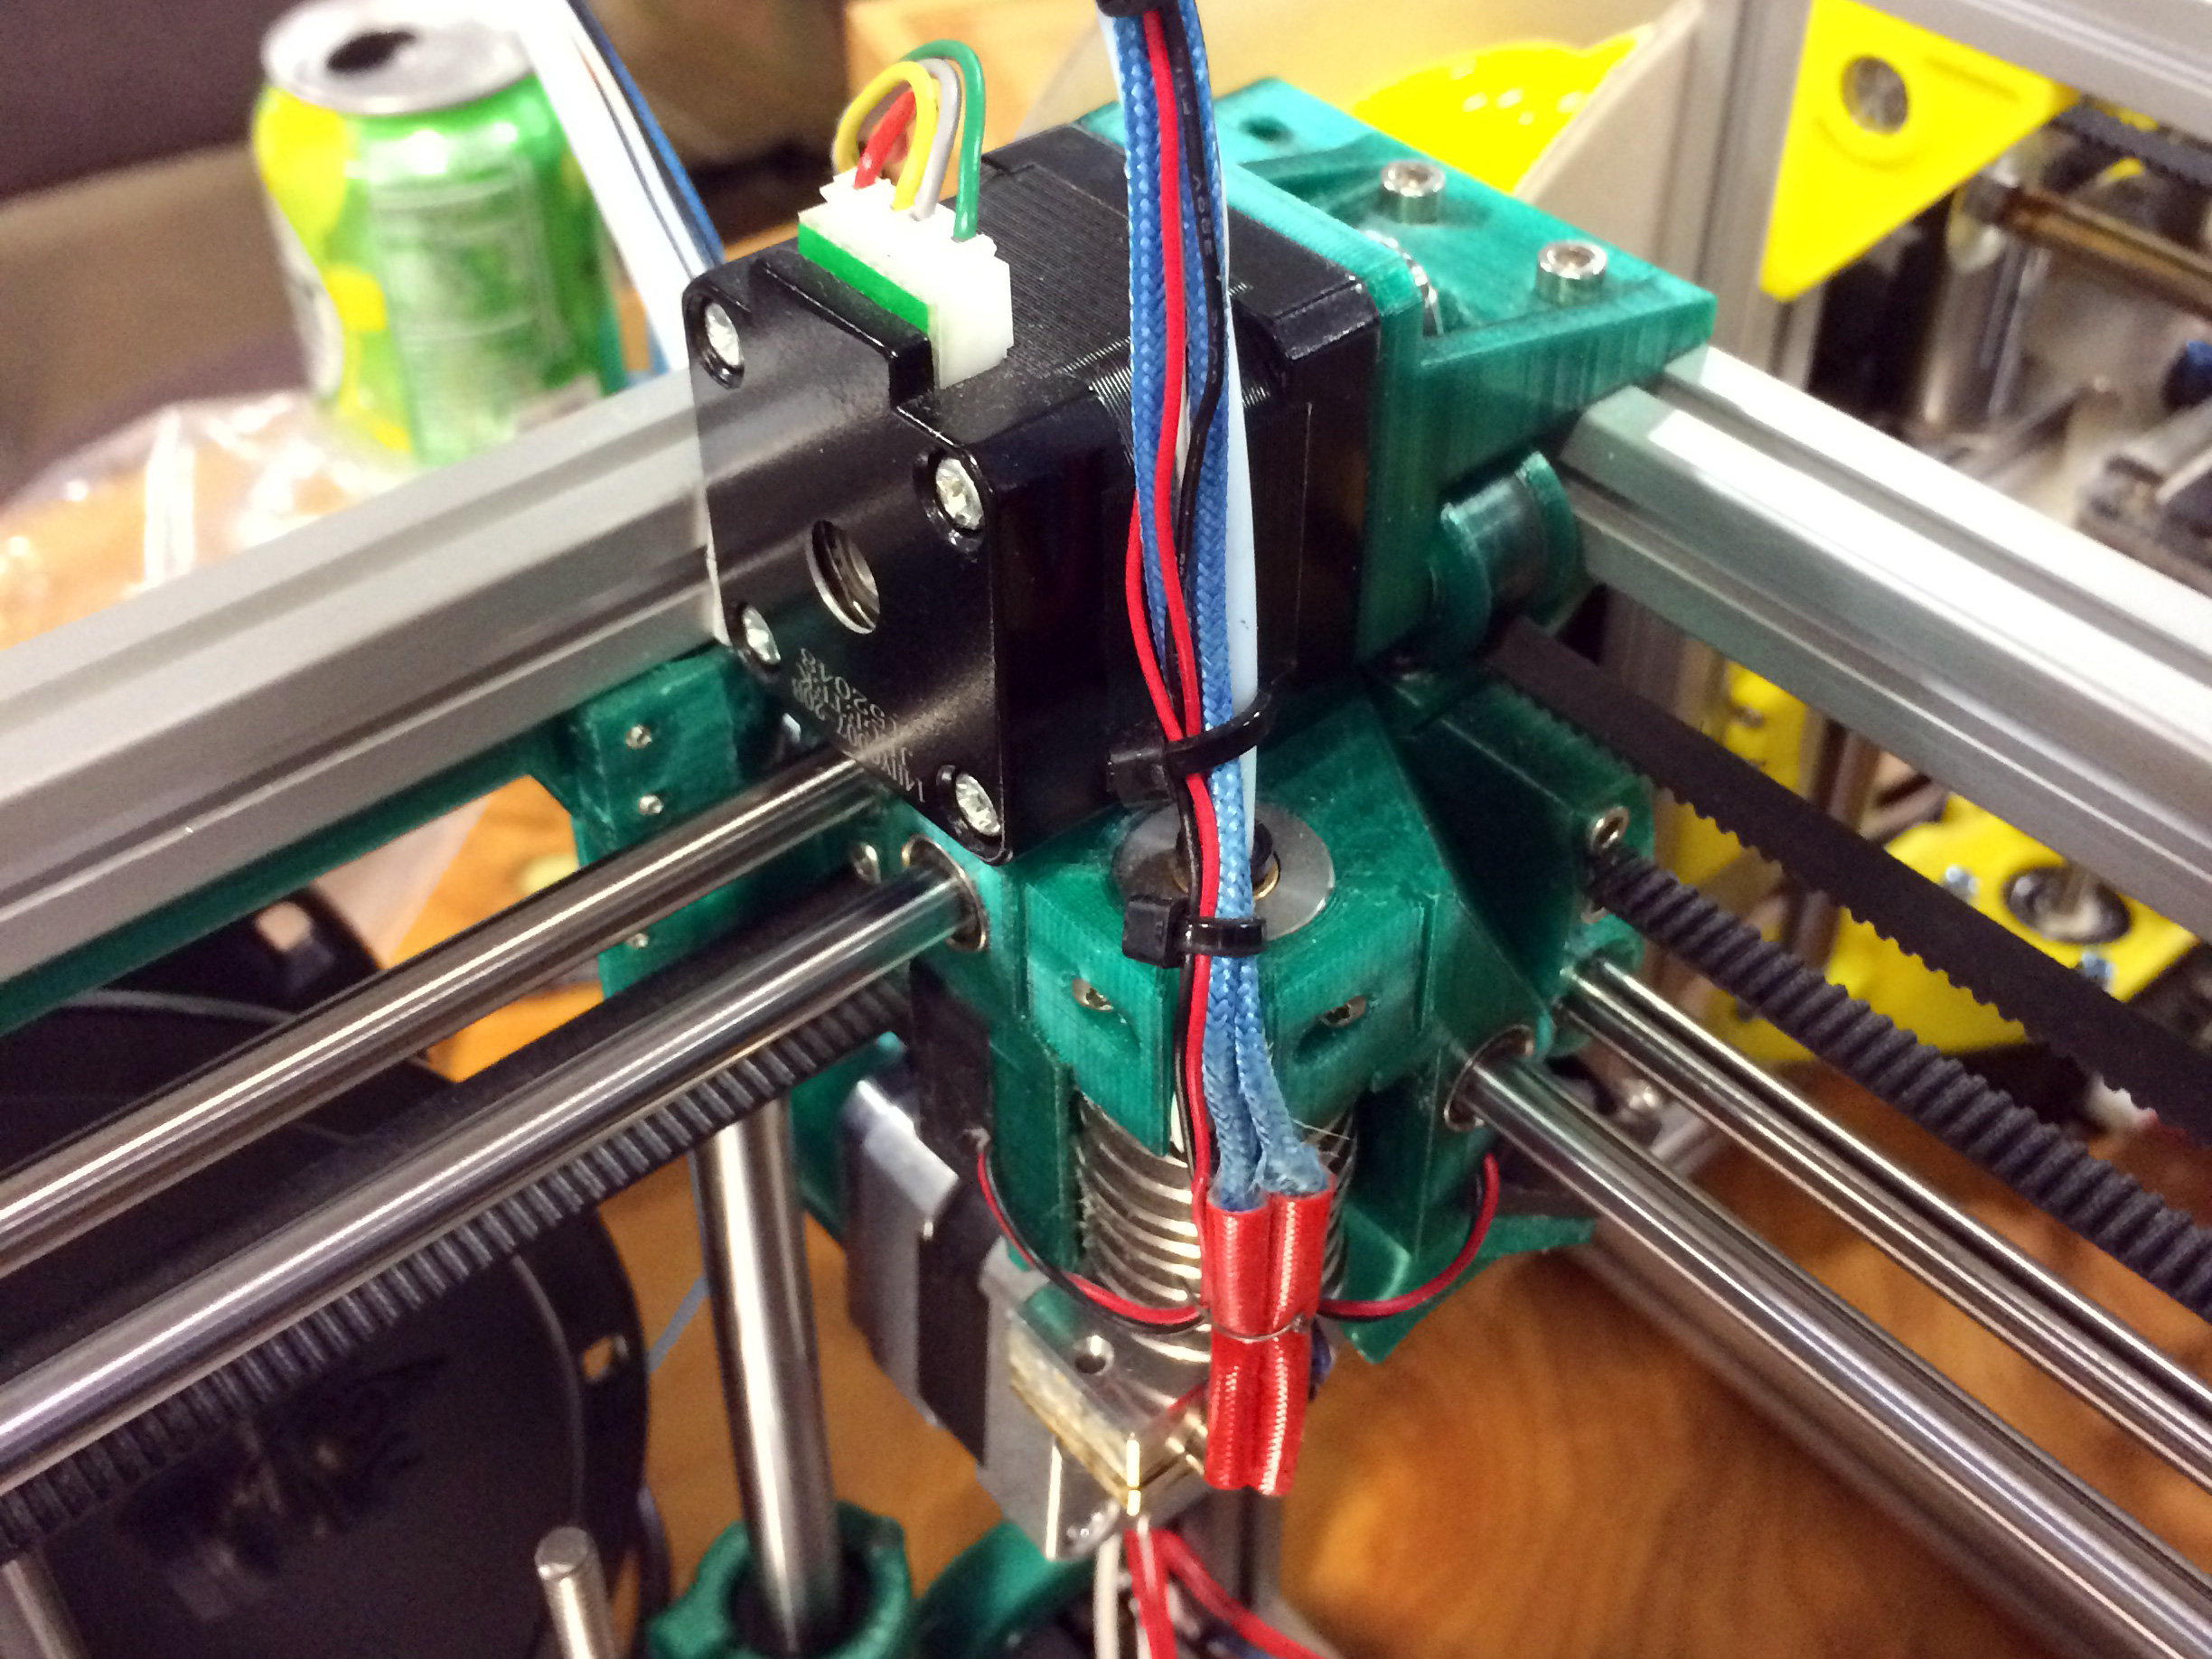
The entire extruder assembly tucks under one of the XY motors at the corner of its movement. Compare its size to the size of a NEMA14 stepper motor.
Another interesting aspect of the design is the extremely light extruder assembly. The lighter an extruder can get, the less ringing will show in your parts at speed. This is one of the most compact designs I’ve witnessed. It consists of two fans, an E3d v6 lite nozzle, and two small linear bearings. The cold end is handled by a bowden set-up and a Bondtech extruder at the back of the printer. The only way to get it lighter would be a different nozzle, such as the upcoming insanely light 13g Pico from B3 unveiled at the festival. I was also interested to see that the bearings on the supporting rails were printed bushings to keep the weight even lower. [nop head] has tested these extensively, they should be fine as long as the rods have a good finish.
I’ve mentioned the size before, but it’s hard to grasp just how adorable this printer is without seeing it. The build envelope is 100mm x 100mm x 100mm, the printer itself is 200mm x 200mm x 240mm. That’s only 50mm wider than the build footprint. It’s a really fun design just to look at and see how they fit it all in there. There are lots of neat little tricks with belt routing and part design to get it all right.
For the enthusiast this would make a good small parts printer and travel printer. However, for me, it was neat to see people still setting out to try designing their own printer. In some ways the 3d printer movement has become crowded with Chinese knock-offs, and I was excited to see something new at the festival. It wasn’t the only new printer design there, but it stood out to me the most. I like the uncompromising nature of it, many people try to design for the lowest BOM and not the nicer print. There are still lots of low-hanging fruit in the 3d printer world and many of them are just getting the mechanics right.
PLA Bushing
Seriously serious Z.
[Patrick] and [Matt] came to the festival with their printer to see if people would like it. They didn’t have grand dreams of selling tons of printers and making millions. They were quite aware that their price point and the small size made it not for everyone. However, their table always had a small crowd. They just really like 3D printers, and that honesty resonated. They didn’t even have a website up at the start of the convention, but by the end they had gotten so many requests they had to oblige. They expect to have 3 kit options available by the end of April. If you’re interested there’s a mailing list sign up on their website. Let’s hope we see them at MRRF again next year with another cool design to look over.
For the last few years, we’ve been going to the Vintage Computer Festival East in New Jersey. This is one of the best cons we go to every year; there are dozens of interesting exhibitors, awesome talks, a great venue, and a small consignment area filled with the weirdest stuff you can imagine. This year proves to be no different, and we’ll be there cataloging the weirdness and spectacular hacks of computer systems old enough to vote, plus something new.
Hackaday’s 8-bit game programming contest is happening for the first time at VCF East, April 15-17 in Wall, New Jersey. Competitors are given two and a half hours and an old 8-bit system (Apple II, C64, Atari 800, etc.). The goal is to create a game using only what is currently in memory, be that in the ROM or between the ears. There are two sessions on the Friday of the event, starting at 10am and 2:30pm.
You can call the 8-bit game programming contest a hackathon. That’s basically what it is; getting a small team together to whip up an application quickly with a number of constraints. The term ‘hackathon’ has been bastardized as of late, with companies requiring the use of a particular API or other nonsense. The 8-bit programming contest doesn’t have these limitations. All you need to do is create the coolest game in two and a half hours, and get the most applause from the audience. The best game wins a prize.
Of course, we’re not going to VCF East just to promote a retro hackathon. We’re only obliged to mention that first because we’re sponsoring it. VCF East is a fantastic event, with more retro goodies to satiate even the most curmudgeonly retro aficionado. The show is enormous with keynotes from [John Blankenbaker], inventor of the Kenbak-1 personal computer and [Stewart Cheifet], host of Computer Chronicles. Dr. Dr. Ted Nelson, author of Computer Lib and creator of Xanadu, the underlying software for computers that won’t be built for 100 years, will also be there. The weekend is, as always, packed with great exhibits of ancient tech, classes, and workshops.
Each Vintage Computer Festival is different, but if you’d like a sample of what it’s all about, check out these posts:
Apart from an announcement for the festival in New Jersey, there are a lot of changes in the organization of the various vintage computer festivals held around the country. The Vintage Computer Festival East was formerly organized by MARCH, the Mid-Atlantic Retro Computing Hobbyists. Late last year, MARCH was dissolved, and reformed as a 501(c)3 called the Vintage Computer Federation. The VCF (see what they did there?) also has the rights to hold VCF West, which last happened in 2007. The VCF Midwest, Southwest, Europe, and UK will remain independent.
If it isn’t already extremely obvious, this is one of the top-tier events we go to every year. No, it’s not DEF CON, it’s not HOPE, and it’s certainly not a big con. It’s just a bunch of nerds nerding out, which is the critical ingredient for the best events we attend all year.
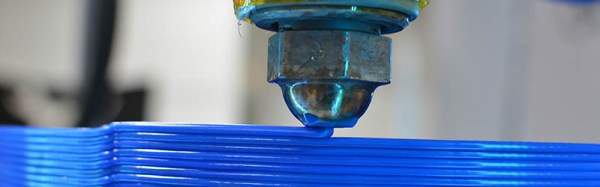
Think laying down molten plastic on a 3D printer is as easy as squeezing plastic filament out of a hot tube? It’s not, and anyone who had a 3D printer in 2009 would tell you as such. There were hobbed bolts that stripped the plastic into a gooey paste, extremely large x carriages that made everything wobbly, and nothing worked as well as it does today.
Technology marches on, and this year’s Midwest RepRap Festival had people showing off the latest advances in pushing plastic, and something that hasn’t seen much use yet – dissolvable filament.
Dallas Texas played host to an epic Hackaday meetup last weekend. The Dallas Makerspace was kind enough to open their doors, and we sure used them. Attendance was over capacity, with a line all night to screen-print your own T-shirt, a set of lightning talks that lasted nearly two hours, and plenty of hardware show-and-tell.
We’ll start off with three of the most impressive builds displayed. First is a set of simple designs that can be used to make tools in parts of the world where even a hammer is a luxury. Then it’s on to a clever entertainment device that uses discrete stopped-motion figurines to make live animations. We’ll take a look at the Witch-E project which is building a replica of the famous Dekatron-based computer. And finish up with the surprise hit of the meetup.