“If I could save time in a bottle…” it’s not just an old song, it’s a passion for many photography hackers. Time-lapse photography is a way to show the movement of time through still images. These images are animated into what essentially is a video recorded at a super low frame rate. We’re talking one frame per minute or slower in some cases! The camera doesn’t have to be still for all this, but any motion must be carefully controlled. This has led hackers, makers, and engineers to create a myriad of time-lapse rigs. This week’s Hacklet is all about some of the best time lapse projects on Hackaday.io!
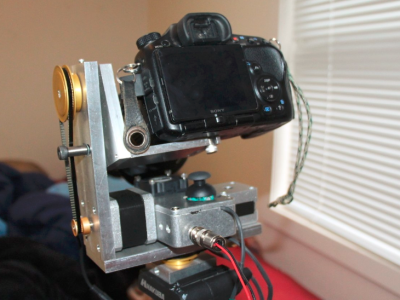 We start with [Swisswilson] and the simply named Timelapse rig. To say this rig is beefy would be an understatement. All the aluminum parts, with the exception of the gears, were machined by [Swisswilson]. Two
 Nema-23 Nema-17 motors are controlled by Sparkfun Easy Stepper Drive boards, while an Arduino Micro serves as the controller. The electronics are all housed in a sturdy box which also serves as a remote control. A joystick allows pan and tilt to be manually controlled. The bombproof construction is definitely a help here, as [Swisswilson] is using this rig with DSLR cameras. Combined with a lens, these setups can reach a pound or two.
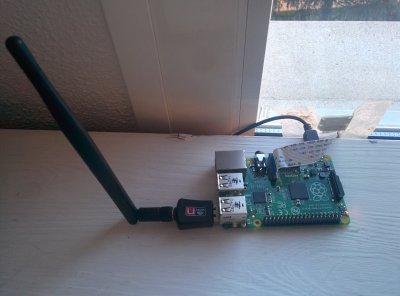 Next up is [minWi], who put their script-foo to work with raspilapse. Raspilapse automates the entire process of taking photos, assembling them into a movie, and uploading to YouTube. The hardware is a Raspberry Pi Model B, with a RasPi Camera. The Pi shoots images then uploads them to a Virtual Private Server (VPS). [minWi] used an external server to save wear and tear on the Pi’s SD storage card. At the end of the day, the VPS uses ffmpeg to assemble the images into a video, then uploads the whole thing to YouTube. We’re betting that with a few script mods, this entire process could be run on a Raspberry Pi 2. If you’re really worried about the SD card, a USB flash drive could be used.
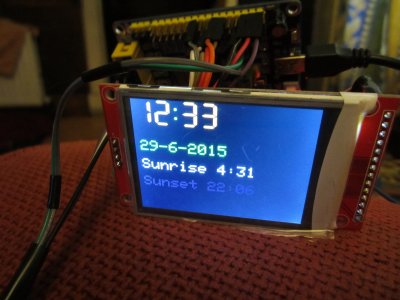 [Andyhull] takes us down to one frame per day with Sunset and Sunrise camera controller. [Andy] wanted to get shots of the sunrise every day. Once converted to a video, these shots are great for documenting the passing of the seasons. He used a Canon point and shoot camera along with the Canon Hack Devleoper’s Kit (CHDK) for his camera. The camera has its own real-time clock, and with CHDK, it can be programmed to shoot images at sunrise. The problem is power. Leaving the camera on all the time would quickly drain the batteries. Arduino to the rescue! [Andy] programmed an Arduino Pro Mini to turn the camera on just before sunrise, then shut it back down. The standby power of a sleeping ATmega328 is much lower than the camera’s, leading to battery life measured in weeks.
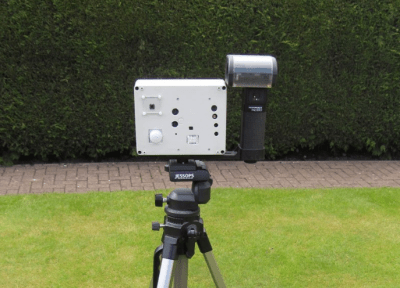 Finally, we have [caramellcube] who added data to their time-lapse photos with Portable Observation Device (POD). POD was conceived as a device to aid paranormal investigators. The idea was to have a device that could take images and record data at a set interval from within a locked room. Sounds like a job for a Raspberry Pi! [caramellcube] started with Adafruit’s Raspberry Pi-based touchscreen camera kit. From there they added a second board controlled by an Arduino Nano. The Nano reads just about every sensor [caramellcube] could fit, including humidity, air pressure, magnetic field strength, acceleration, light (4 bands), sound, and static charge. The Nano allows [caramellcube] to connect all those sensors with a single USB port on the Pi. We’re not sure if [caramellcube] has found any ghosts, but we’re sure our readers can think of plenty of uses for a device like this!
If you want to see more time-lapse projects, check out our new time-lapse projects list! If I missed your project, don’t be shy, just drop me a message on Hackaday.io. That’s it for this week’s Hacklet. As always, see you next week. Same hack time, same hack channel, bringing you the best of Hackaday.io!