Hacking Transcend Wifi SD Cards

[Pablo] is a recent and proud owner of a Transcend WiFi SD Card. It allows him to transfer his pictures to any  WiFi-enabled device in a matter of seconds.

As he suspected that some kind of Linux was running on it, he began to see if he could get a root access on it… and succeeded.

His clear and detailed write-up begins with explaining how a simple trick allowed him to browse through the card’s file system, which (as he guessed correctly) is running busybox. From there he was able to see if any of the poorly written Perl scripts had security holes… and got more than he bargained for.

He first thought he had found a way to make the embedded Linux launch user provided scripts and execute commands by making a special HTTP POST request… which failed due to a small technicality. His second attempt was a success: [Pablo] found that the user set password is directly entered in a Linux shell command. Therefore, the password “admin; echo haxx > /tmp/hi.txt #” could create a hi.txt text file.

From there things got easy. He just had to make the card download another busybox to use all the commands that were originally disabled in the card’s Linux. In the end he got the card to connect a bash to his computer so he could launch every command he wanted.

As it was not enough, [Pablo] even discovered an easy way to find the current password of the card. Talk about security…

A Crystal Radio Amplifier In A Jar

The cool thing with crystal radios is that they are solely powered by the incoming radio waves. However, it usually means listening to your AM radio station with an earpiece and even then, depending on the antenna length, ground connection, and radio station, it can be quite hard to hear.

Even though it is cheating, [Steven] decided to make an amplifier for all the different crystal radios he had made over the years. His design, based on an LM386 amplifier was firstly tested on a breadboard and then permanently soldered onto a perfboard. To make the complete system easy to transport, he opted for a peanut butter jar where he embedded the speaker in the cap. The on/off switch and volume controls are mounted on the side, and easy alligator clips are used for the antenna connection.

The final result is not the one shown in the picture above as [Steven] painted the jar black, giving it a sweet look.

Building The Electronics For A Tesla Coil… And Watercooling Them

A few years ago [Patrick] was offered the Tesla coil of a friend of a friend. This was an opportunity too good for him to pass up.

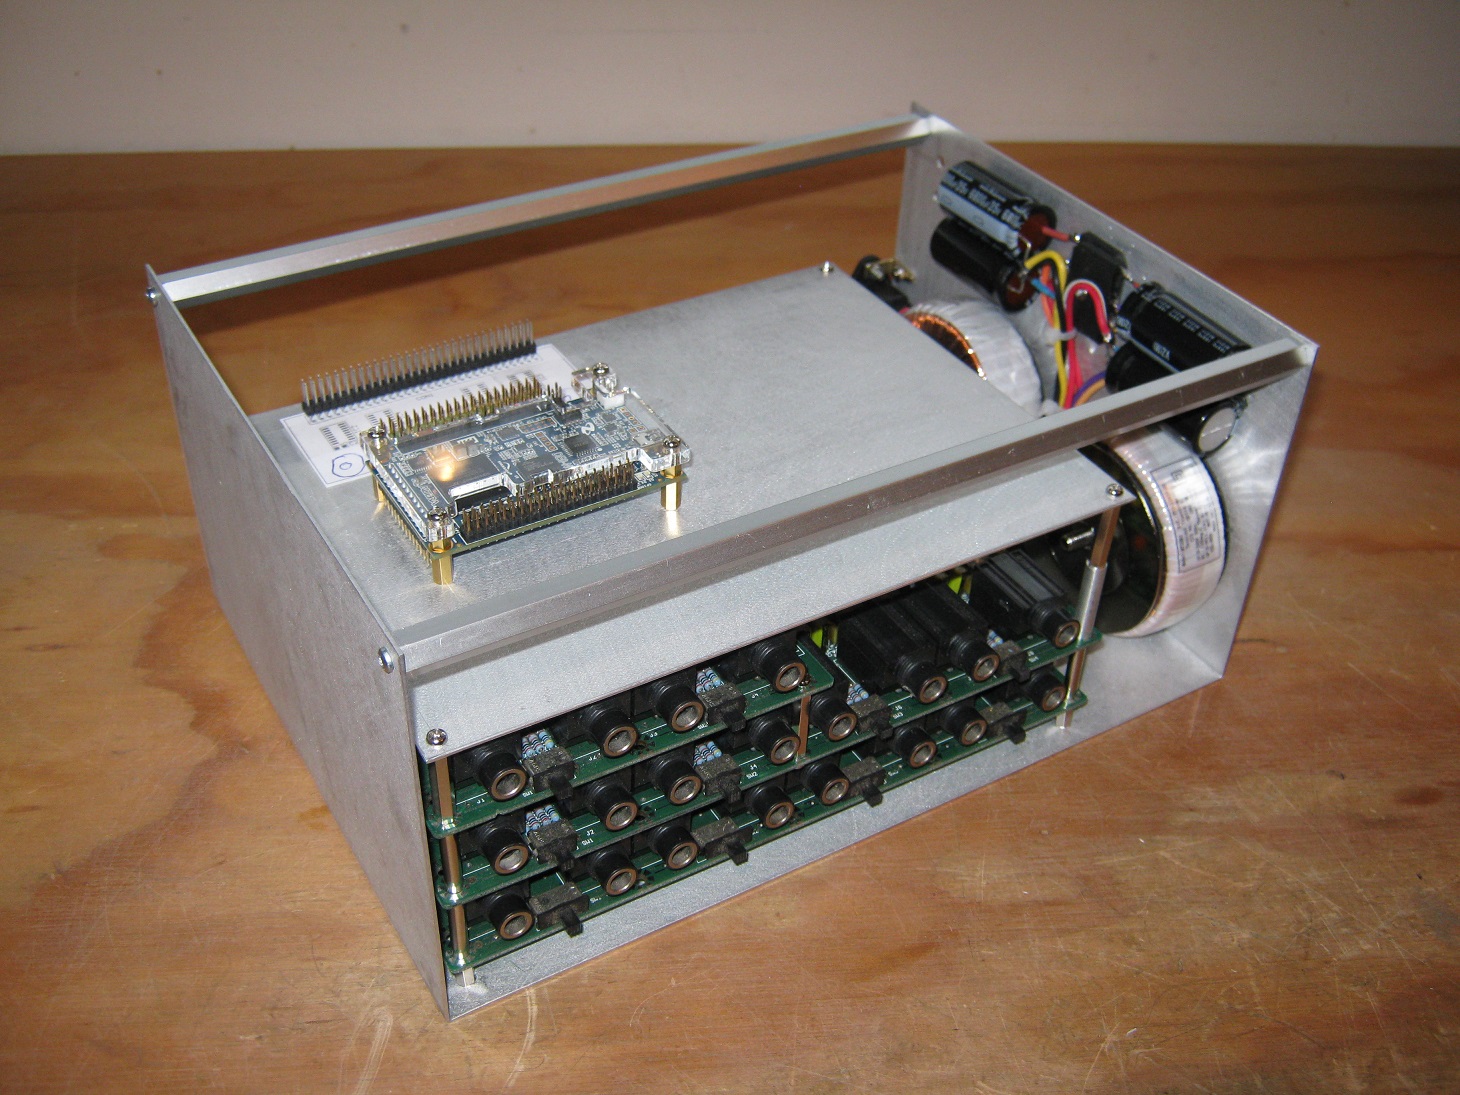
He then began the creation of an Off-Line Tesla Coil (OLTC), where no supply transformer is used. The incoming mains supply is rectified and directly fed into the tank capacitor.

[Patrick] therefore had to build a huge capacitor bank and more importantly his own primary coil, made with a 1.6mm (0.064″) copper sheet to handle the immense current involved. Air cooling the electronics was sufficient until he started using his three phase input supply. As more power involves more heat, a waterblock was designed to cool the main transistor.

Patrick’s write-up is very detailed and worth the read. Once you’re finished with it, we advise you to browse through his website, where a lot more cool projects are described.

Tiny WiFi Modules, Again

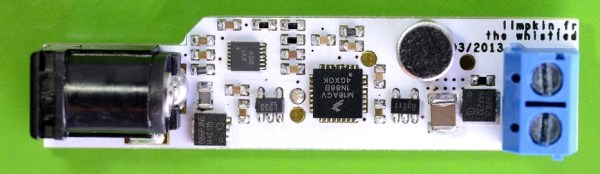
The CC3000 is a tiny, single-chip component that adds all the necessary hardware (save for a chip antenna) and software to get even the most minimal microcontrollers onto a WiFi network. It was announced early this year but making proper breakout boards takes time, you know? This time has finally arrived with CC3000 modules from Adafruit, and evaluation modules and booster packs from TI themselves.

Unlike other microcontroller-compatible WiFi modules out there, the CC3000 takes care of just about everything – the TCP/IP stack, security stuff, and even the configuration with TI’s SmartConfig app for desktop, laptop, or mobile devices. Realistically, you can get an ATtiny, an exceedingly sparse microcontroller, or even a Commodore 64 or Apple II on the Internet with this. It’s very, very cool.

While these breakout boards and modules are priced very well for what they do, they’re still fairly expensive to stick in a project permanently. Where the CC3000 really shines is including it in your next fabbed board. There are already Altium parts and an Eagle library that includes this part should you need help with that, and blatant advertising for our overlords at SupplyFrame if you’re looking for a source.

A $5 ARM Development Board

Most of you know that there are plenty of ARM powered development boards out there, so you may not be really sure what a new one can still bring to the table.

With a $5 price tag, the open hardware McHck (pronounced McHack) is meant for quickly building projects on a small budget. The board created by [Simon] is based on a Freescale Cortex M4 microcontroller, and can be plugged directly into one’s computer. As a Direct Firmware Update (DFU) bootloader is present on the microcontroller, there is no need for external programming equipment.

The board has unpopulated footprints that allow users to add other functionalities that may be required for their future projects: a Real Time Clock (RTC), a Boost regulator for single cell battery operation, Buck and linear regulators, a Lithium Polymer (LiPo) battery charger and even an External Flash storage.

The Bill of Materials can be found on the project wiki and the McHck community will soon launch a crowdfunding campaign to send the 5th version of the board to all the hobbyists that may be interested.

And if you’re curious, you can also have a look at all the other boards that Hackaday featured these last months: the browser based IDE arm boardquad-core ARM dev board and the Matchbox ARM.

Centimeter-level Precision GPS For $900

[Colin] and [Fergus] have been working with GPS for years now, and like most builders of really cool things, they’re often limited by the precision of off-the-shelf GPS units. While a GPS receiver is usually good for meters of accuracy,  this just isn’t good enough for a lot of projects. What you need is centimeter-level accuracy, something the guys have managed to do with their Piksi GPS receiver.

Where most GPS receivers only look at the data coming from the GPS satellites orbiting overhead, the Piksi uses another technique, real-time kinematics (RTK), to determine the receiver’s location with exacting precision. The basic idea behind RTK is to look at the carrier frequency of the GPS signals at 1575.42 MHz. This frequency has a wavelength of 19 cm, compared to the alternating 1s and 0s of the that are transmitted at around 1 MHz, or about 300 meters between each bit. While centimeter-level precision isn’t possible with only one receiver, two of these Piksi boards – one base station and one on a vehicle, connected via radio link – can make for a very exacting high-accuracy GPS receiver.

Previously, commercial RTK GPS systems have cost thousands of dollars – making a quadcopter or other homebrew project that relies on this level of precision nonsensical. [Colin] and [Fergus] have built hardware that can bring the price of this setup to under $1000. As a bonus, the Piksi board can also receive from other constellations such as Galileo and GLONASS. A very impressive piece of hardware, and we can’t wait to see the applications.

Overclocking Your Bitcoin Miner

The name of the game in mining Bitcoins isn’t CPUs, GPUs, or even FPGAs. Now, hardcore miners are moving on to custom ASIC chips like the Block Erupter, For around $100 USD, you too can mine Bitcoins at 300 MH/s with 2.5 Watts of power and a single USB port. This speed isn’t enough for some people, like [Jeremy] who overclocked his Block Erupter to nearly twice the speed.

[Jeremy] begins his tutorial with a teardown of the Block Erupter hardware. Inside, he found a custom ASIC chip, an ATTIny2313, a USB UART converter, and a voltage regulator for the ASIC. By changing out the 12 MHz crystal connected to the ASIC and fiddling with the voltage with a trim pot, [Jeremy] was able to overclock the ASIC core from 336 MHz to 560 MHz. Effectively, he’s running two Block Eruptors for the price of one with the potential to actually make back the purchase price of his hardware.

It must be noted the 560 MHz figure comes from replacing the 12 MHz crystal with a 20 MHz one, and this mod only lasted about 20 minutes on [Jeremy]’s bench until the magic blue smoke was released. He recommends a 14 or 16 MHz crystal, netting a new speed of either 392 MHz or 448 MHz for a stable mod.