So you’ve successfully taught your cats to use your toilet, just like little furry humans. Congratulations! But you can’t quite teach the cat to pull the flush lever? You might want to automate it for them instead! (Editor’s note, 2019. Link seems to be dead. Try the Wayback Machine.)
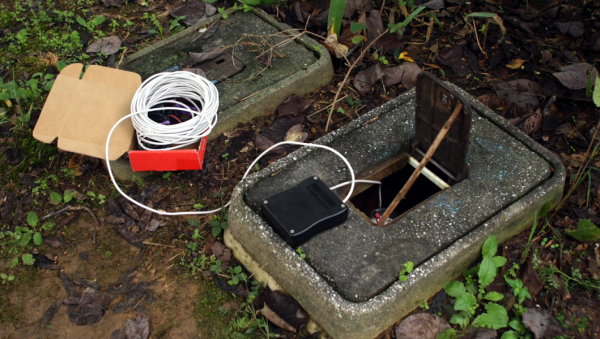
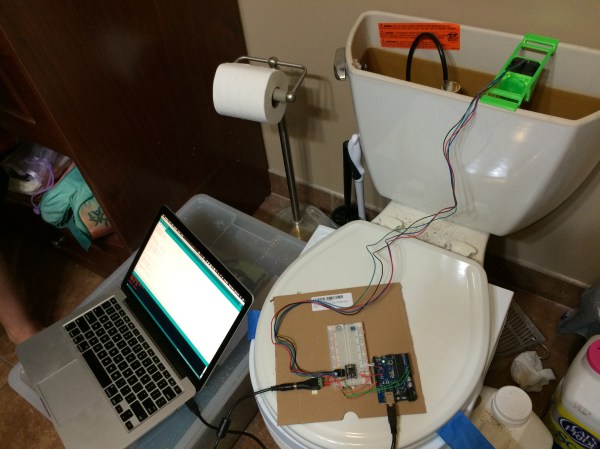
[Joycelin & Dan] are in the final stages of teaching their cats to use the toilet. Unfortunately they had a snowboarding trip coming up, and were worried about the cats losing progress when they couldn’t flush the toilet for them. Rather than have a bit of a setback in their toilet training, they improvised — and automated the toilet.
There are commercial solutions available, but they cost several hundred dollars. You could strap a geared motor to the side of your toilet with a stick screwed to it like this guy did, but who wants to pay for the water bill of flushing your toilet every few minutes??
Continue reading “Toilet Automatically Flushes For Your Bathroom Trained Kitty”
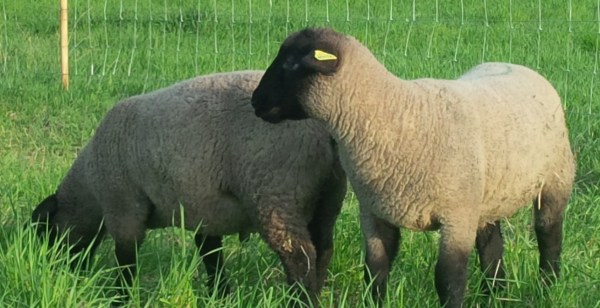
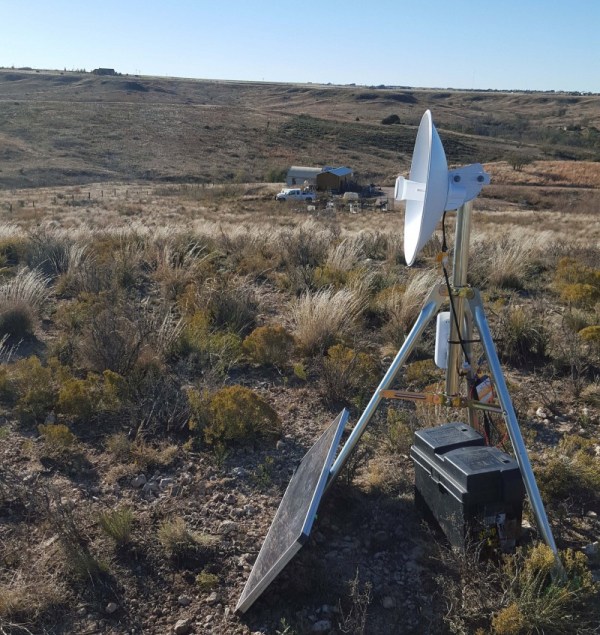
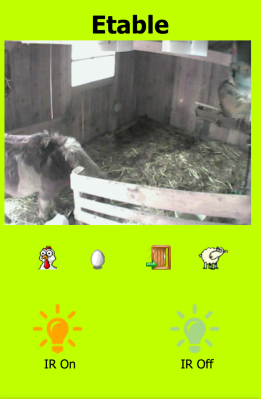 [Vince]’s livestock appears to consist of chickens and sheep at this point, and the fact that they share housing helped him to deploy some tech for both species. The chickens got an automated door that lets them out in the morning and shuts them in safely once they’ve returned to roost for the night – important protection against predators. The door is hoisted by a