Alexa Controls This Projector Thanks To ESP8266

[jfessard] doesn’t have extra-sensory perception, but does have an ESP8266. The little board seems to pop up in every hack these days. Inspired by not wanting to get up from the bean-bag chair or leave the electronics-housing cabinet wide open to use an HDMI switcher, [jfessard] hacked together an Alexa-compatible projector control via the ESP8266!

The core functionality here is the ability to turn the projector on and off, and to switch the HDMI source. [jfessard] connected the Panasonic PT-AE3000U projector to a Monoprice HDX-401TA 4×1 HDMI switcher. Tucked away in the cabinet below the projector, it is controlled using a IR LED transmitter breakout board sitting at the end of a fairly long set of jumper wire. The projector control itself is through a RS232 interface.

To make this easy to use with Amazon’s Alexa, [jfessard] turned to some libraries for the ESP8266 D1 Mini. The fauxmoesp library makes it look like a WeMo device, and the IRemoteESP8266 library made remote control code cloning a snap. One really frustrating part of this hack was the MAX232-style breakout board; getting a board to work when it’s labelled backwards takes a bit of head-scratching to figure out.

If the the projector ever gets too noisy, we suggest this hack that shushes the machine. For the moment, we’d rather take another look at this laser projector that mimics a cool ‘laser sky’ effect.

IoT Doorman: Eye-Controlled Door For A Girl With Cerebral Palsy

Kyleigh has an eye-controlled computer on her wheelchair but something as simple as her bedroom door was still beyond her reach… until now! [Bill Binko], recently filmed a demo of an automatic, IoT door opener built for the young girl with cerebral palsy. [Bill] is a co-founder of ATMakers, an organization that enables makers interested in assistive technologies to collaborate with users to improve quality of life.

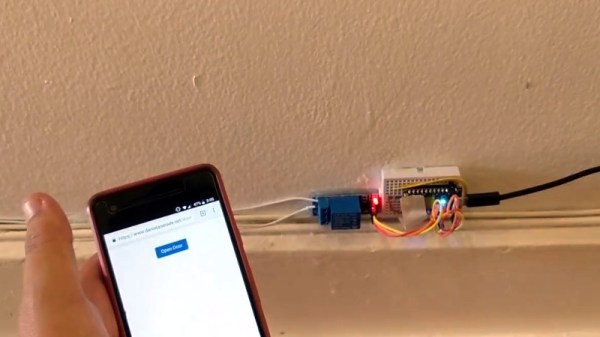
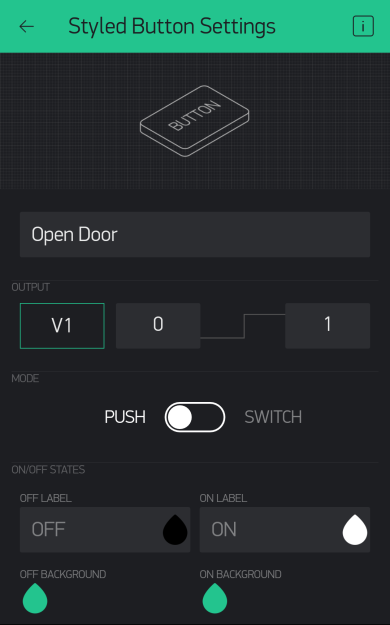
Using her eye tracking tablet (PRC Device), Kyleigh has two new icons that make the relevant call to a website, pushing a simple command to either open or close her bedroom door. The device attached to the door uses an Adafruit M0 WiFi Feather board, a DC stepper motor and wheel, a UBEC buck converter, and a potentiometer.

Since other family members are also going to be opening and closing the door, there’s potentiometer which measures the door position for proper operation next time Kyleigh wishes to use the door. The installation also maintains a fairly inconspicuous profile for the assistance it gives — the ‘brain’ is enclosed in a small box on the door, with the motor only slightly larger on the door’s base.

[Bill] believes the project has a few quibbles and wants to work out a smaller wait before the open/close process is executed and optimizing the open/close speed. You have to check out the video below to see that it works really really. We’re also excited to see Kyleigh using her gaze control to talk to an Amazon Echo. [Bill] foresee a door control improvement that links it to Alexa. And how much did it cost to improve the quality of life for this young girl? $70.

We love seeing makers help people, and cannot wait to see what 2018 will bring! If you’re looking for more inspiration, don’t miss the eye-controlled wheelchair project called Eyedrivomatic which won the 2015 Hackaday Prize. There’s also the top Assistive Technology projects from the Hackaday Prize.

Continue reading “IoT Doorman: Eye-Controlled Door For A Girl With Cerebral Palsy”

Auto-Tracking Sentry Gun Gives Deer A Super Soaking

Things rarely go well when humans mix with wildlife. The problems are exacerbated in the suburbs, where bears dine on bird feeders and garbage cans, raccoons take up residence in attics, and coyotes make off with the family cat. And in the suburbs, nuisance wildlife can be an intractable problem because the options for dealing with it are so limited.

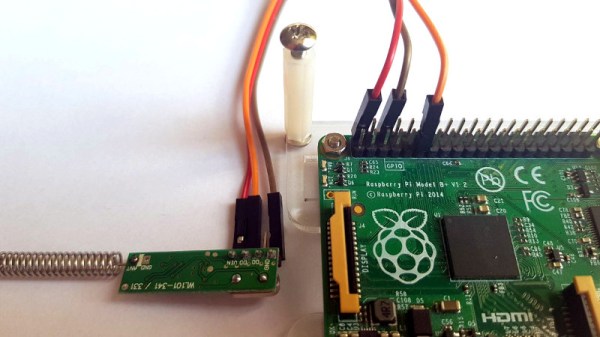
Not to be dissuaded in the battle to protect his roses, [dlf.myyta] built this motion-activated sentry gun to apply some watery aversion therapy to marauding deer. Shown in action below against a bipedal co-conspirator, the sentry gun has pretty much what you’d expect under the hood — Raspberry Pi, NoIR camera, a servo for aiming and a solenoid valve to control the water. OpenCV takes care of locating the intruders and swiveling the nozzle to center mass; since the deer are somewhat constrained by a fence, there’s no need to control the nozzle’s elevation. Everything is housed nicely in a plastic ammo can for portability and waterproofing. Any target that stands still for more than three seconds gets a hosing; we assume this is effective, but alas, no snuff films were provided.

We’re not sure if [dlf.myyta]’s code can discern friend from foe, and in this litigious world, hosing the neighbor’s kid could be a catastrophe. Perhaps version 2.0 can include image recognition for target verification.

Continue reading “Auto-Tracking Sentry Gun Gives Deer A Super Soaking”

An Indoor Garden? That’s Arduino-licious

Gardening is a rewarding endeavour, and easily automated for the maker with a green thumb. With simplicity at its focus,  Hackaday.io user [MEGA DAS] has whipped up a automated planter to provide the things plants crave: water, air, and light.

[MEGA DAS] is using a TE215 moisture sensor to keep an eye on how thirsty the plant may be, a DHT11 temperature and humidity sensor to check the airflow around the plant, and a BH1750FVI light sensor for its obvious purpose. To deliver on these needs, a 12V DC water pump and a small reservoir will keep things right as rain, a pair of 12V DC fans mimic a gentle breeze, and a row of white LEDs supplement natural light when required.

The custom board is an Arduino Nano platform, with an ESP01 to enable WiFi capacity and a Bluetooth module to monitor the plant’s status while at home or away. Voltage regulators, MOSFETs, resistors, capacitors, fuses — can’t be too careful — screw header connectors, and a few other assorted parts round out the circuit. The planter is made of laser cut pieces with plenty of space to mount the various components and hide away the rest. You can check out [MEGA DAS]’ tutorial video after the break!

Continue reading “An Indoor Garden? That’s Arduino-licious”

3D Printed Desk Harnesses The Power Of Fusion 360 And McMaster-Carr

Black pipe furniture is all the rage now, and for good reason — it has a nice industrial aesthetic, it’s sturdy, and the threaded fittings make it a snap to put together. But if you’ve priced out the fittings lately, you know that it’s far from cheap, so being able to 3D-print your own black pipe fittings can make desks and tables a lot more affordable.

Cheapness comes at a price, of course, and [Vladimir Mariano] takes pains to point out that his desk is a light-duty piece that would likely not stand up to heavy use. But since the flange fittings used to connect the plywood top to the legs and as feet would cost about $64 all by themselves from the local home center, printing them made sense. Together with custom pieces to mount stretchers between the legs, the 3D-printed parts made for a decently sturdy base.

But the end product isn’t the main point of the video below. Thanks to the ability to browse the McMaster-Carr catalog from within Fusion 360, [Mariano] was able to seamlessly import the CAD model of a suitable iron flange and quickly modify it to his needs. The power of this feature is hard to overstate; you can literally browse through a catalog of engineered parts and print usable replicas instantly. Sure, it’s not made of metal, but it’s a huge boon to designers to be able to see how the final product would look, especially in the prototyping phase of a project.

Not familiar with McMaster-Carr? It’s an engineer’s online playground, and we covered the ins and outs of doing business with McMaster a while back.

Continue reading “3D Printed Desk Harnesses The Power Of Fusion 360 And McMaster-Carr”

ESP8266 Beacon Announces Your Arrival

It used to be people were happy enough to just have to push a button in their car and have the garage door open. But pushing a button means you have to use your hands, like it’s a baby toy or something. We’re living in the 21st century, surely there must be a better way! Well, if you’ve got a home automation system setup and a spare ESP8266 laying around, [aderusha] may have your solution with MQTTCarPresence.

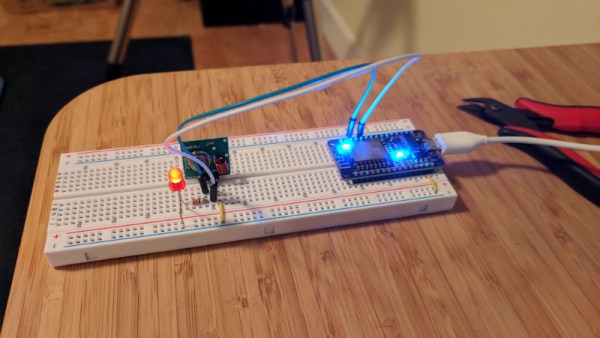
The theory of operation here is very clever. The ESP8266 is powered via the in-dash USB port, which turns on and off with the engine. When the engine is started, the ESP8266 is powered up and immediately connects to the WiFi network and pushes an MQTT message to Home Assistant. When Home Assistant gets the notification that the ESP8266 has connected, it opens the garage door.

When [aderusha] drives out of the garage and away from the house, the ESP8266 loses connection to the network, and Home Assistant closes the door. The same principle works when he comes home: as the car approaches the house it connects to the network and the garage door opens, and when the engine is shut off in the garage, the door closes again.

The hardware side of the setup is really just a WeMos D1 mini Pro board, though he’s added an external antenna to make sure the signal gets picked up when the vehicle is rolling up. He’s also designed a very slick 3D printed case to keep it all together in a neat little package.

We’ve covered automated entry systems based on the ESP8266 before, though usually the ESP stays at home. Be sure to check out the awesome series [Elliot Williams] has on the wonders of MQTT if you’re looking to setup your own automation system.

Cardboard Wall Is Surprisingly Well Built

We all built cardboard forts when we were kids. [Paintingcook] has taken it into adulthood with a hand built cardboard wall. He and his wife leased a loft apartment. Lofts are great — one giant space to work with. Plans changed a bit when they found out they had a baby on the way. A single living, working, and sleeping space definitely wouldn’t be good for a newborn, so the couple set about separating a section of the room with a wall.

Sheetrock and steel or wood lumber would be the normal path here. They instead decided to recycle their cardboard moving boxes into a wall. The boxes were formed into box beams, which created the framework of the wall. The two pillars were boxed in and incorporated into the wall itself. The skin of the wall is a random patchwork of cardboard pieces. Most of the construction is completed with 3/8 ” screws and masking tape. Tape won’t last forever, but this is a temporary wall after all.

You might be wondering about fire hazards — sure, cardboard burns more readily than gypsum board, but the apartment is outfitted with sprinklers, which should help on this front. A few commenters on [Paintingcook’s] Reddit thread asked about formaldehyde and other gasses emitting from the cardboard. Turns out he’s an inorganic chemist by trade. He says any outgassing happens shortly after the cardboard is manufactured. It should be safe for the baby.

Cardboard is a great material to work in. You can build anything from robots to computers to guns with it. So get hop the couch, grab that Amazon box, and get hacking!