
Imagine a tub overflowing with bubble bath, except it’s a club dancefloor and music is pumping all night. This is what is known as a “foam party” — a wild and exciting concept that nonetheless many are yet to experience. The concept exploded in popularity in Ibiza in the 1990s, and foam parties are regularly held at nightclubs and festivals the world over.
Foam is generated with the obviously-named foam machine, and these can be readily purchased or hired for anyone wishing to host such an event. However, that’s not the hacker way. If you’re a little ingenious and take heed of the safety precautions, here’s how you can do it yourself.
Continue reading “Building A Foam Machine From A Leaf Blower And A Water Pump”
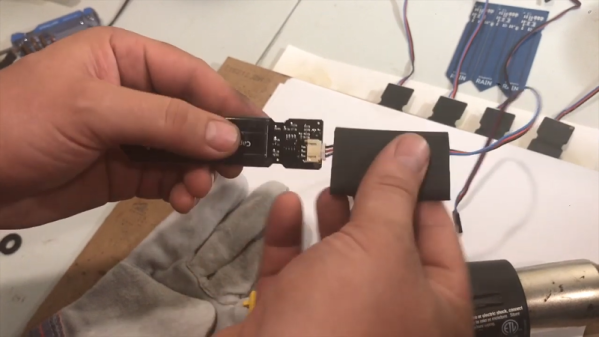

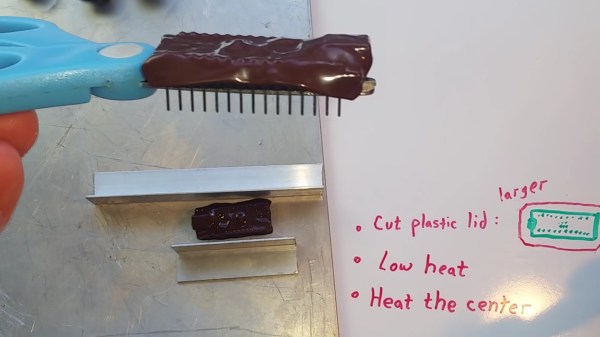
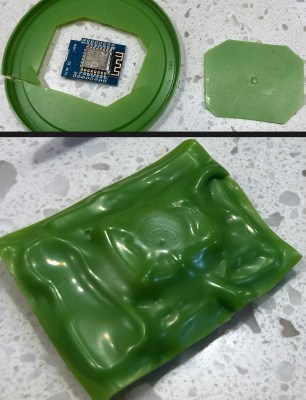 your magic smoke. Even if you are lucky, stray parts are the root of boundless malfunctions from disruptive to deadly. [TheRainHarvester] shares his trick for


