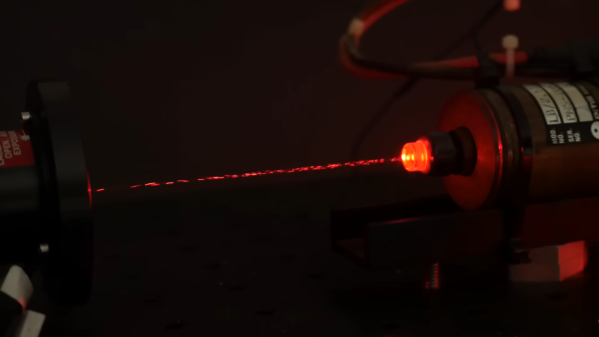
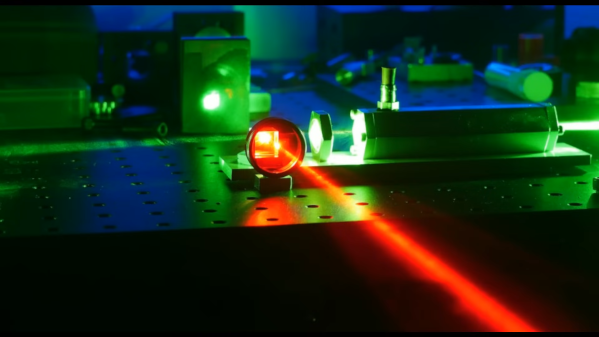
You can get a red laser diode pretty cheap these days—as cheap as £1 in fact. [Beamer] had purchased one himself, but quickly grew bored with just pointing it at the walls. He decided to figure out if he could use it for some kind of communication, and whipped up a circuit to test it out.
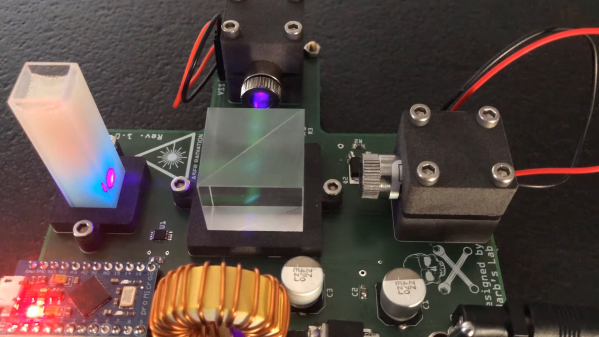
To do the job, he designed a modulator circuit that could drive the laser without damaging it. The build is based around the common 7805 regulator and the venerable 555 timer IC. The 555 is set to pulse at a given rate with the usual array of capacitors and resistors. Its output directly drives the input of a 7805 regulator. It’s set up as a constant current source in order to deliver the correct amount of current to run the laser. The receiver is based around a photodiode, which should prove fairly straightforward.
[Beamer]’s still working on the full setup, but plans to use the laser’s pulses to drive a varying analog meter or something similar. Not every communications method has to send digital data, and it’s good to remember that! Video after the break.
Continue reading “Trying To Build A Communications Device With A 1-Pound Laser And A 7805”