Every hacker gathering needs as many pixels as its hackers can get their hands on. Get a group together and you’ll be blinded by the amount of light on display. (We propose “a blinkenlights” as the taxonomic name for such a group.) At a large gathering, what better way to show of your elite hacking ability than a “competition” over who can paint an LED canvas the best? Enter Pixelflut, the multiplayer drawing canvas.
Pixelflut has been around since at least 2012, but it came to this author’s attention after editor [Jenny List] noted it in her review of SHA 2017. What was that beguiling display behind the central bar? It turns out it was a display driven by a server running Pixelflut. A Pixelflut server exposes a display which can be drawn on by sending commands over the network in an extremely simple protocol. There are just four ASCII commands supported by every server — essentially get pixel, set pixel, screen size, and help — so implementing either a client or server is a snap, and that’s sort of the point.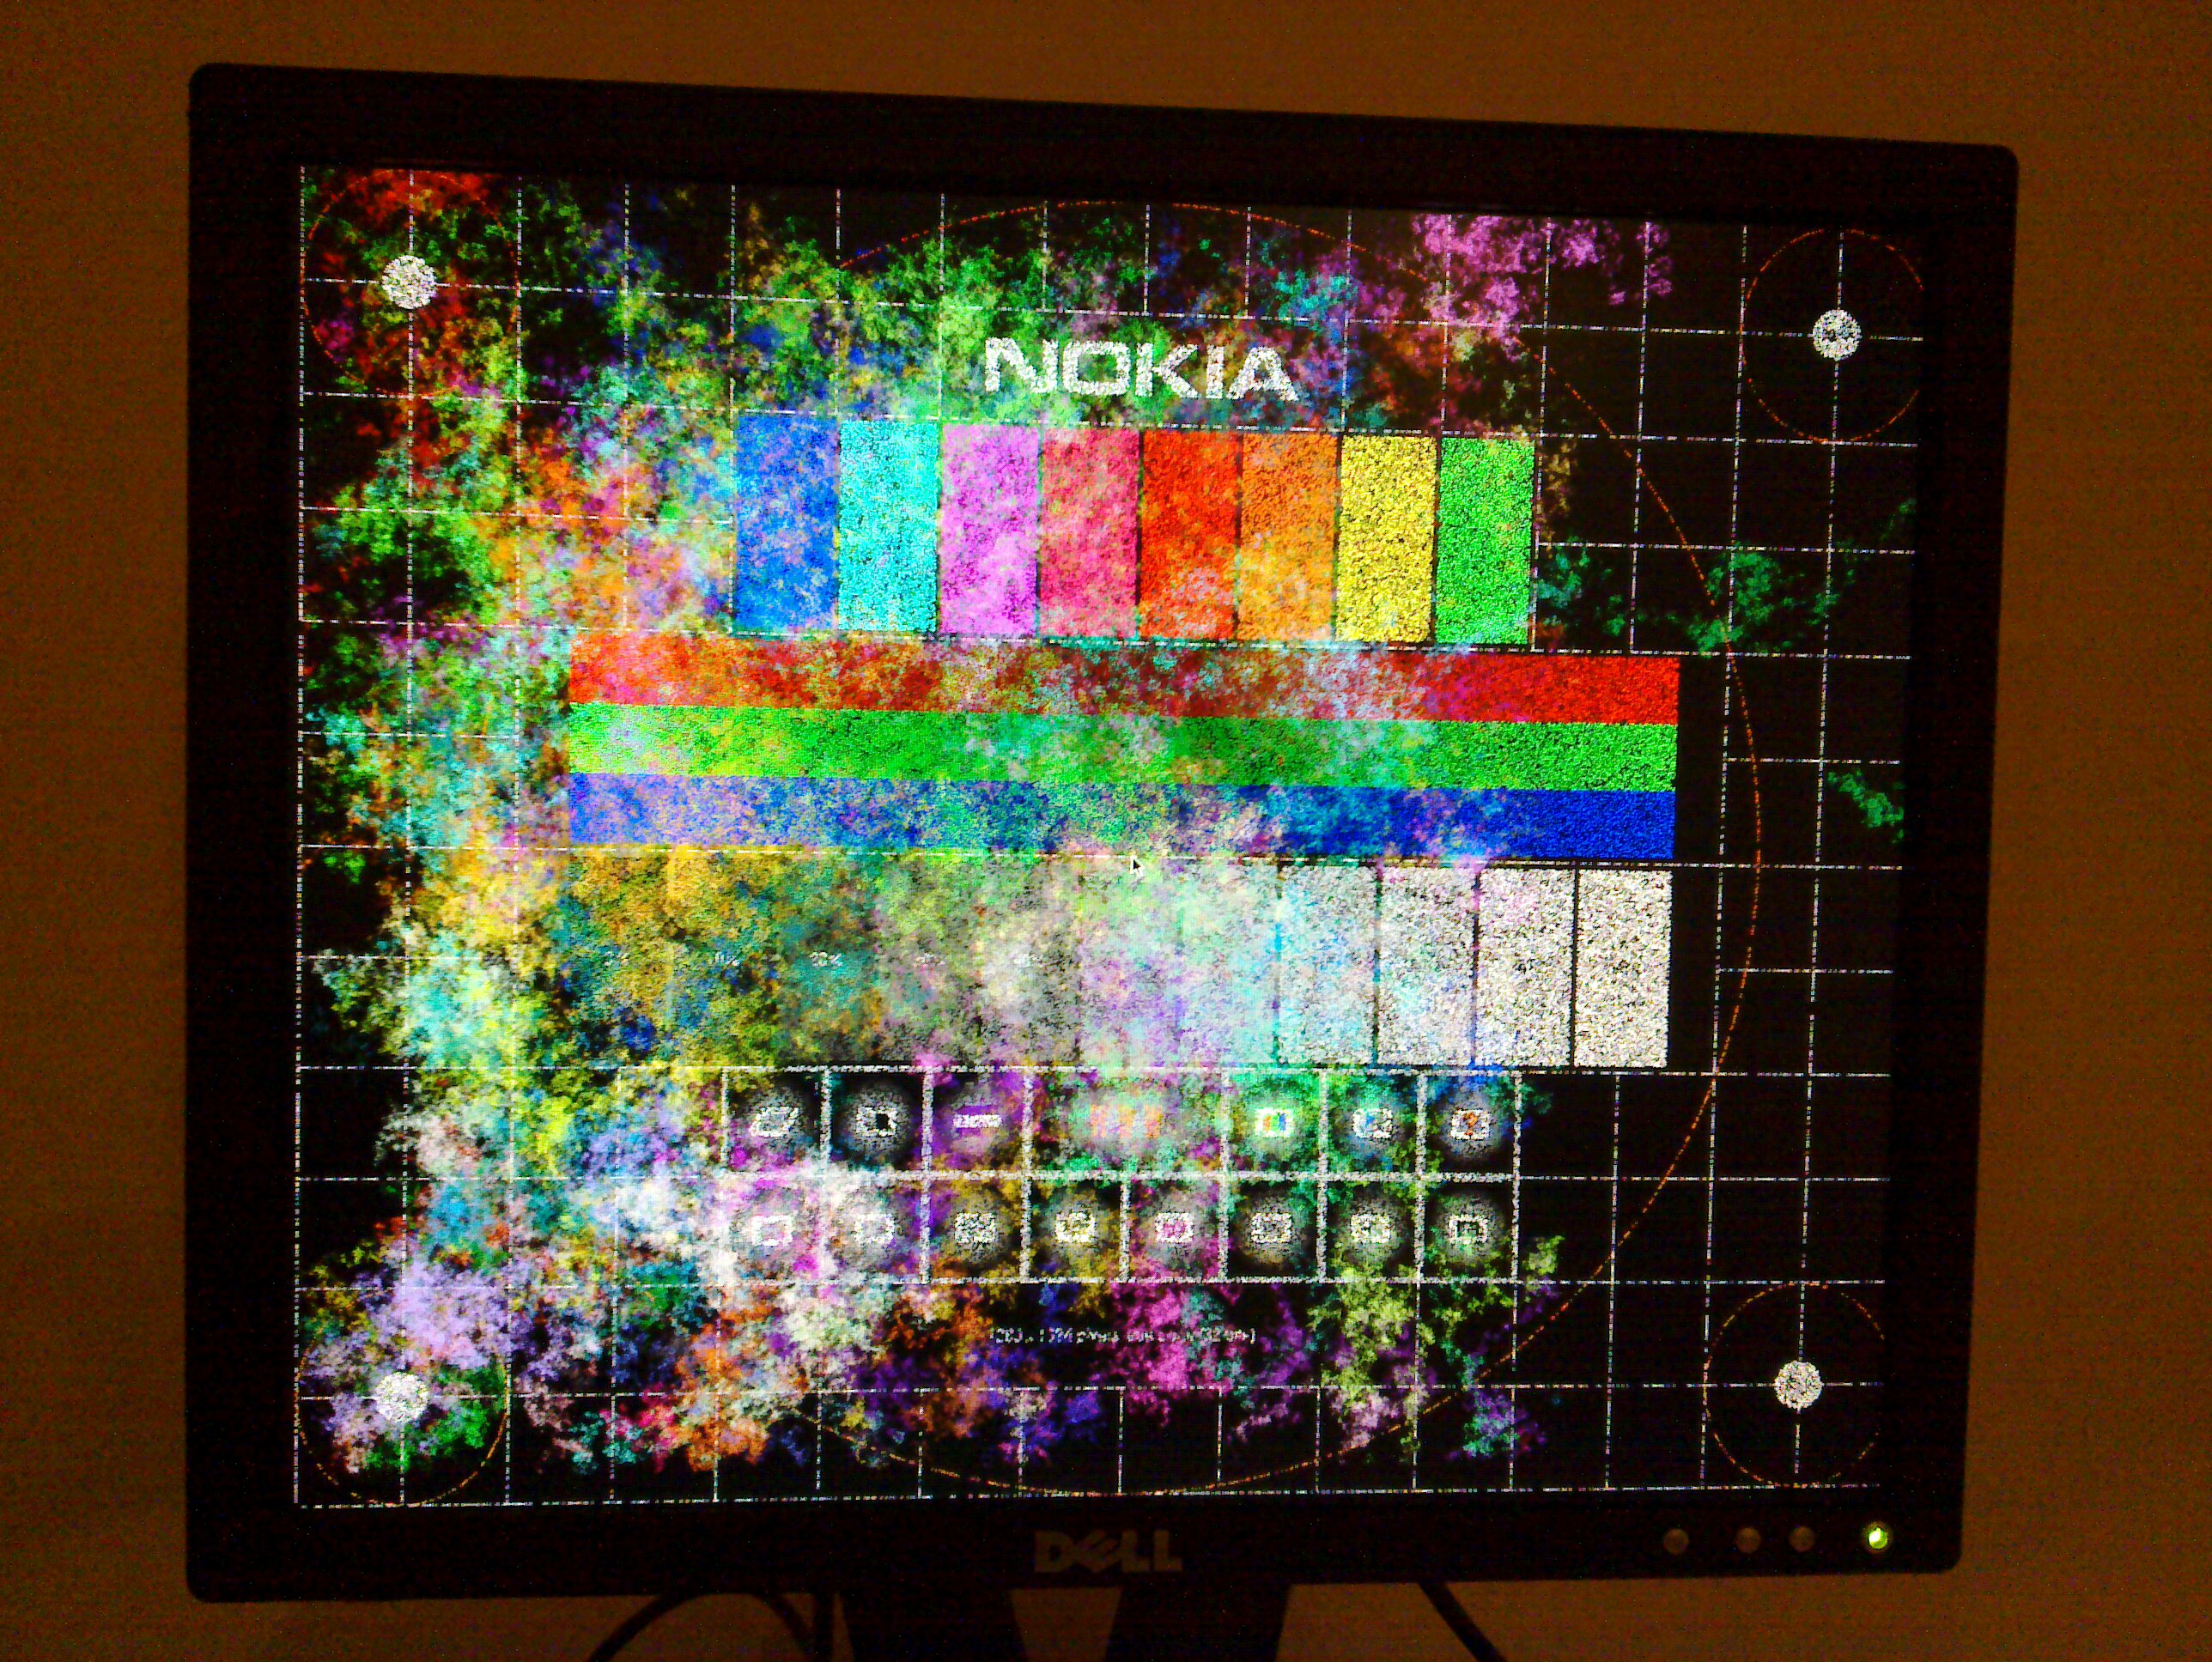
While the original implementations appear to be written by [defnull] at the link at the top, in some sense Pixelflut is more of a common protocol than an implementation. In a sense, one “plays” one of a variety of Pixelflut minigames. When there is a display in a shared space the game is who can control the most area by drawing the fastest, either by being clever or by consuming as much bandwidth as possible.
Then there is the game of who can write the fastest more battle-hardened server possible in order to handle all that traffic without collapsing. To give a sense of scale, one installation at 36c3 reported that a truly gargantuan 0.5 petabytes of data were spent at a peak of rate of more than 30 gigabits/second, just painting pixels! That’s bound to bog down all but the most lithe server implementation. (“Flut” is “flood” in German.)
While hacker camps may be on pause for the foreseeable future, writing a performant Pixelflut client or server seems like an excellent way to sharpen one’s skills while we wait for their return. For a video example check out the embed after the break. Have a favorite implementation? Tell us about it in the comments!
Continue reading “Playing The Pixelflut” →
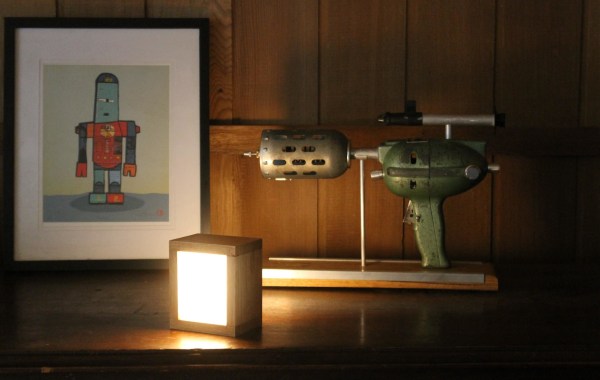
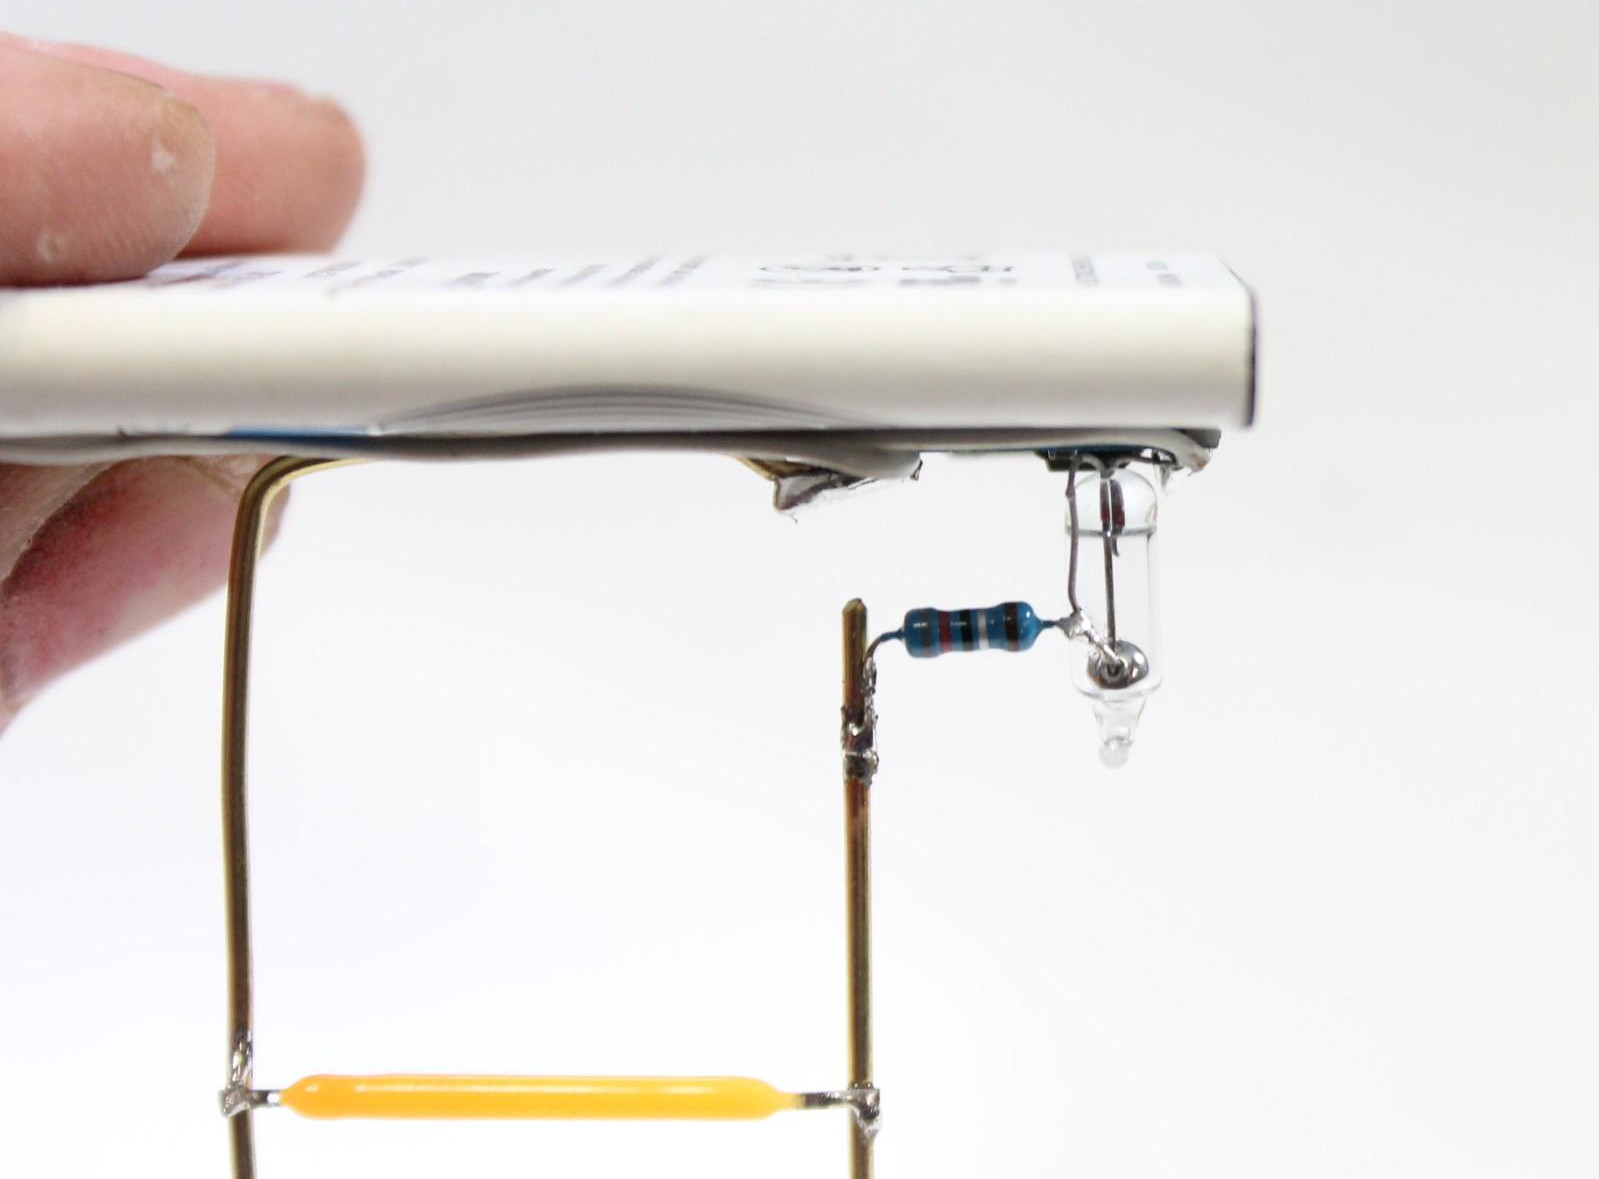 This simple light box uses two filament LEDs that float inside on an internal circuit sculpture. [lonesoulsurfer] likes to use old cell phone batteries and USB charging boards in his builds, and that’s exactly what’s inside this box.