
Despite what you might have heard, even the most devout Hackaday readers may eventually find themselves getting married. Should you ever find yourself in a situation where you need to send out invitations for your big day, or any other major celebration for that matter, you could do worse than follow the example [Mokas] and their partner set with these memorable electronic wedding invitations.
Inspired by the electronic badges distributed at hacker cons, [Mokas] decided to use Adafruit’ EdgeBadge and PyBadge devices to create a similar interactive keepsake that would be a bit more exciting than a piece of paper. While it would have been enough to have the wedding information pop up on the screen when they were turned on, the final invites actually boot into a retro-style game where you walk around talking to characters to uncover information about the event and the venue.
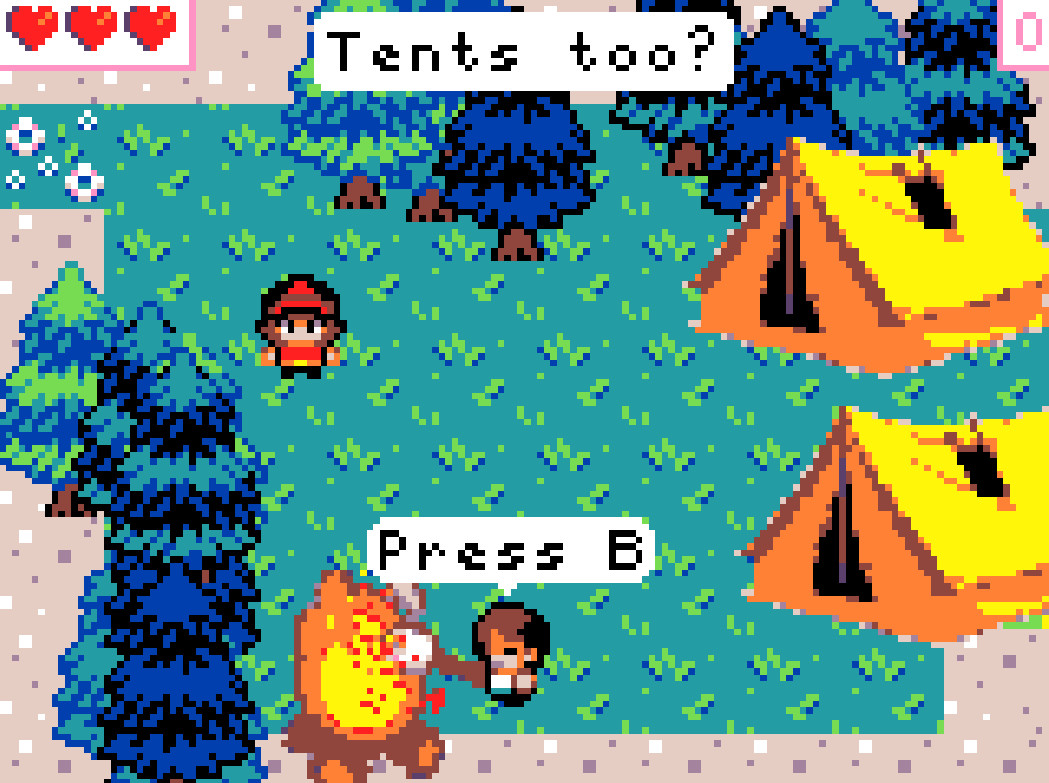 The game was created in Microsoft MakeCode Arcade, with a sprinkling of original and commissioned sprites. Early versions of the game ended up being a bit much for the Adafruit badge’s to handle, but after doing a bit of research on creating games for computationally-constrained platforms, [Mokas] was able to optimize the performance. For those that didn’t get a physical invite (no doubt ours was simply lost in the mail), you can play the whole thing right in your browser.
It’s a very clever idea, and while using custom hardware would have allowed for a more bespoke package, we can’t blame [Mokas] for wanting to keep this one simple. Getting everything ready for your wedding is already enough stress — it’s hardly the time to spin up a new board.
For a similar reasons, another Adafruit offering was selected to power the couple’s e-ink baby development display.


