Jet engines are undeniably awesome, but their inherent complexity prevents many from experimenting with the technology at home. Perhaps the most accessible design is the pulsejet; in valveless form, it can be built relatively easily without needing a lot of precision spinning parts. [Integza] decided to try building his own, facing many hurdles along the way. (Video, embedded below.)
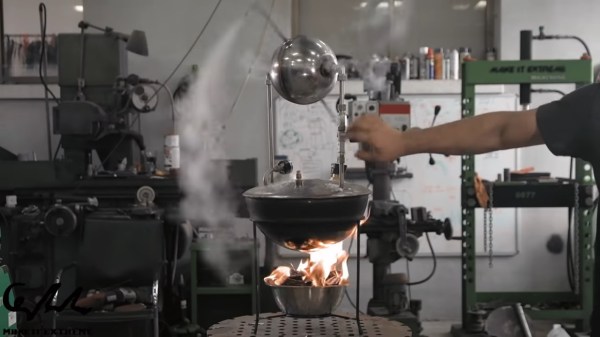
Despite eschewing turbines and compressors, and consisting of just an intake, exhaust and a combustion chamber, the pulsejet still presents many challenges to the home gamer. Primary concerns are sustaining combustion without the jet flaming out, and building the jet out of suitable materials that won’t simply melt into a gooey puddle on the floor.
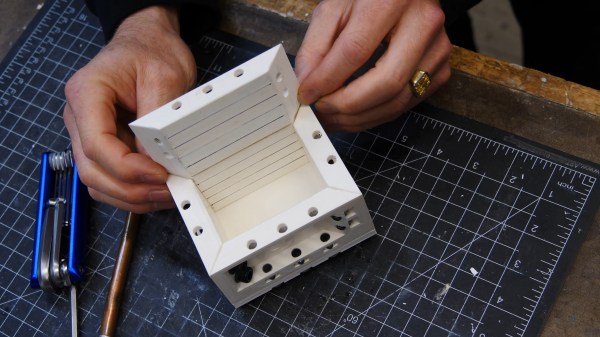
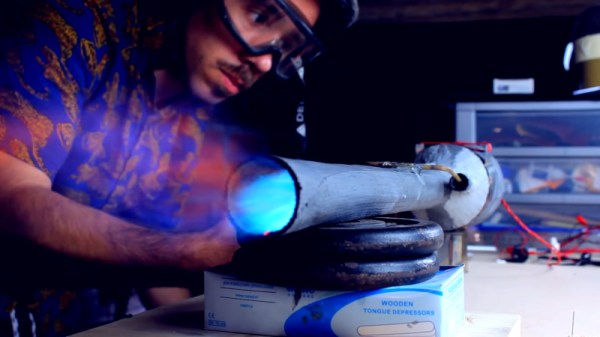
[Integza]’s design process began with many 3D-printed attempts. While the geometry was on point, none of these designs could run for more than a few seconds without melting and falling apart. Determined to avoid the typical welded-steel approach, [Integza] instead resolved to go left-of-field with carbon fibre mat combined with high-temperature sealant. With the help of a 3D-printed mold, he was able to produce a working engine that could stand up to the high temperatures and produce that glorious pulsejet sound.
It’s come a long way from [Integza]’s earlier experiments, and we look forward to seeing where it goes next – whether that be on a plane or perhaps even a go-kart. Video after the break.
Continue reading “Homebrew Pulsejet Uses Carbon Fiber To Great Effect”