Plastic milk bottles, when your project or prototype needs an urgent source of plastic, they are often the first thing to hand. Convenient and flexible, but strong at the same time and usually free, they’re the ultimate source of material in a pinch. However, when it comes to actually manipulating the HDPE plastic they’re made from, there’s often a challenge. It’s easy to cut, but not so easy to join. Conventional glues can have a hard time, making it difficult to bond.
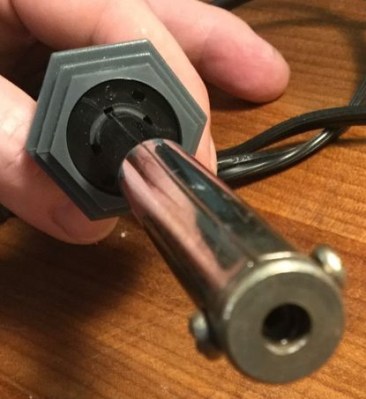
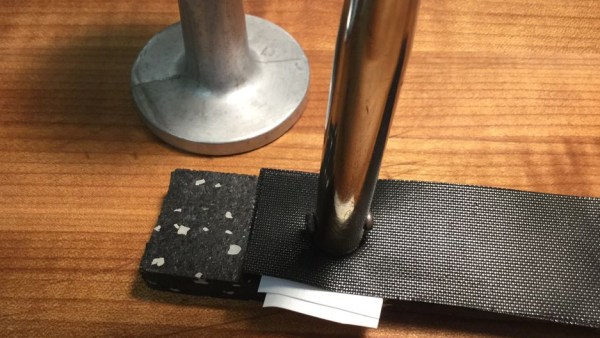
Enter [zimitt], and a spot welding solution for joining HDPE with ease. Ok, so ‘spot welding’ might be a little optimistic given the speed of this process, but it’s useful nonetheless. To heat the plastic, a cheap soldering iron is recommended. A low wattage, straight-to-the-wall one does well, especially as they commonly have the washer-style end shown in the picture. To protect the plastic from burning, a BBQ mat is used – they’re temperature resistant and usually made with a PTFE surface.
First, place the two sheets of plastic face to face and sandwich top and bottom with the BBQ mat. Apply some heat to the mat with the soldering iron then, after a few seconds, remove the iron and provide pressure with a flat object to bond the plastic. [zimitt] used an espresso tamper for this which was ideal.
The results are impressive, and [zimitt] experiments with different plastics as well. Of course, you should exercise caution when attempting anything like this, given the health risks present when heating up different types of plastic.
HDPE is easy to recycle at home, and we’ve seen a lot of great uses: a plastic joiner’s mallet, plastic tiles, and even a filament extruder for 3D printing.