Some people really put a lot of effort into rigging the system. Why spend years practicing a skill and honing your technique to hit a perfect bullseye in darts when you can spend the time building an incredibly complicated auto-bullseye dartboard that’ll do it for you?
 In fairness, what [Mark Rober] started three years ago seemed like a pretty simple task. He wanted to build a rig to move the dartboard’s bullseye to meet the predicted impact of any throw. Seems simple, but it turns out to be rather difficult, especially when you choose to roll your own motion capture system.
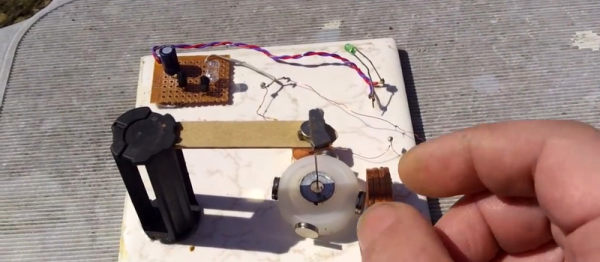
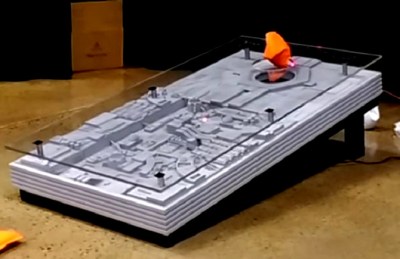
That system, built around the Nvidia Jetson TX1, never quite gelled, a fact which unfortunately burned through the first two years of the project. [Mark] eventually turned to the not inexpensive Vicon Vantage motion capture system with six IR cameras. A retroreflector on the non-regulation dart is tracked by the system and the resulting XY data is fed into MATLAB to calculate the parabolic path of the dart. An XY-gantry using six steppers quickly shifts the board so the bullseye is in the right place to catch the incoming dart.
It’s a huge amount of work and a lot of money to spend, but the group down at the local bar seemed to enjoy it. We wonder if it can be simplified, though. Perhaps tracking just the thrower’s motions with an IMU-based motion capture system and extrapolating the impact point would work.
Continue reading “Dartboard Watches Your Throw; Catches Perfect Bullseyes”
 Designed and built by [