Walk on almost any beach or look on the side of most roads and you’ll see the bottles, bags, and cast-off scraps of a polymeric alphabet soup – HDPE, PET, ABS, PP, PS. Municipal recycling programs might help, but what would really solve the problem would be decentralized recycling, and these open-source plastics recycling machines might just jump-start that effort.
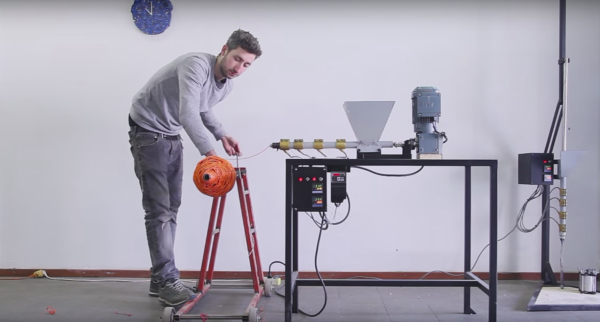
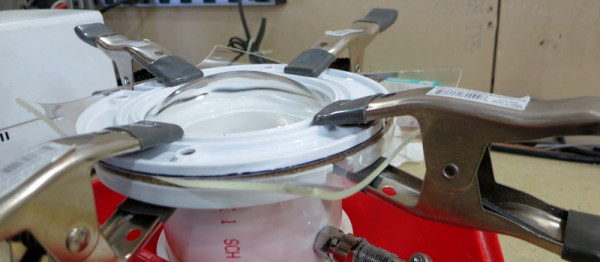
We looked at [Precious Plastic] two years back, and their open-source plans for small-scale plastic recycling machines have come a long way since then. They currently include a shredder, a compression molder, an injection molder, and a filament extruder. The plans specify some parts that need to be custom fabricated, like the shredder’s laser-cut stainless steel teeth, but most can be harvested from a scrapyard. As you can see from the videos after the break, metal and electrical fabrication skills are assumed, but the builds are well within the reach of most hackers. Plans for more machines are in the works, and there’s plenty of room to expand and improve upon the designs.
We think [Precious Plastic] is onto something here. Maybe a lot of small recyclers is a better approach than huge municipal efforts, which don’t seem to be doing much to help. Decentralized recycling can create markets that large-scale manufacturing can’t be bothered to tap, especially in the developing world. After all, we’ve already seen a plastic recycling factory built from recycled parts making cool stuff in Brazil.
Continue reading “Think Globally, Build Locally With These Open-Source Recycling Machines”

 For the past few years, OSH Park, purveyors of perfect purple PCBs, put purple stickers into purple padded envelopes in each order. These stickers weren’t really anything special – just a rectangle with one rounded off corner, a gear, and the OSH Park URL. A few months ago, [Laen] at OSH Park ditched these plain purple stickers for something that taps into the same sentiment as the Apollo 13 pogs distributed through Hardee’s kids meals that included a modular Saturn V-shaped pog case and an aluminum slammer embossed on the obverse side with the Apollo 13 mission patch.
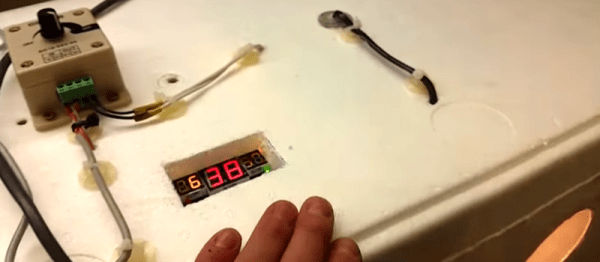
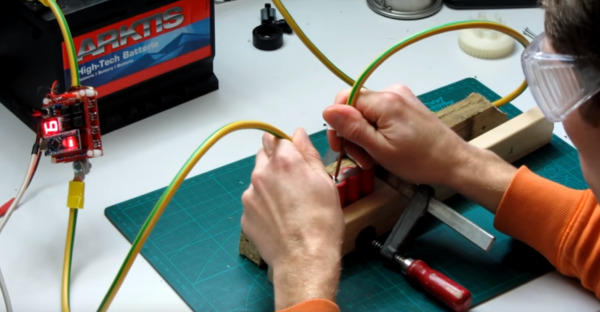
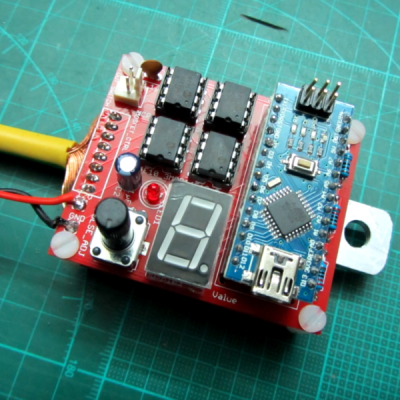 When it comes to delivering the high currents necessary for spot welding, the Arduino Nano is not necessarily the first thing that comes to mind. But the need for a precisely controlled welding pulse makes the microcontroller a natural for this build, as long as the current handling is outsourced. In [KaeptnBalu]’s build, he lets an array of beefy MOSFETs on a separate PCB handle the welding current. The high-current wiring is particularly interesting – heavy gauge stranded wire is split in half, formed into a U, tinned, and each leg gets soldered to the MOSFET board. Welding tips are simply solid copper wire, and the whole thing is powered by a car battery, or maybe two if the job needs extra amps. The video below shows the high-quality welds the rig can produce.


