No mice were harmed in the making of this non-lethal soda bottle mousetrap.
Depending on your opinion of these little critters, that could be a good thing or a bad thing. We don’t deny that mice are cute as all get-out, but when they do damage to foodstuffs that you’ve put an entire summer’s effort into growing, harvesting and preserving, cute isn’t worth much.
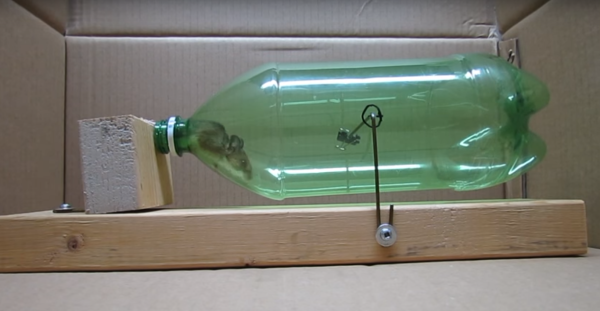
Our preference for taking care of rodent problems is either bioremediation or rapid cervical dislocation, but if you’re more of the catch-and-release type, this trap is for you. It’s just a 2-liter soda bottle on a wire pivot and mounted to a scrap wood frame; when the offending critter unwisely enters the neck of the bottle, its weight flips the bottle down and blocks the exit. Release is as simple as removing the bottle from the frame and letting Monsieur Jingles wiggle free. The questions of where to release and how many times you’ll keep catching the same mouse are left as an exercise for the reader.
Remember – a live catch trap is only humane if it’s checked regularly. To that end, maybe something like das Katzetelegraf could be added to this trap.
Continue reading “A Better Mousetrap, At Least For The Mouse”