Here’s an interesting project to plot every lightning strike on Earth. Blitzortung is a project that uses many extremely low-cost sensor boards packed with an amplifier, microcontroller, and an Ethernet socket to detect lightning strikes. When multiple stations send all that data up to a server, the location of lightning strikes can be calculated, even if they’re hundreds of miles away from any station.
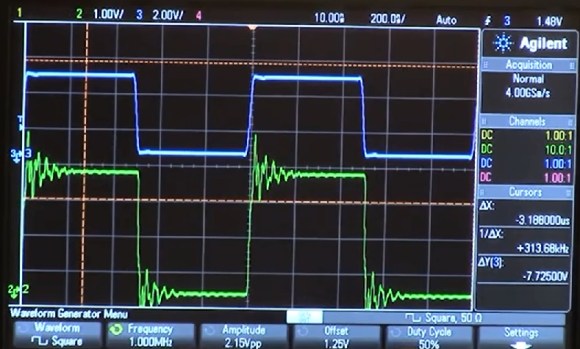
Each station works by detecting a change in the local EM field caused by a lightning strike with either a large loop antenna or a smaller ferrite core antenna. These signals can be amplified and turned into usable data, time stamped, and sent out on the Internet. From there, it’s a simple time of flight calculation to precisely locate where lightning strikes.
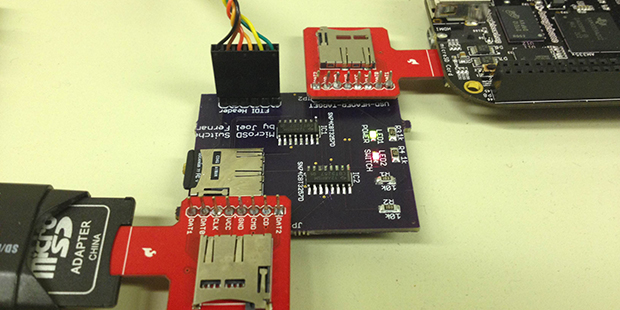
The hardware is actually pretty simple, with based on an STM32F4 Discovery board. A controller includes an Ethernet port, GPS unit, LCD, and all the hardware associated with detecting lightning strikes.
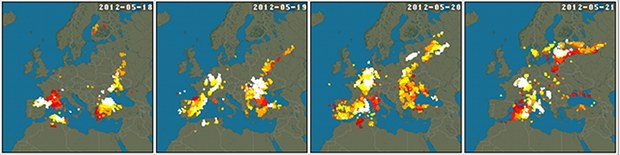
If you’d like to see what’s possible with a huge network of lightning detectors connected to the Internet you can check out LightningMaps for a look at what’s possible.
Thanks [Sean] for sending this in.