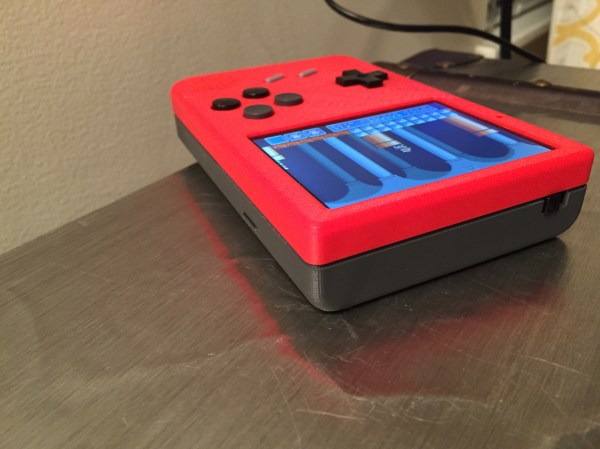
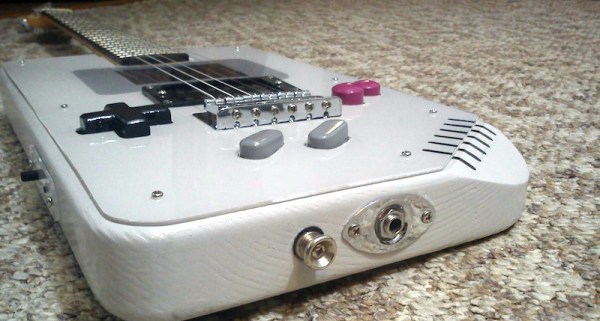
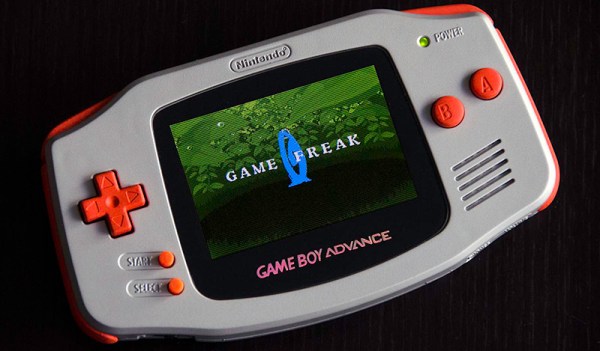
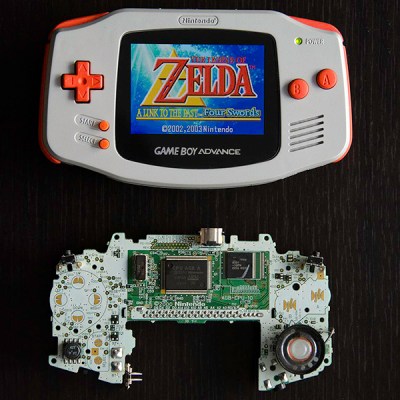
Use The Internet To Get Your Kadabra To Evolve

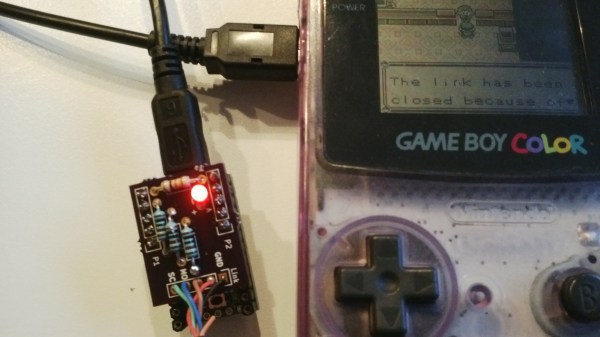
If you grew up playing Pokemon Red or Blue, you might have moved far away from your childhood friends by now. If you’re still playing Pokemon Red or Blue, you can now literally reconnect with these friends using [Pepijn]’s new and improved Game Boy link that lets players trade Pokemon over the internet.

Based on [Pepijn]’s previous work building an Arduino-based Pokemon storage system (which was inspired by a separate project that was able to spoof trades), the device allows a Game Boy (including Pocket, Color, and Advance versions) to connect to the Internet via a Teensy shield. The online waiting room software is called TCPoke which facilitates the Internetting of the Game Boys. From there, all you have to do is connect via the project’s wiki!

The TCPoke software is available on the project’s site. Also, be sure to check out the video below which shows a demonstration of how the software works. There is noticeable delay compared to a direct link between Game Boys, but it functions very well. We didn’t see this link system work for a battle, but it would be interesting to see if it is possible. If so, you might never have to go to a Pokemon League meeting again!

Continue reading “Use The Internet To Get Your Kadabra To Evolve”

Bill’s Arduino

Pokemon is a great game by itself, but when you realize that not all of the ‘mon are available in one game, trading is required for completion, and some pokemon aren’t available without either hacking or going to a Toys ‘R Us in 1997, you start to see how insidious this game can be. Figuring he could finally complete the game with an Arduino, [Pepijn] decided to build a pokemon storage system.

This build was inspired by an earlier post that also spoofed trades. Instead of building this project around a high-power micro, [Pepijn] decided to use an Arduino. The protocol Game Boys use to communicate with each other is extremely well documented, although that’s only half the battle. Each game using the link cable used specialized data structures for transfer, and after grepping through a disassembled Pokemon ROM,  [Pepijn] figured out how everything worked.

The completed hardware keeps one Pokemon in the EEPROM of an Arduino. It’s not very fast if you want to catch all 151 Pokemon in the Gen 1 games, but any way you look at it, you’re going to be catching a lot of Magikarp anyway.

The Proper Use For A Gameboy Advance Carrying Case

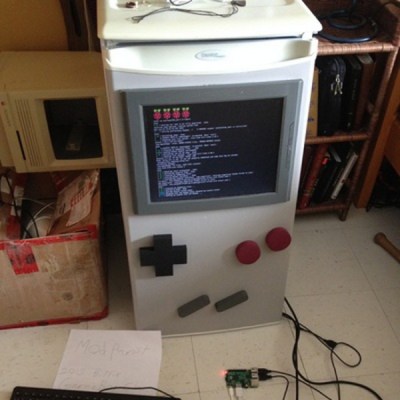
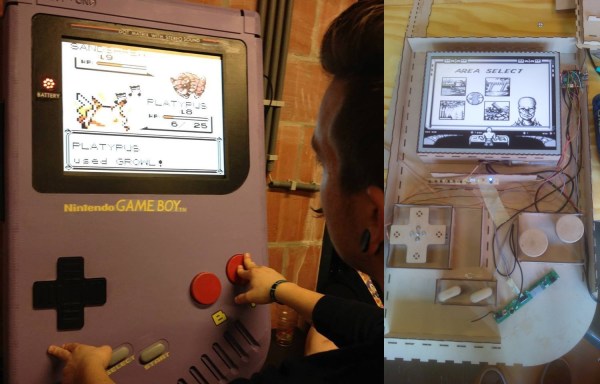
About a decade ago, Nintendo released a Game Boy Advance carrying case in the shape of a Game Boy Advance. It was the obvious answer to the original brick Game Boy carrying case every eight year old had in 1990. This jumbo-sized Game Boy Advance case also makes a really good platform for a console mod, which is exactly what [frostefires] got when he put an N64 in one.

This isn’t the first time we’ve seen this bit of old Nintendo paraphernalia used to house an N64. A few years ago, [Hailrazer] used the same GBA carrying case as the body of an N64 build. There were a few shortcomings in that build, most importantly the removal of the D pad.  [frostedfires]’ build fixes this oversight.

Inside the GBA enclosure is a 4.3 inch screen, a replacement Gamecube joystick, an SNES D pad, and of course the entire N64 circuit board with a few modifications.

[frostedfires] entered this into a ‘Shark Tank’-ish  competition at school, and this build was so impressive he won first place. Link to the full build thread here.

The Smallest Portable Pi

What do you get when you take an extremely small Raspberry Pi clone and stuff it inside a Game Boy Advance SP? We don’t know what to call it, but it’s probably one of the best portable gaming machines ever made, able to run emulators ranging from the Apple II to playing Quake III natively on a tiny flip-top display.

This isn’t the first time we’ve seen [frostedfires]’ work on a tiny system stuffed into a Game Boy. The initial post on this build over on the bacman forums just covered the basics – getting an Odroid W up and running, and putting Quake III on the tiny display. Now that the build is complete, we can get a look at what it takes to turn a Raspberry Pi clone into one of the smallest portable projects we’ve ever seen.

Using a Raspi clone as the only component in a tiny portable emulation station isn’t possible, so [frostefires] added a few other bits of electronics to make everything work. There’s a joystick from a PSP in there to work as the mouse, a few extra buttons in addition to the stock Game Boy ones, A USB hub, WiFi adapter, speaker and amplifier, a battery and the related charging electronics, and a Teensy 3.1 to handle all the input.

It’s a very impressive build that can run emulators ranging from the Apple II to later generation Nintendo consoles and handhelds (including the Game Boy Advance), but since the HDMI connector is availble on the outside of the case, [frostedfires] can also use this as a tiny, portable media center. Check out the video below to see this Game Boy in action, playing Mario Kart and 1080p video.

Continue reading “The Smallest Portable Pi”

Game Boy With Lithium Batteries And USB

[Alan] procured a few Game Boys from a Yahoo auction with the intent of using them for some other projects, but one of the Game Boys was shipped with a very corroded battery which had eaten up one of the terminals. When [Alan] had repaired it, he was left with a Game Boy with no battery terminal at all, so he decided to splice in some lithium-ion batteries.

Not only does the Game Boy now have a new battery pack, but [Alan] was able to source a USB charger to handle the batteries’ charging needs. However, he realized that his battery pack was 3.7 volts, while the Game Boy only needed 3 volts. To lower the voltage of the battery pack to the required voltage, [Alan] grabbed a 1N4148 diode and put it in series with the battery pack, which also helps prevent any accidental reverse polarity.

This isn’t the most technically advanced Game Boy hack we’ve ever seen but it’s great to see new life breathed into these classic video game systems. Not to mention that [Alan] saved some lithium batteries from the landfill!

Game Boy Cartridge Emulator Uses STM32

Game Boys may be old tech, but they still provide challenges to modern hackers. [Dhole] has come up with a cartridge emulator which uses an STMicroelectronics STM32F4 discovery board to do all the work. Until now, most flash cartridges used programmable logic devices, either CPLDs or FPGAs to handle the high-speed logic requirements. [Alex] proved that a microcontroller could emulate a cartridge by using an Arduino to display the “Nintendo” Game Boy boot logo. The Arduino wasn’t fast enough to actually handle high-speed accesses required for game play.

[Dhole] kicked the speed up by moving to the ARM Cortex-M4 based 168 MHz STM32F4. The F4’s  70 GPIO pins can run via internal peripherals at up to 100MHz, which is plenty to handle the 1MHz clock speed of the Game Boy’s bus. Logic levels are an issue, as the STM32 uses 3.3V logic while the Game Boy is a 5V device. Thankfully the STM32’s inputs are 5V tolerant, so things worked just fine.

Simple Game Boy cartridges like Tetris were able to directly map a ROM device into the Game Boys memory space. More complex titles used Memory Block Controller (MBC) chips to map sections of ROM and perform other duties. There were several MBC chips used for various titles, but [Dhole] can emulate MBC1, which is compatible with the largest code base.

One of the coolest tricks [Dhole] implemented was displaying a custom boot logo. The Game Boy used the “Nintendo” logo as a method of copyright protection. If a cartridge didn’t have the logo, the Game Boy wouldn’t run. The logo is actually read twice – once to check the copyright info, and once to display it on the screen. By telling the emulator to change the data available at those addresses after the first read, any graphic can be displayed.

If you’re wondering what a cartridge emulator would be useful for (other than pirating games), you should check out [Jeff Frohwein’s] Gameboy Dev page! [Jeff] has been involved in Game Boy development since the early days. There are literally decades of demos and homebrew games out there for the Game Boy and various derivatives. .

Continue reading “Game Boy Cartridge Emulator Uses STM32”

Reverse-Engineering A Game Boy Clone’s Boot ROM

[nitro2k01] got his hands on a Game Fighter, a clone of the original Game Boy. While there’s a ton of information about the boot ROM and operation of the original Game Boy, not much is known about these clones. [nitro2k01] wanted to learn more, so he used a clock-glitching technique to dump the device’s ROM and made some interesting discoveries about its copyright protection and boot process along the way.

Reading the contents of the Game Boy ROM is a bit challenging. The ROM is readable while booting, but afterwards the address space of the ROM is remapped for interrupt vectors and other uses. There are a couple of methods to get around this, but the simplest method involves glitching the crystal by grounding one of its leads. This causes the CPU to jump to random locations in memory. Eventually the CPU will jump to a location where the boot ROM is accessible (if you’re lucky!).

Although [nitro2k01]’s clone can run the same games as the Game Boy, it has a different boot ROM and also has some significant hardware differences. [nitro2k01] managed to use a modified version of the crystal-grounding technique to glitch his clock and dump the clone’s boot ROM. He found that the clone uses an unusual variation on the Game Boy’s copyright-checking technique, along with some other oddities. [nitro2k01] also posted a disassembly of the boot ROM, which he explains in detail.

Thanks for the tip, [Ove].