The Nintendo Game Boy was a very popular handheld in its time, but its display technology has not aged gracefully. Ripping out the original screen and dropping in a modern IPS LCD is a popular mod, but that often comes with a weird flicker now and then. [makho] is here to explain why.
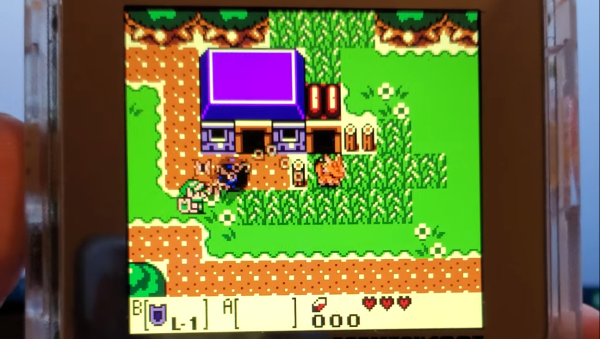
The problem was that the Game Boy didn’t have any way to do transparency in the original hardware. Instead, sprites that were supposed to be a little bit transparent were instead flickered on and off rapidly. The original LCD was so slow that this flicker would be largely hidden, with the sprites in question looking suitably transparent. However, switch to a modern IPS LCD with its faster refresh rate, and the flickering will be readily visible. So it’s not a bug — it’s something that was intentionally done by developers that were designing for the screen technology of the 1980s, not the 2020s.
IPS screens have become the must-have upgrade for modern Game Boy users. Most would tell you the improved image quality and rich color is worth a little flicker here and there.