Way back when, home computers and consoles didn’t have the RAM or storage space for full-length recorded audio tracks. Instead, a variety of techniques were used to synthesize music on the fly. The SNES was no exception, using the SPC700 Wavetable Synthesis chip to bust out the tunes. [Foxchild] wanted to use this chip as a standalone synthesizer, but didn’t want to hack up a console to do so. Thus, the SNES Drone was born!
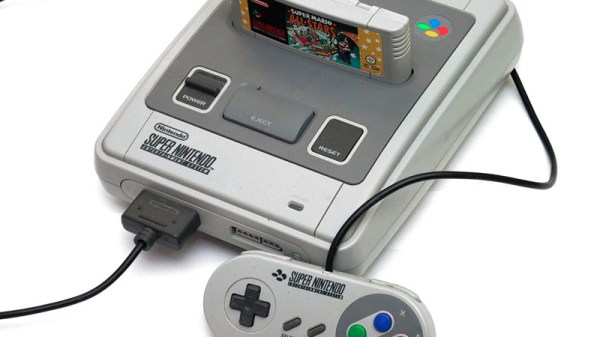
Instead of gutting the console for the juicy chips inside, à la most SID based builds, the SNES Drone takes a different approach. It consists of a cartridge which interfaces with a stock SNES console, making the install easy and non-invasive.
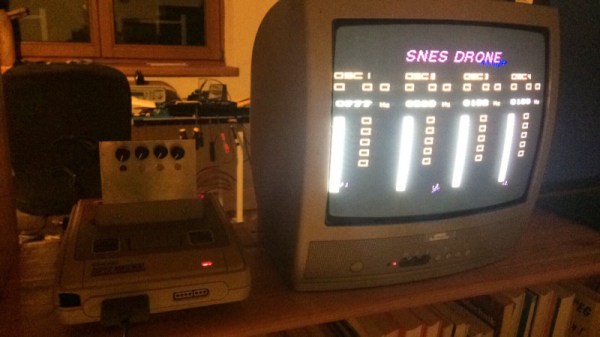
The build is in an alpha state, with the oscillators in the SNES generating continuous tones, with frequency and volume controlled by potentiometers mounted on the cartridge. Having physical controls on the cartridge makes the build feel more like a real synth, and promises to look awesome on stage for a chiptune performance.
[Foxchild] is looking for others to get involved to help get the project to the next stage, so if you’re interested, reach out on the Hackaday.io page. We’ve seen other projects to liberate the awesome chip sounds of yesteryear, too. Video after the break.