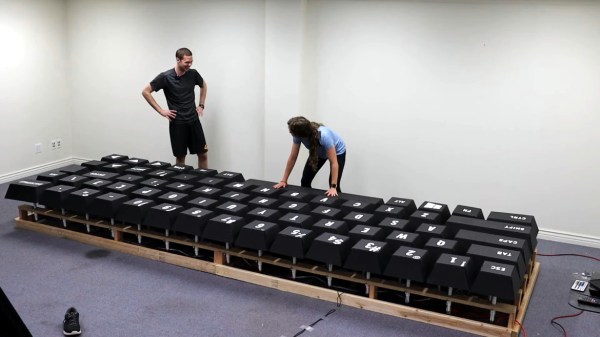
We like big keyboards and we cannot lie, and we’ve seen some pretty big keyboards over the years. But this one — this one is probably the biggest working board that anyone has ever seen. [RKade] and [Kristine] set out to make the world’s largest keyboard by Guinness standards – and at 16 feet long, you would think they would be a shoe-in for the world record. More on that later.
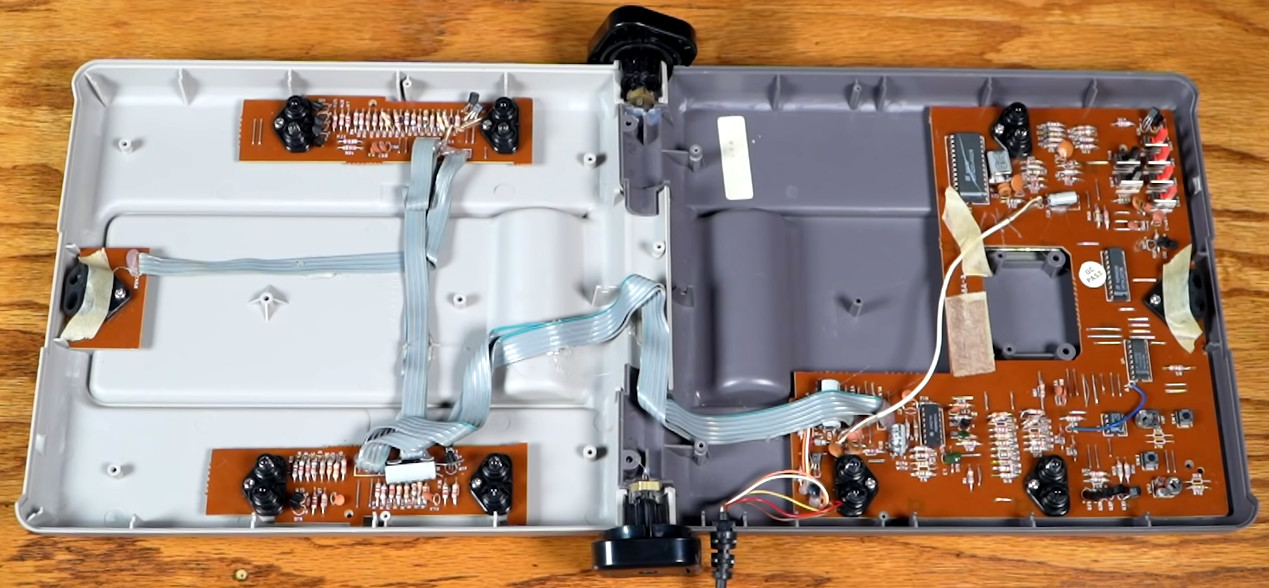
As you might have figured out, what’s happening here is that each giant key actuates what we hope is a Cherry-brand lever switch that is wired to the pads of a normal-sized keyboard PCB. Once they designed the layout, they determined that there were absolutely no existing commercial containers that, when inverted, would fit the desired dimensions, so they figured out that it would take 350 pieces of cardboard to make 70 5-sided keycaps and got to work.
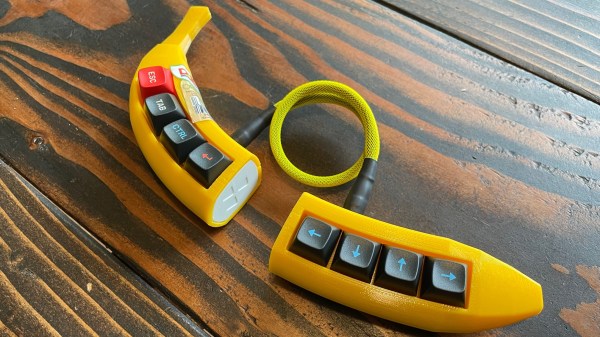
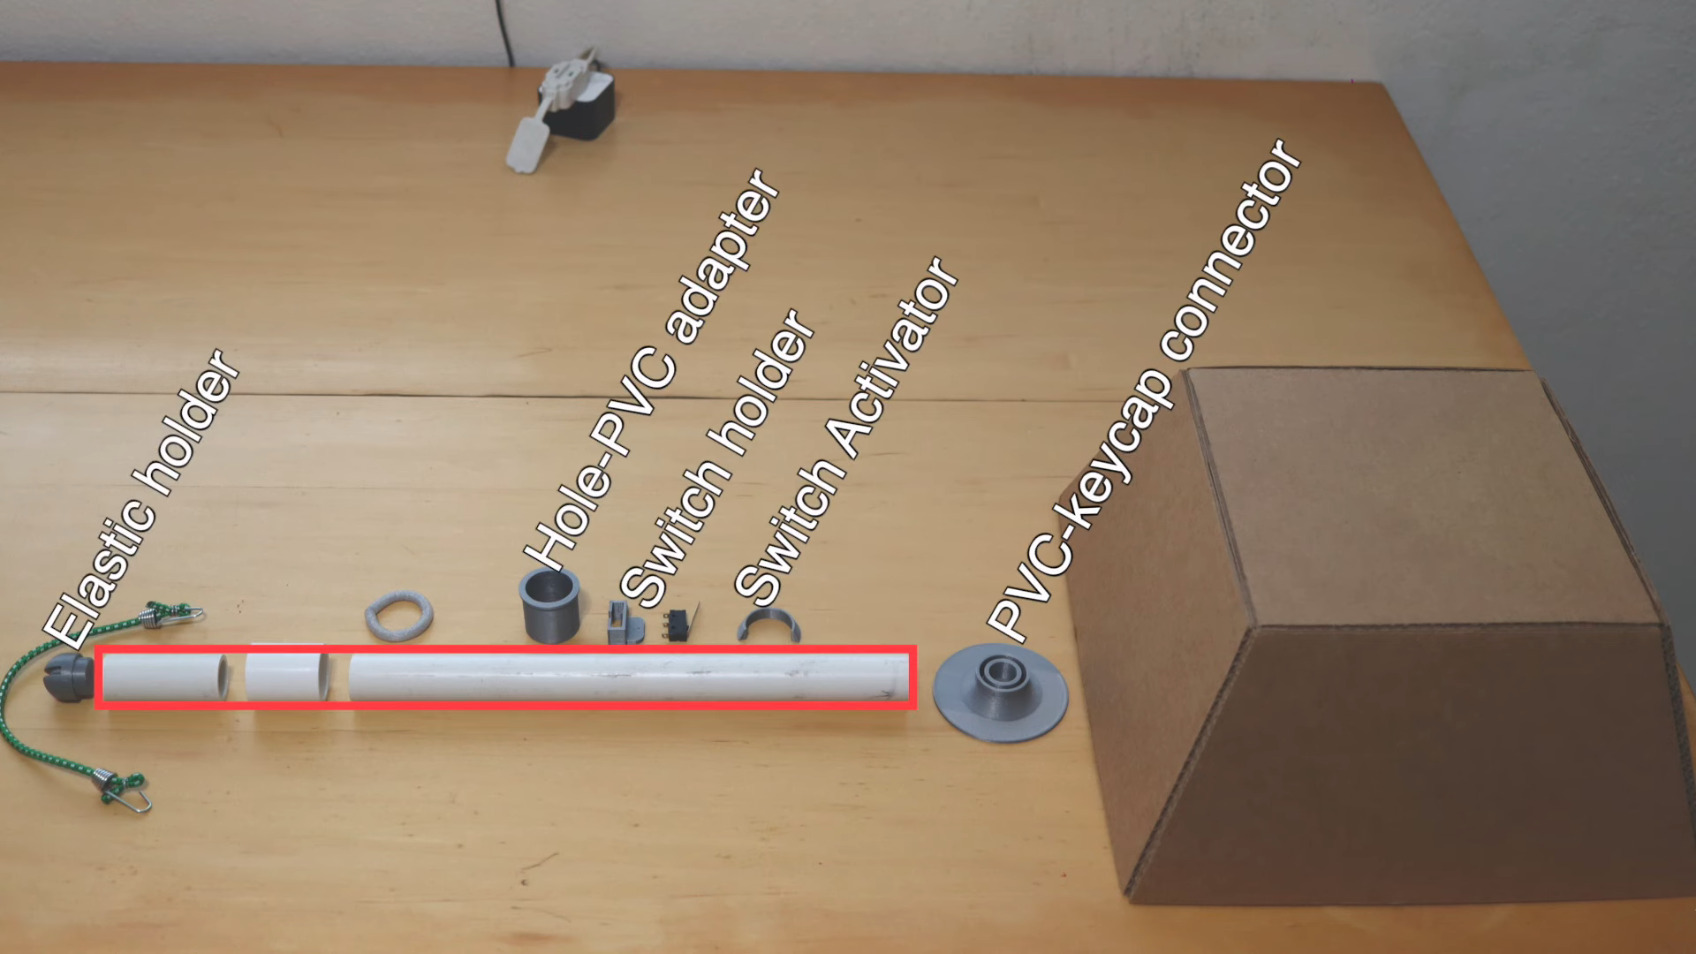
 Aside from the general awesomeness of this thing, we really like the custom buttons, which are mostly made of PVC components, 3D printed parts, and a bungee cord for the return spring.
[RKade] encountered a few problems with the frame build — mostly warped boards and shrunken holes where each of the 70 keys mount. After the thing was all wired up (cleverly, we might add, with Ethernet cable pairs), [RKade] rebuilt the entire frame out of three-layers of particle board.
By the way, Guinness rejected the application, citing that it must be an exact replica of an existing keyboard, and it must be built to commercial/professional standards. They also contradict themselves, returning no search results for biggest keyboard, but offer upon starting a world record application that there is a record-holding keyboard on file after all, and it is 8 ft (2.4 m) long. It’s not the concrete Russian keyboard, which is non-functional, but we wonder if it might be the Razer from CES 2018 that uses Kailh Big Switches.
Once the keyboard was up and running, [RKade] and [Kristine] duke it out over a game of Typing Attack, where the loser has to type all the lyrics to “Never Gonna Give You Up” on the giant keyboard. Check it out after the break.
Continue reading “Giant Keyboard Is Just Our Type” →